Application Management Overview
Discover, track, and manage all SaaS applications in your organization
Zluri's Application Management module lets IT and security teams discover, track, and manage their identities and applications, with particular emphasis on identifying and controlling shadow IT through a categorization and review system.
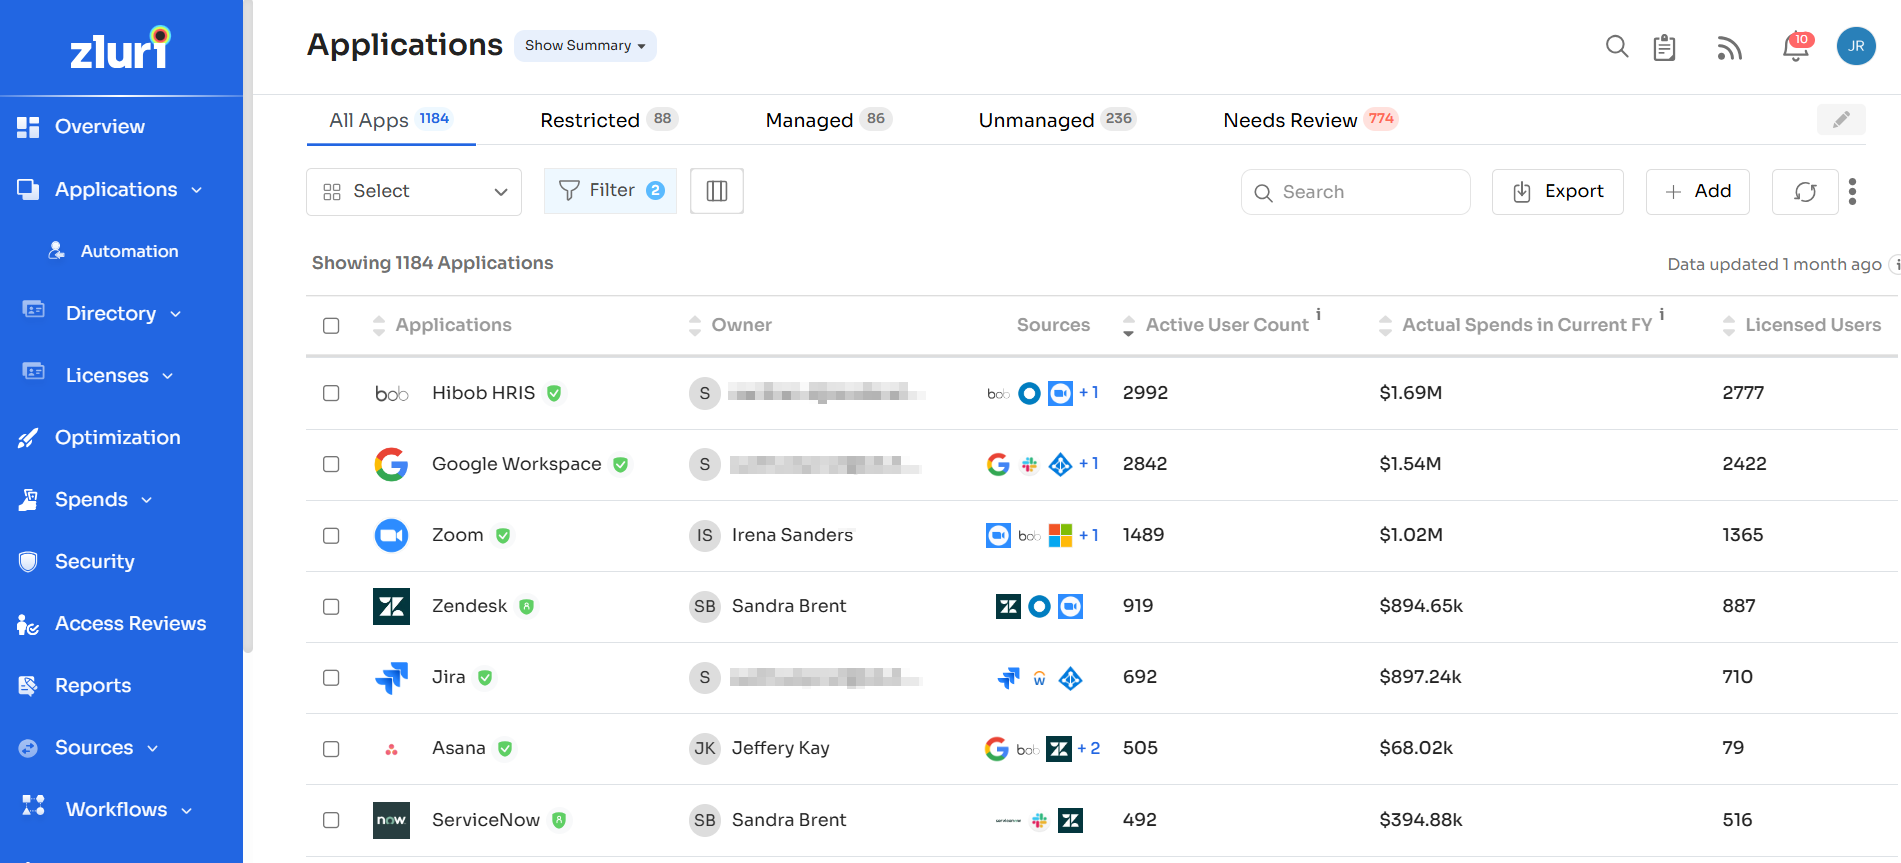
Visibility
- Comprehensive App Tracking: Monitors applications in the environment
- Spend Visibility: Shows exact spending for each application (e.g., $1.69M for Hibob HRIS)
- Usage Analytics:
- Tracks active user counts vs. licensed users
- Helps identify over/under-licensed situations
- Shows user engagement levels across apps
Discovery
- Multiple Sources Integration:
- Shows various integration sources
- Integrates with SSO, financial systems, and direct app connections
- Ownership Tracking:
- Maps application owners
- Helps in accountability and governance
- Application Categorization: Managed, Restricted, and Unmanaged
Shadow IT Management
- Risk Identification:
- Flags applications that need review
- Identifies unmanaged applications
- Application Status Tracking:
- Verified apps marked with checkmarks
- Clear distinction between approved and unapproved apps
- Governance Features:
- Ability to mark applications as restricted
- Tools for managing application access and compliance
- Options to convert unmanaged apps into managed ones
Bulk update application data
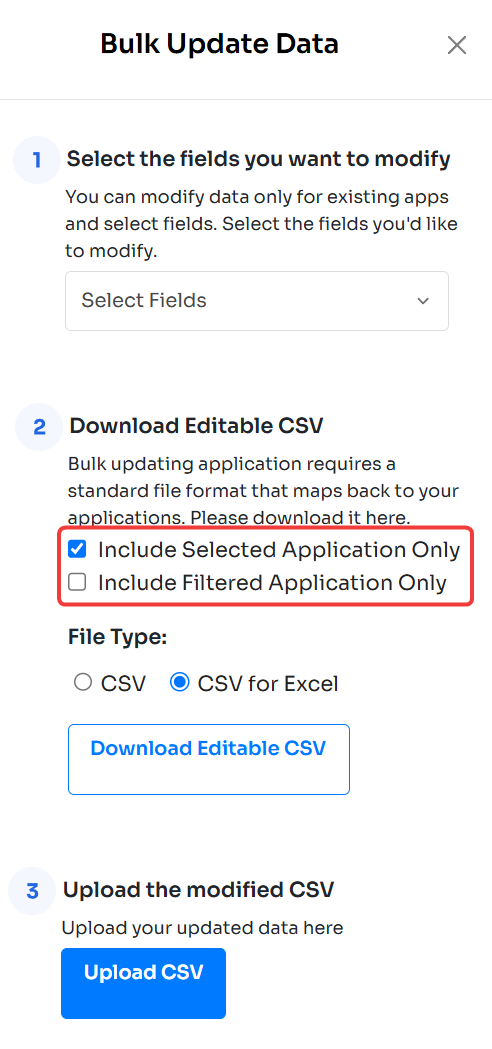
Zluri lets you modify one or multiple apps' data such as App ID, owner, security review status, and more using custom CSVs. Here's how:
-
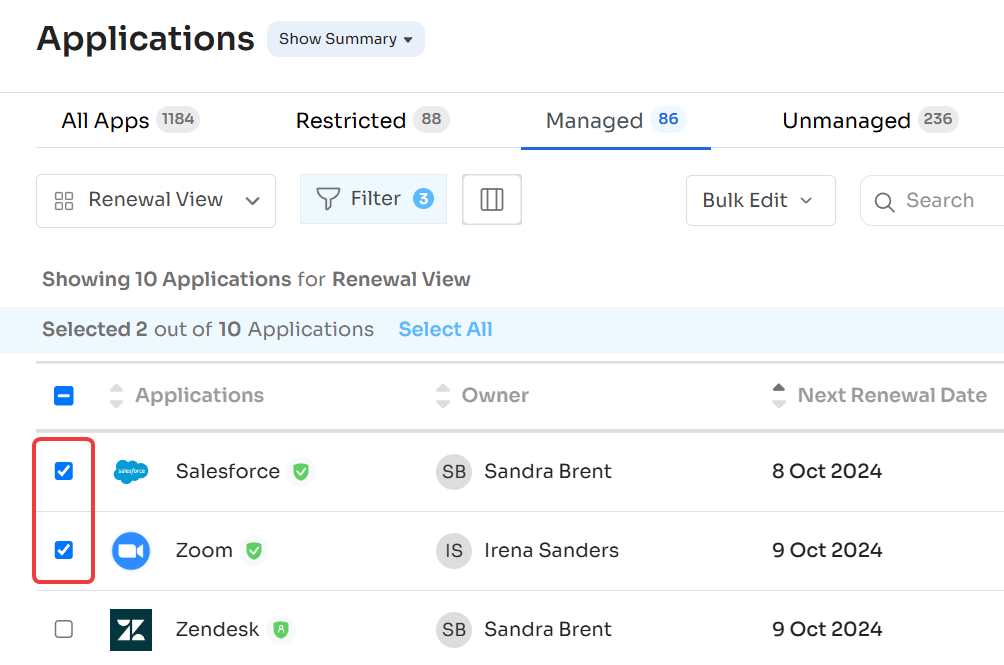
Select the app(s) whose data you wish to modify.
-
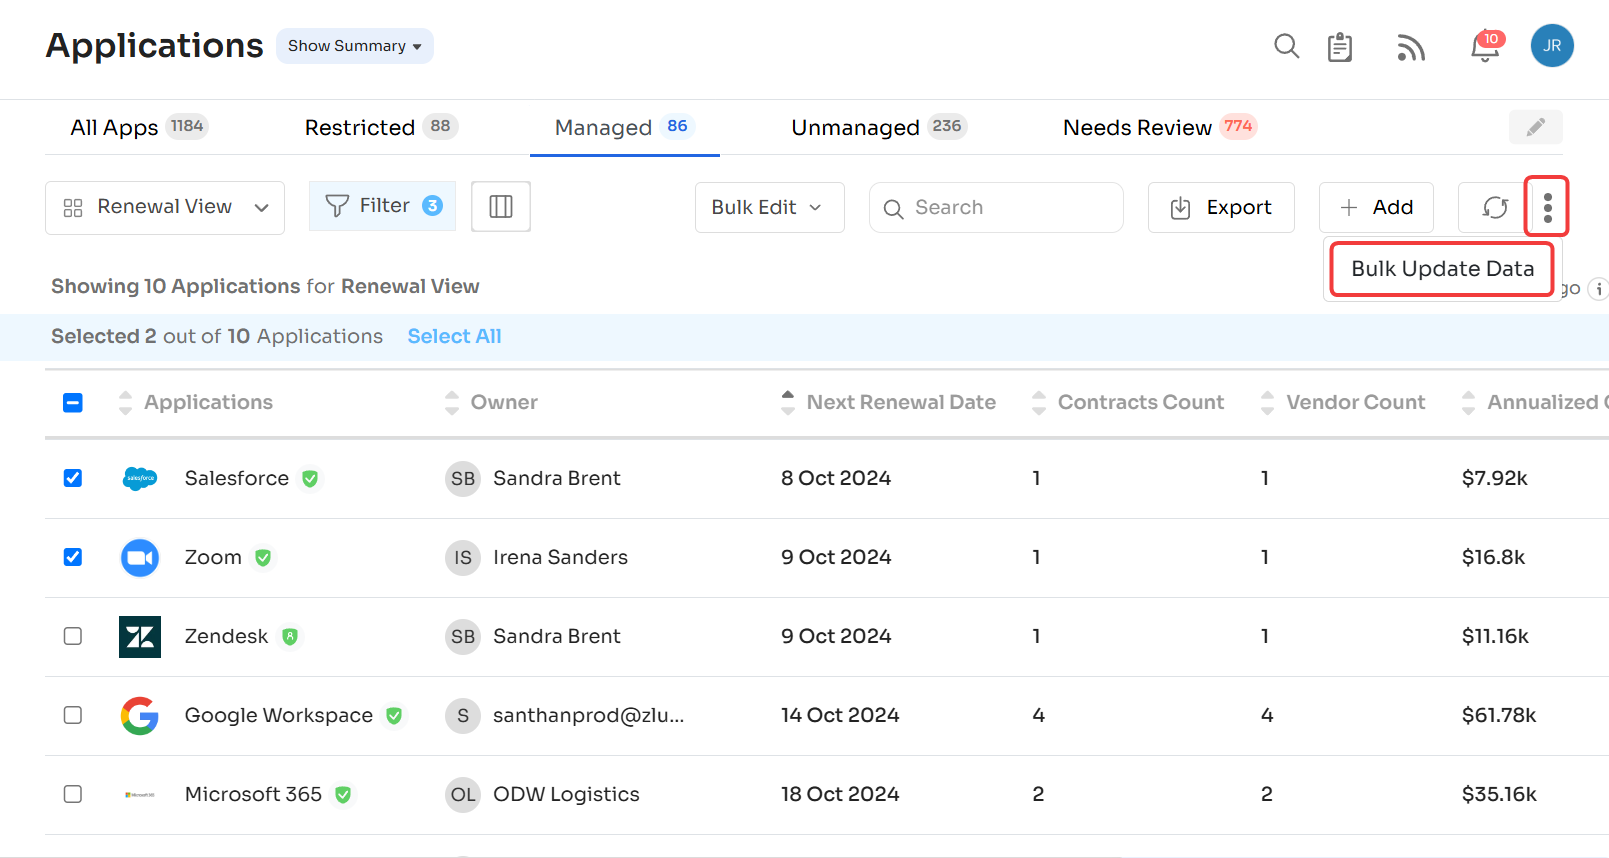
Click the 3-dot menu on the top-right, then select Bulk Update Data.
-
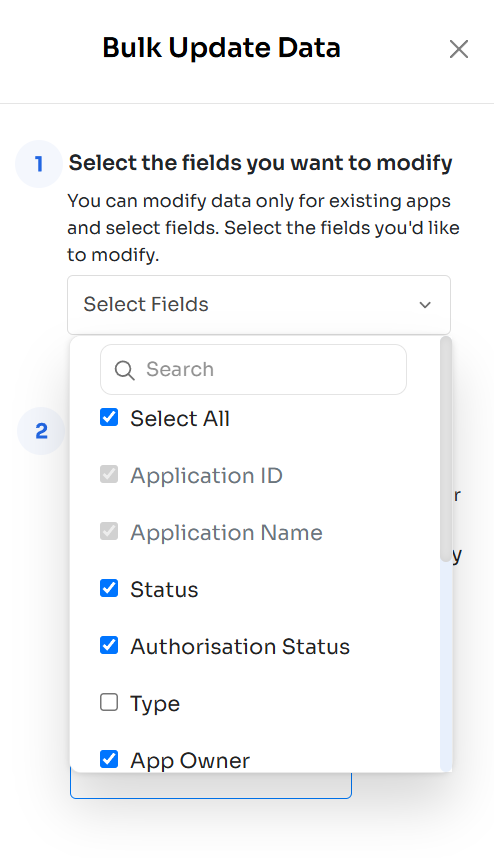
This will open a sidebar to the right. Select the fields you wish to modify.
-
Choose whether you wish to edit only the selected application(s) or all the applications in the current view.
-
Select the type of CSV you wish to download (generic CSV or MS Excel-formatted CSV), then click Download Editable CSV.
-
Finally, modify the CSV and click the Upload CSV button to upload it.
Got questions? Feel free to submit a ticket or contact us directly at [email protected].
Updated 5 months ago
