Through Kandji
Install Zluri's macOS desktop agents using Kandji
This guide explains how to deploy Zluri's macOS desktop agent to company-managed devices using Kandji. Follow the steps below to automate the installation and configuration.
Prerequisites
- macOS 12.0 (Monterey) or higher
Prerequisites for automated user to device mapping
- Users assigned to devices in Kandji
- Kandji integration connected to Zluri
If you don’t wish to connect the Kandji integration to Zluri, you can map the agents manually after installation.
Installation process
Access organization token in Zluri
-
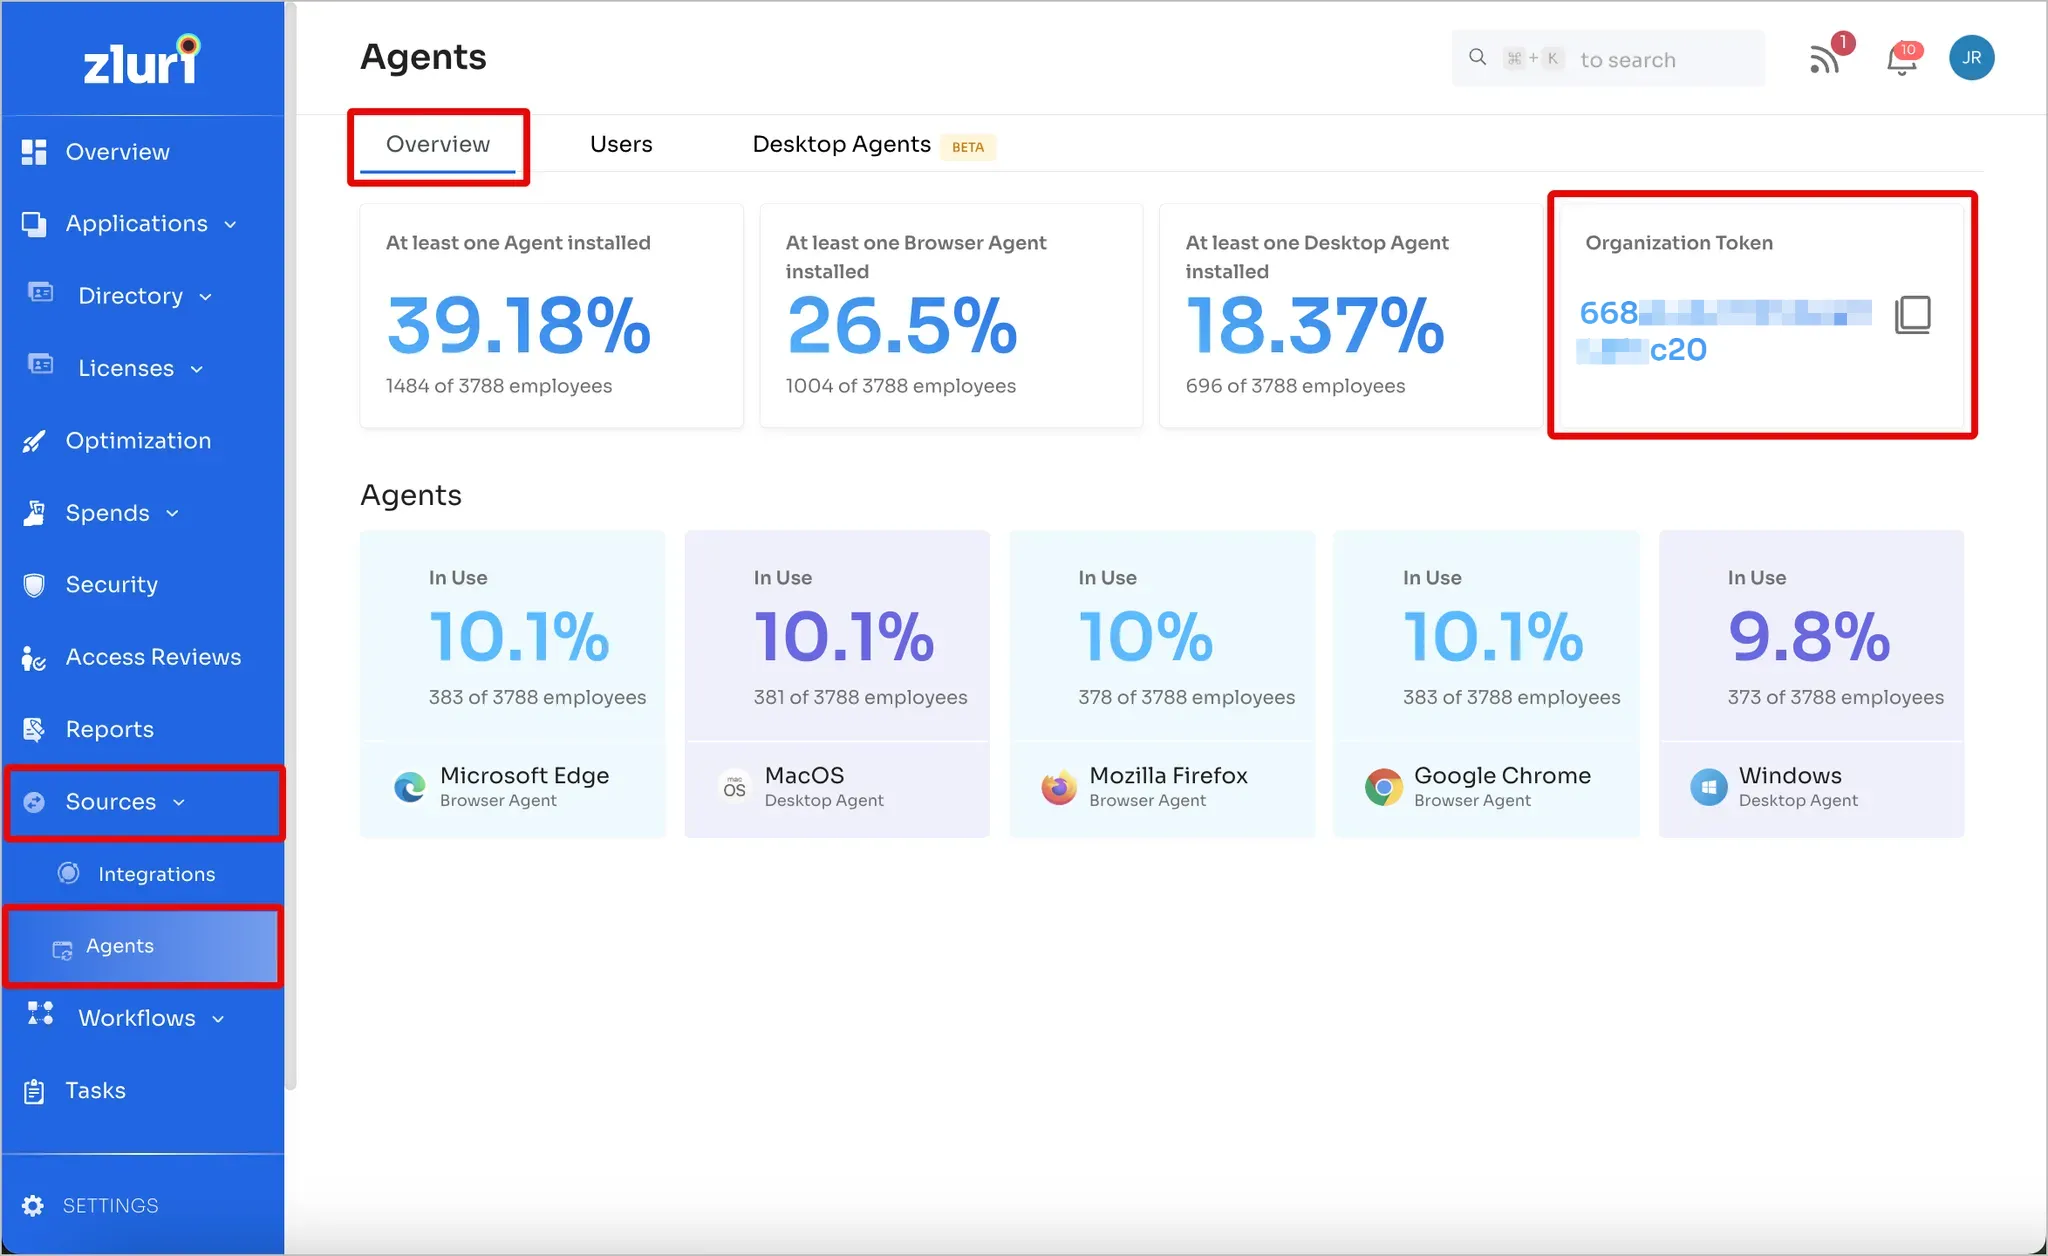
Log in to Zluri.
-
Navigate to Sources → Agents → Overview.
-
Copy and securely store the Organization Token. This will be used while adding scripts.
Create a Kandji Blueprint
-
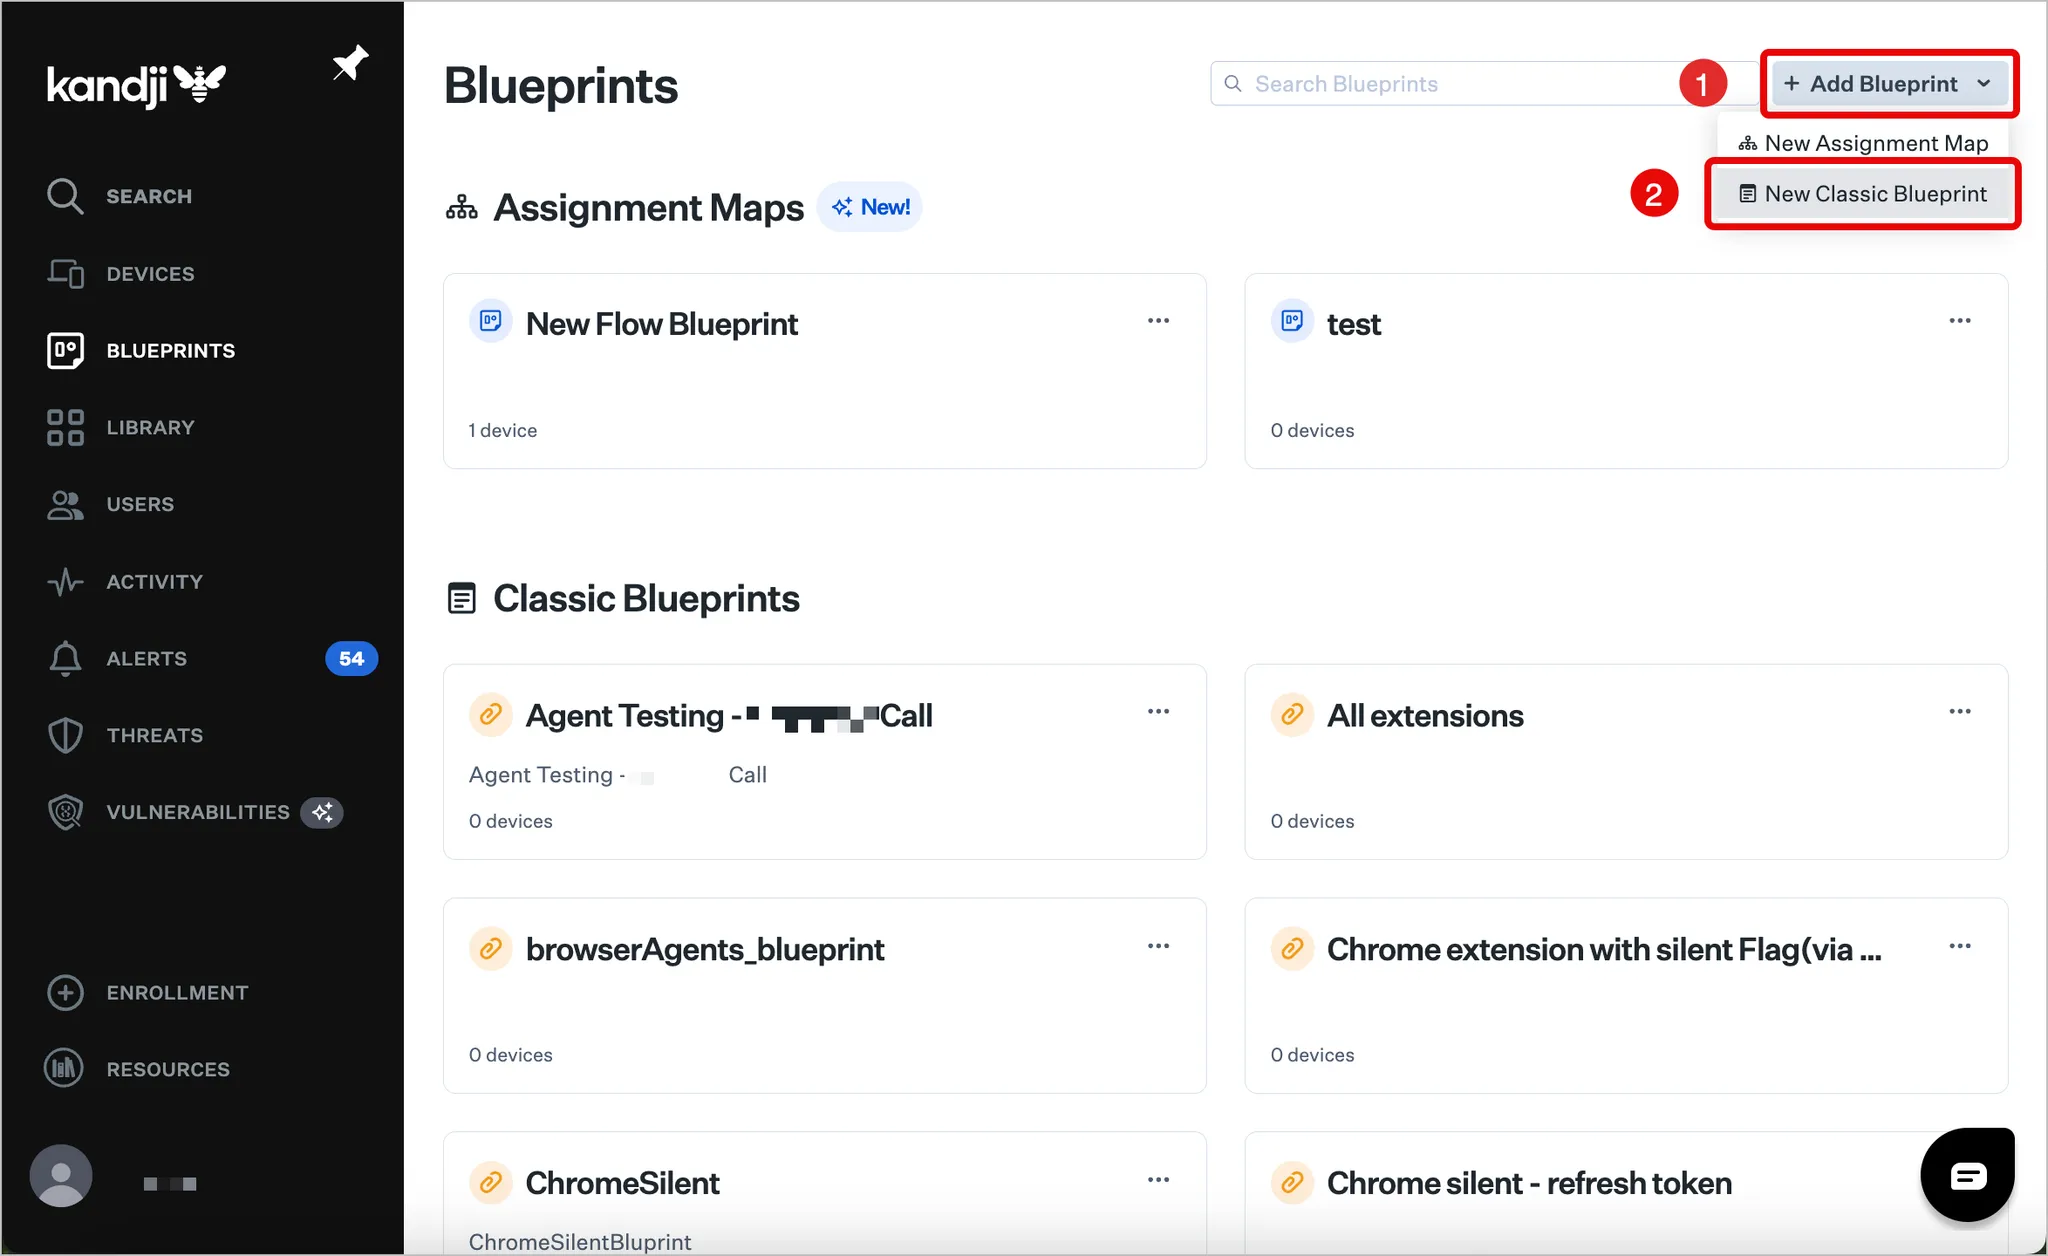
Log in to Kandji and click Blueprints in the left sidebar.

-
Click Add Blueprint and select New Classic Blueprint.
-
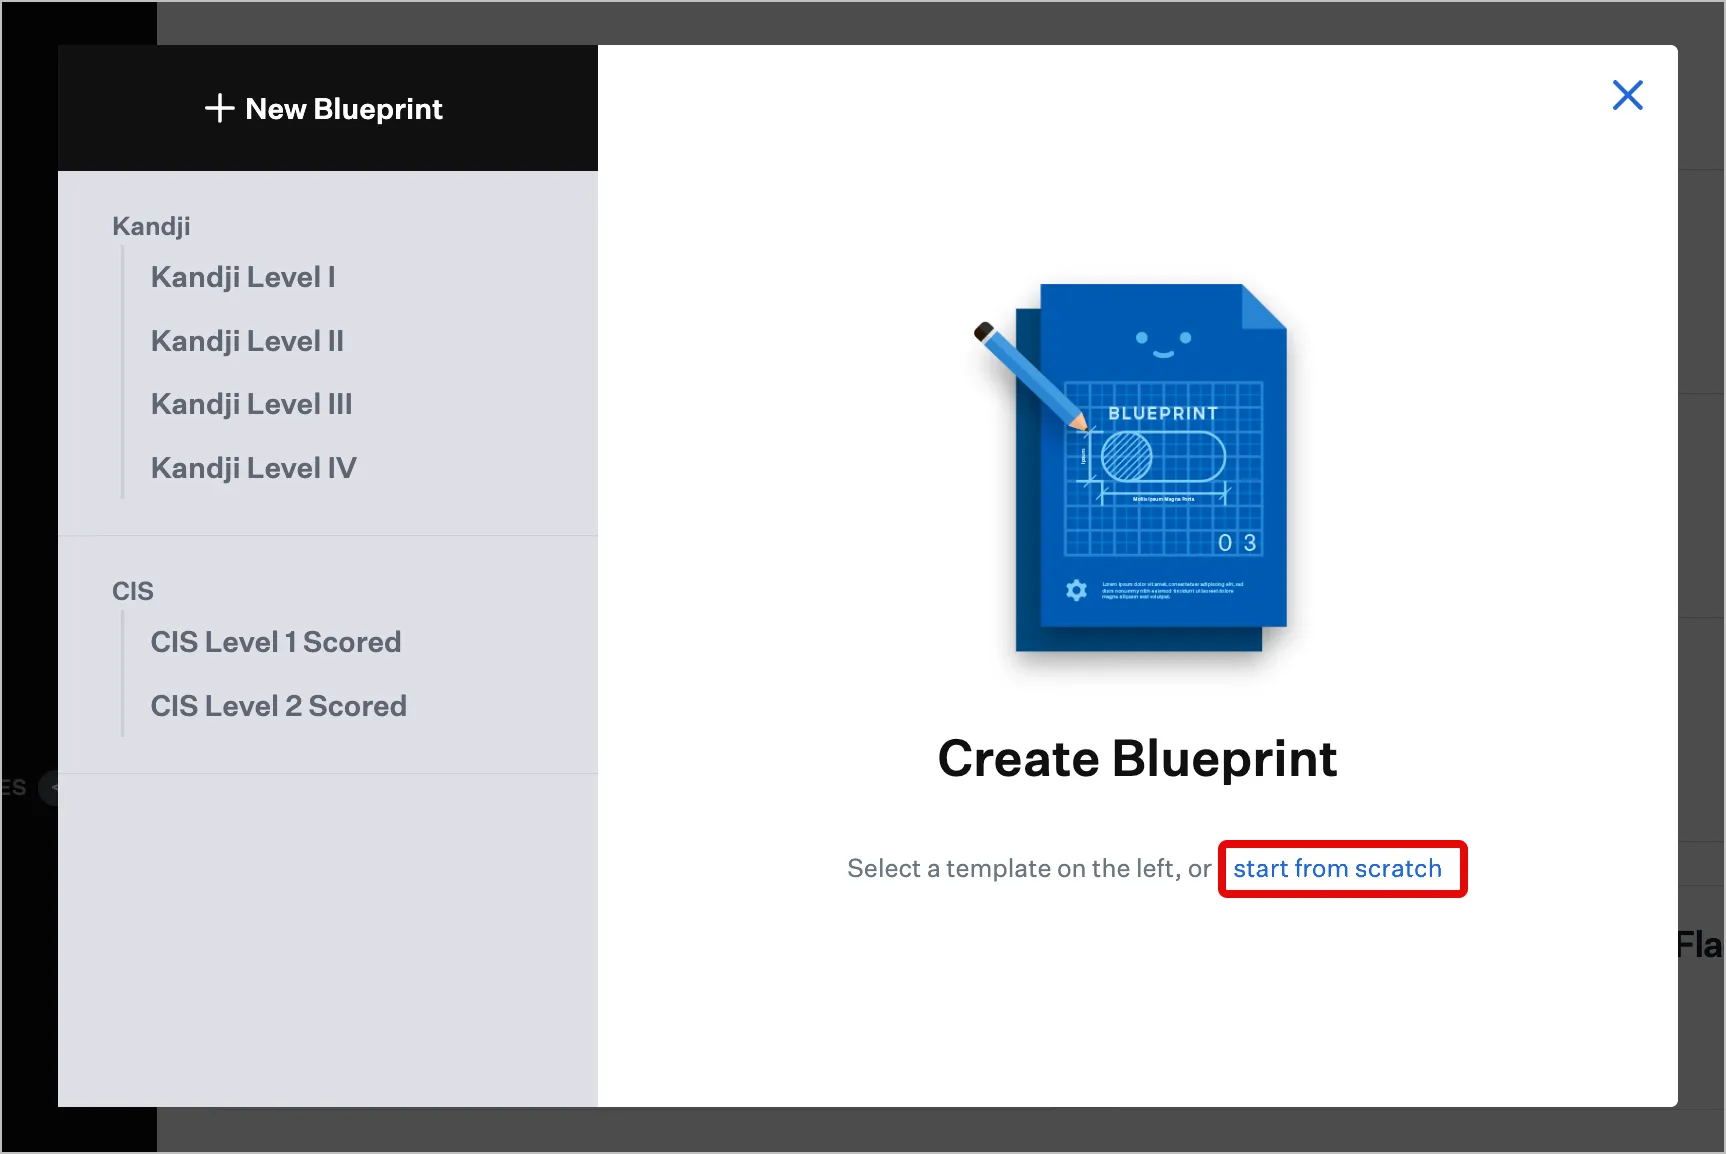
Click start from scratch.
-
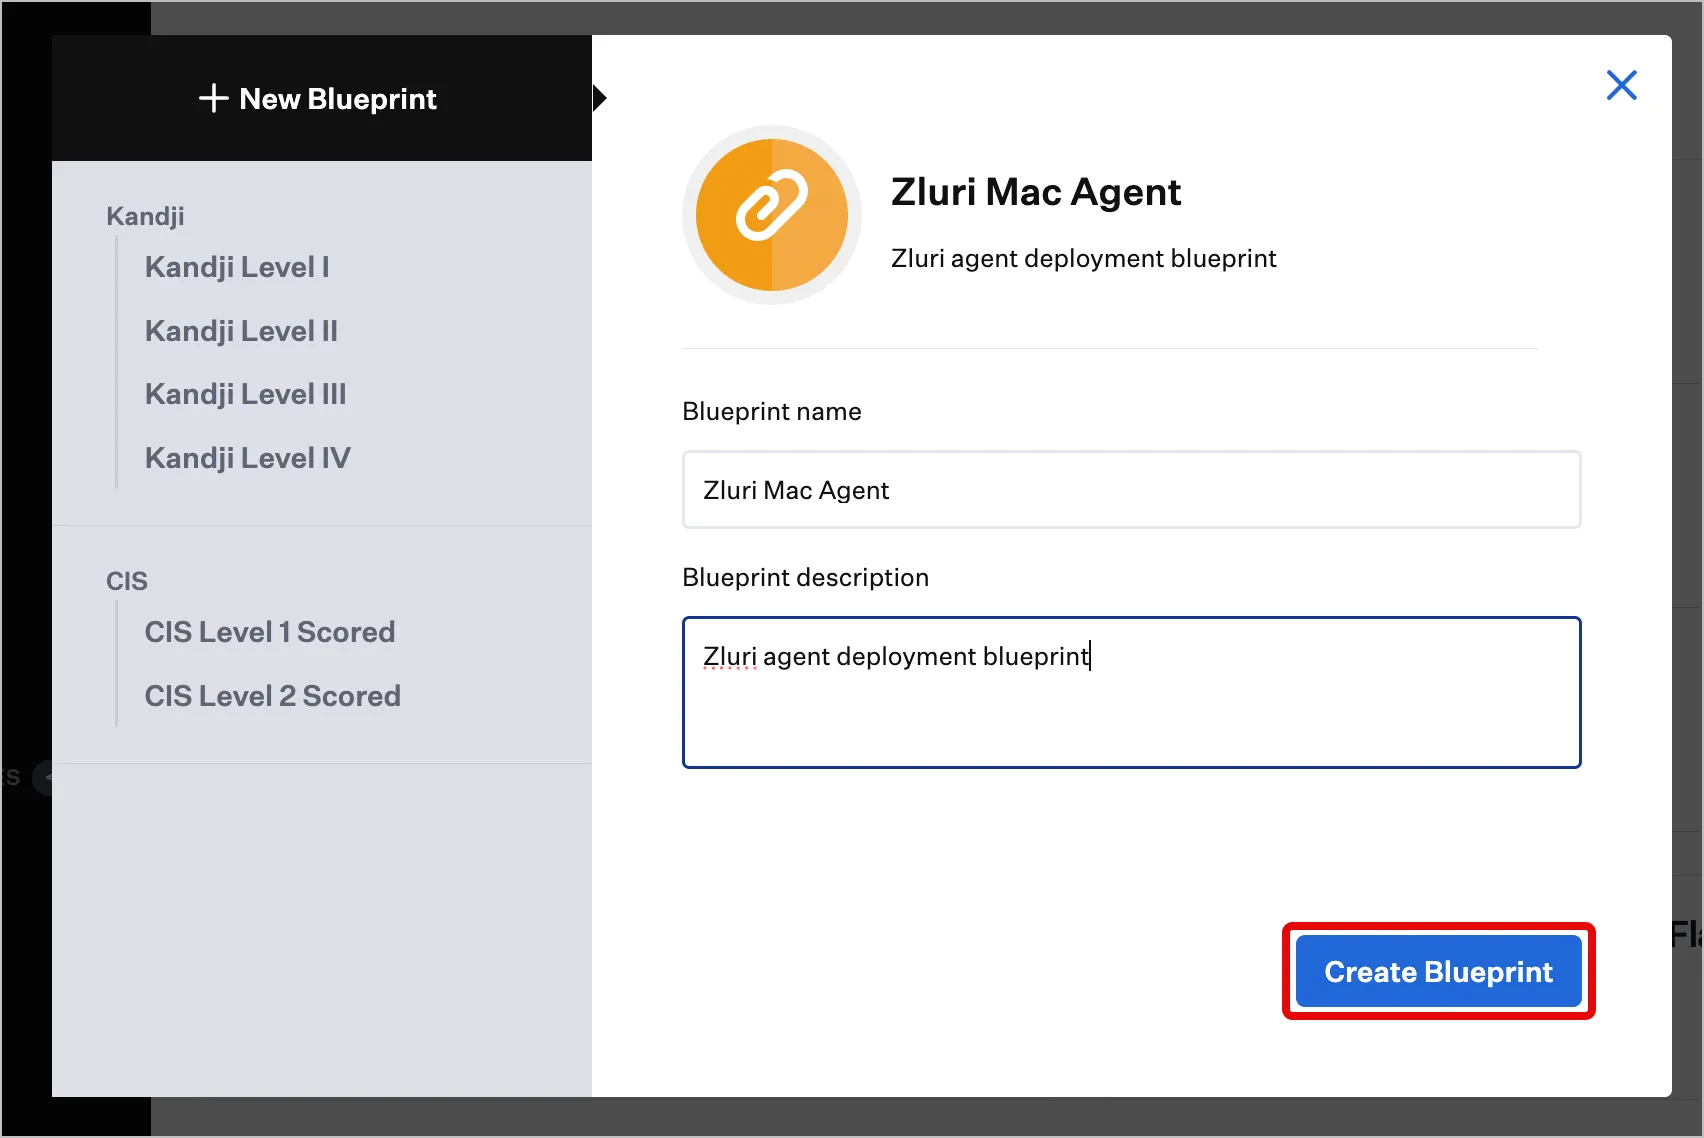
Enter a Blueprint name and description, then click Create Blueprint.
Create a custom app in Kandji
-
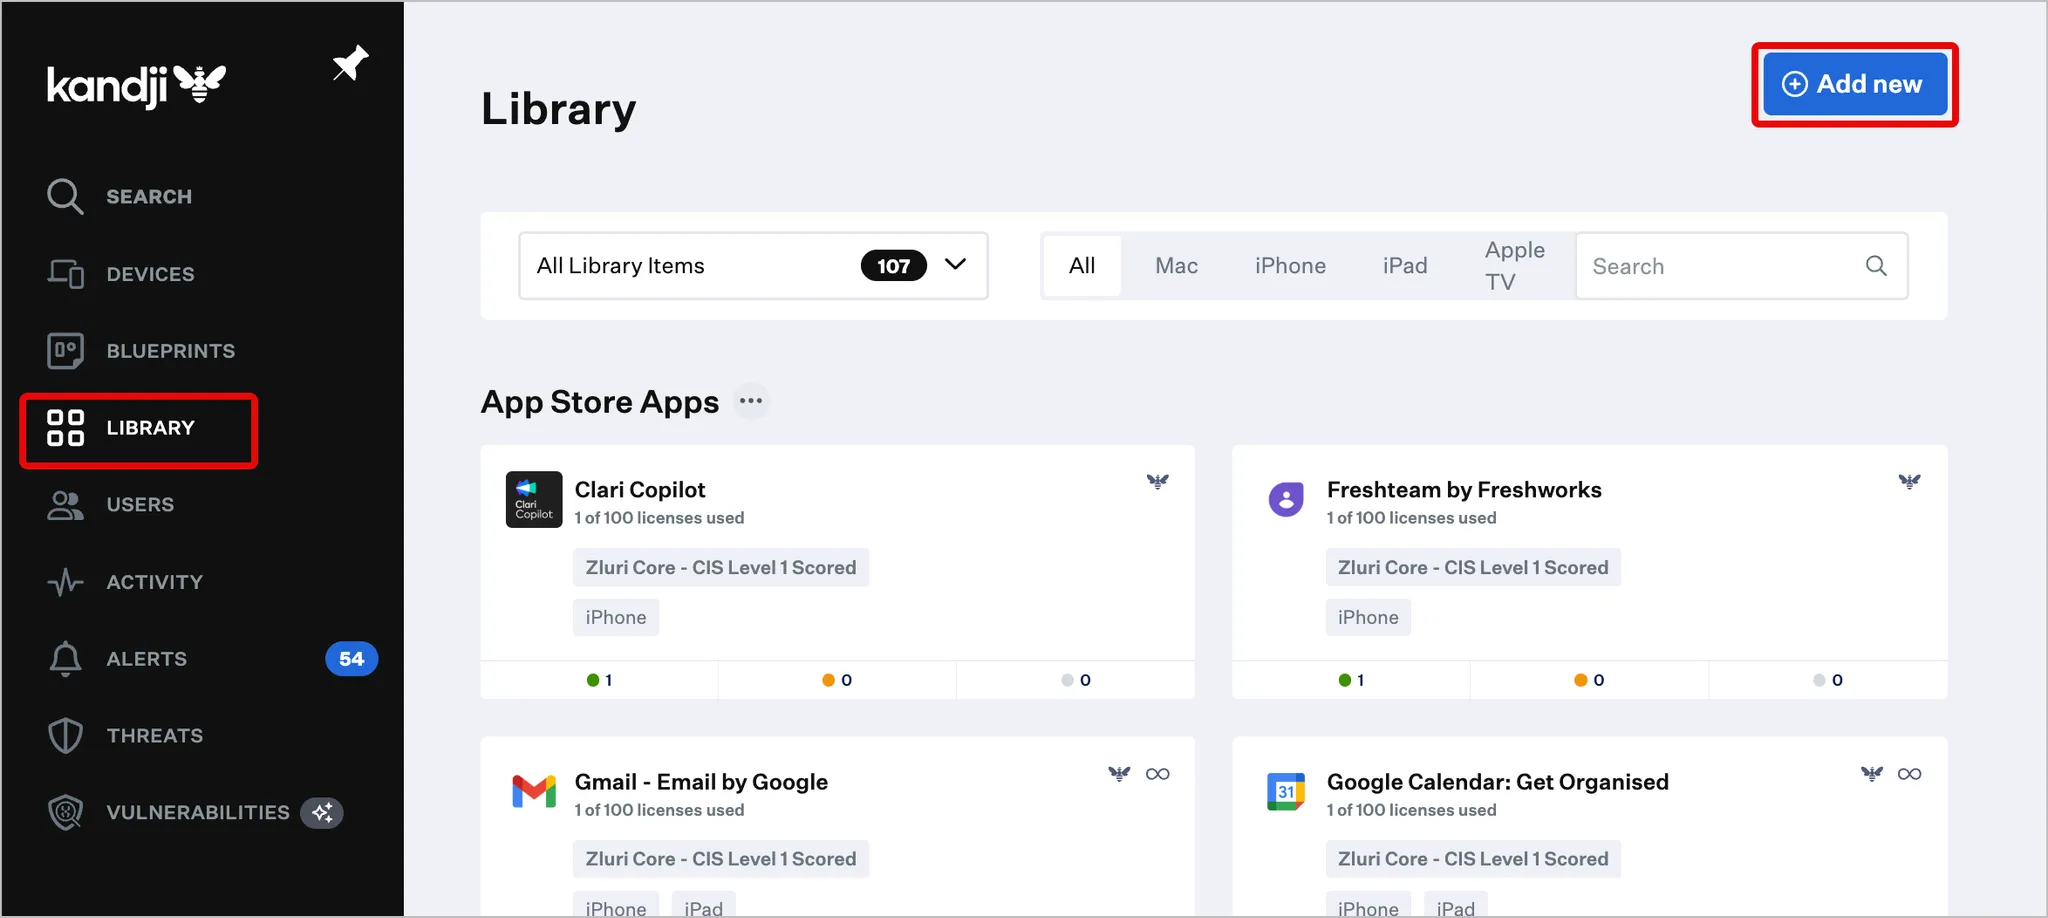
Click Library in the left sidebar then click Add new.
-
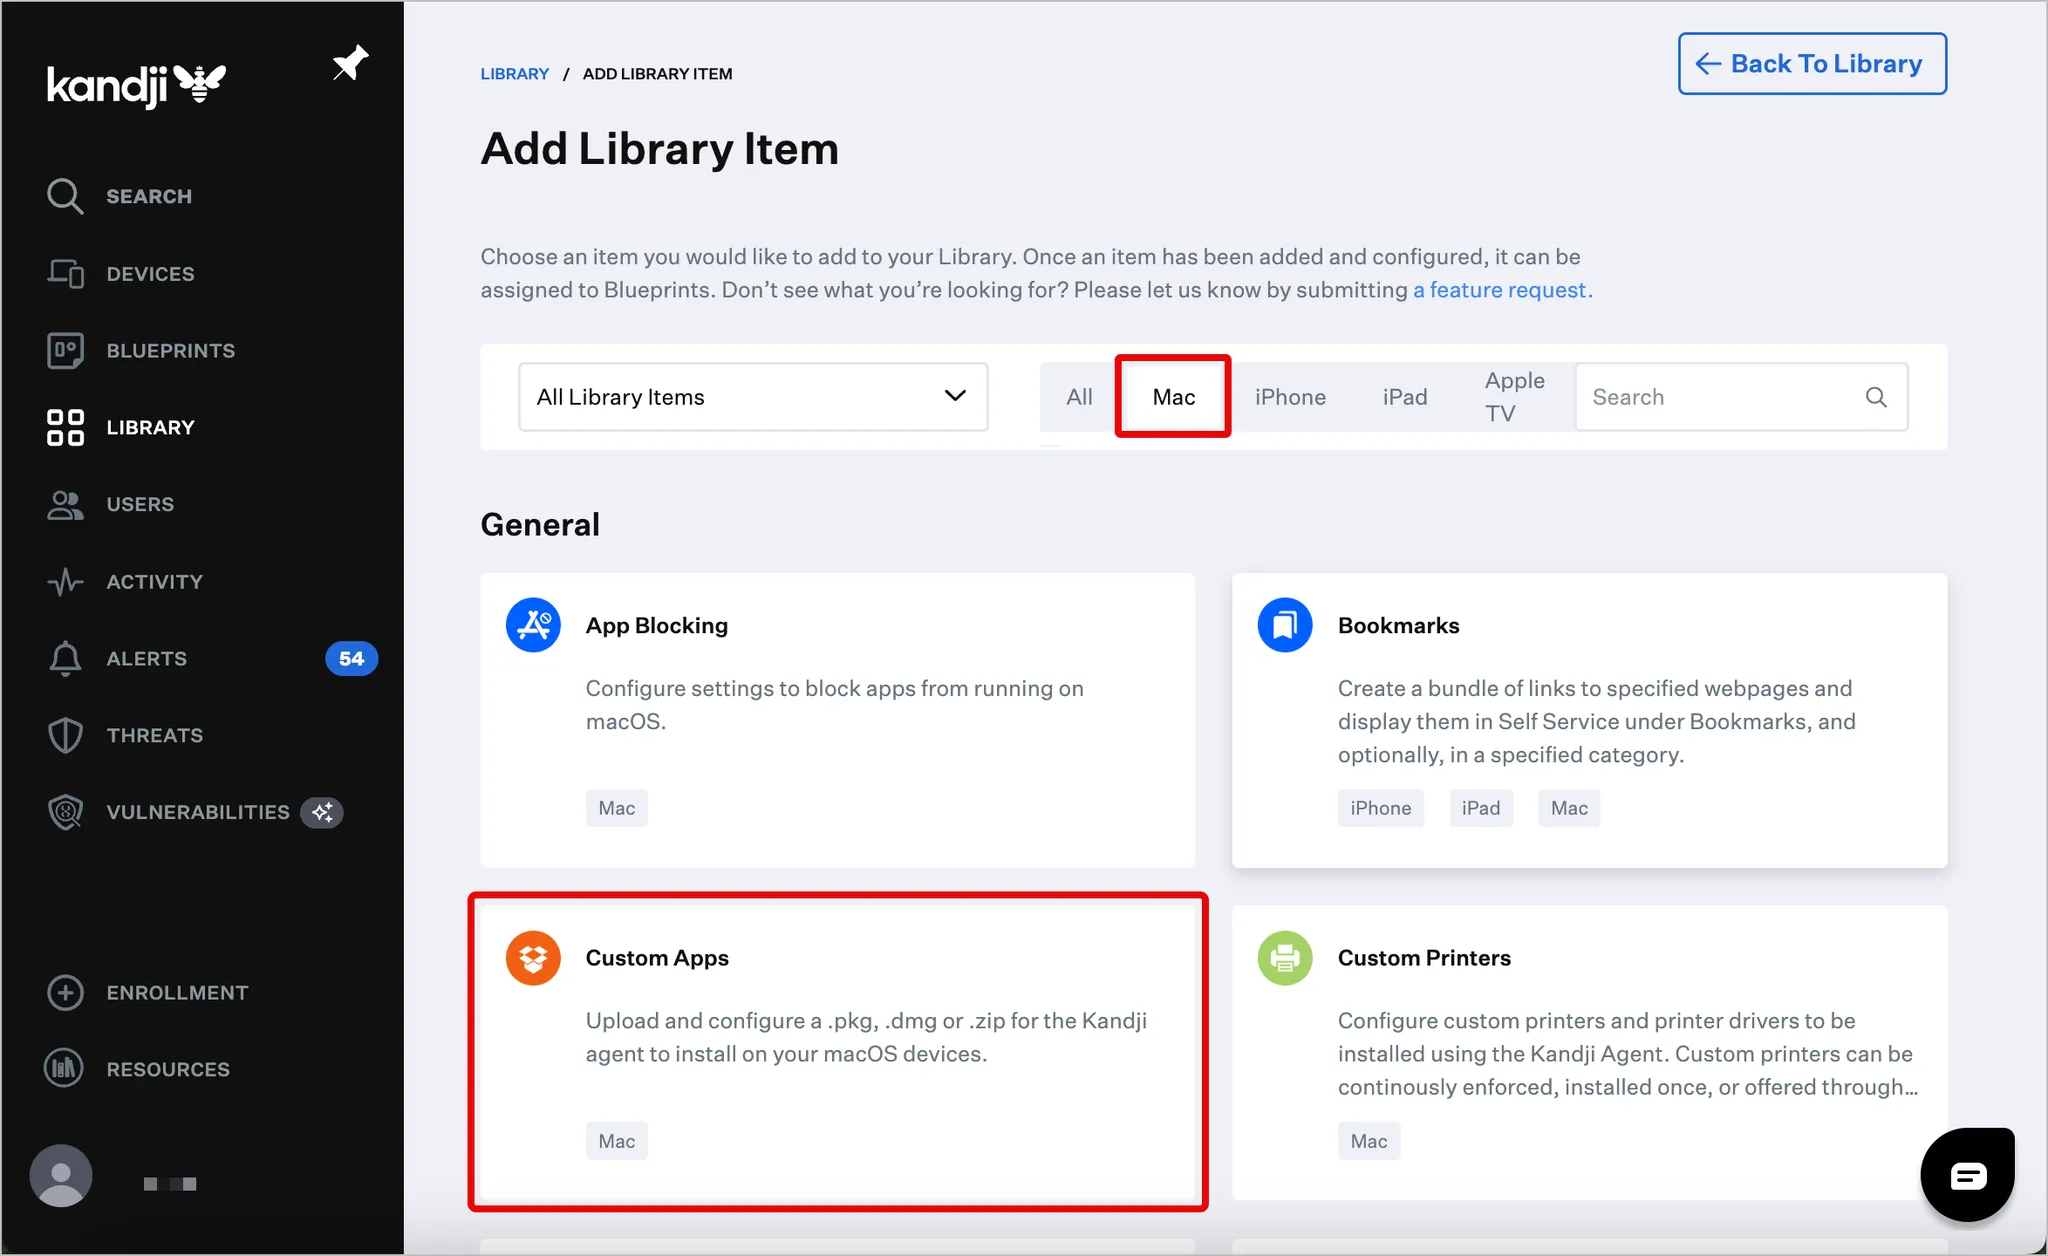
Select the Mac tab and click Custom Apps under the General section.
-
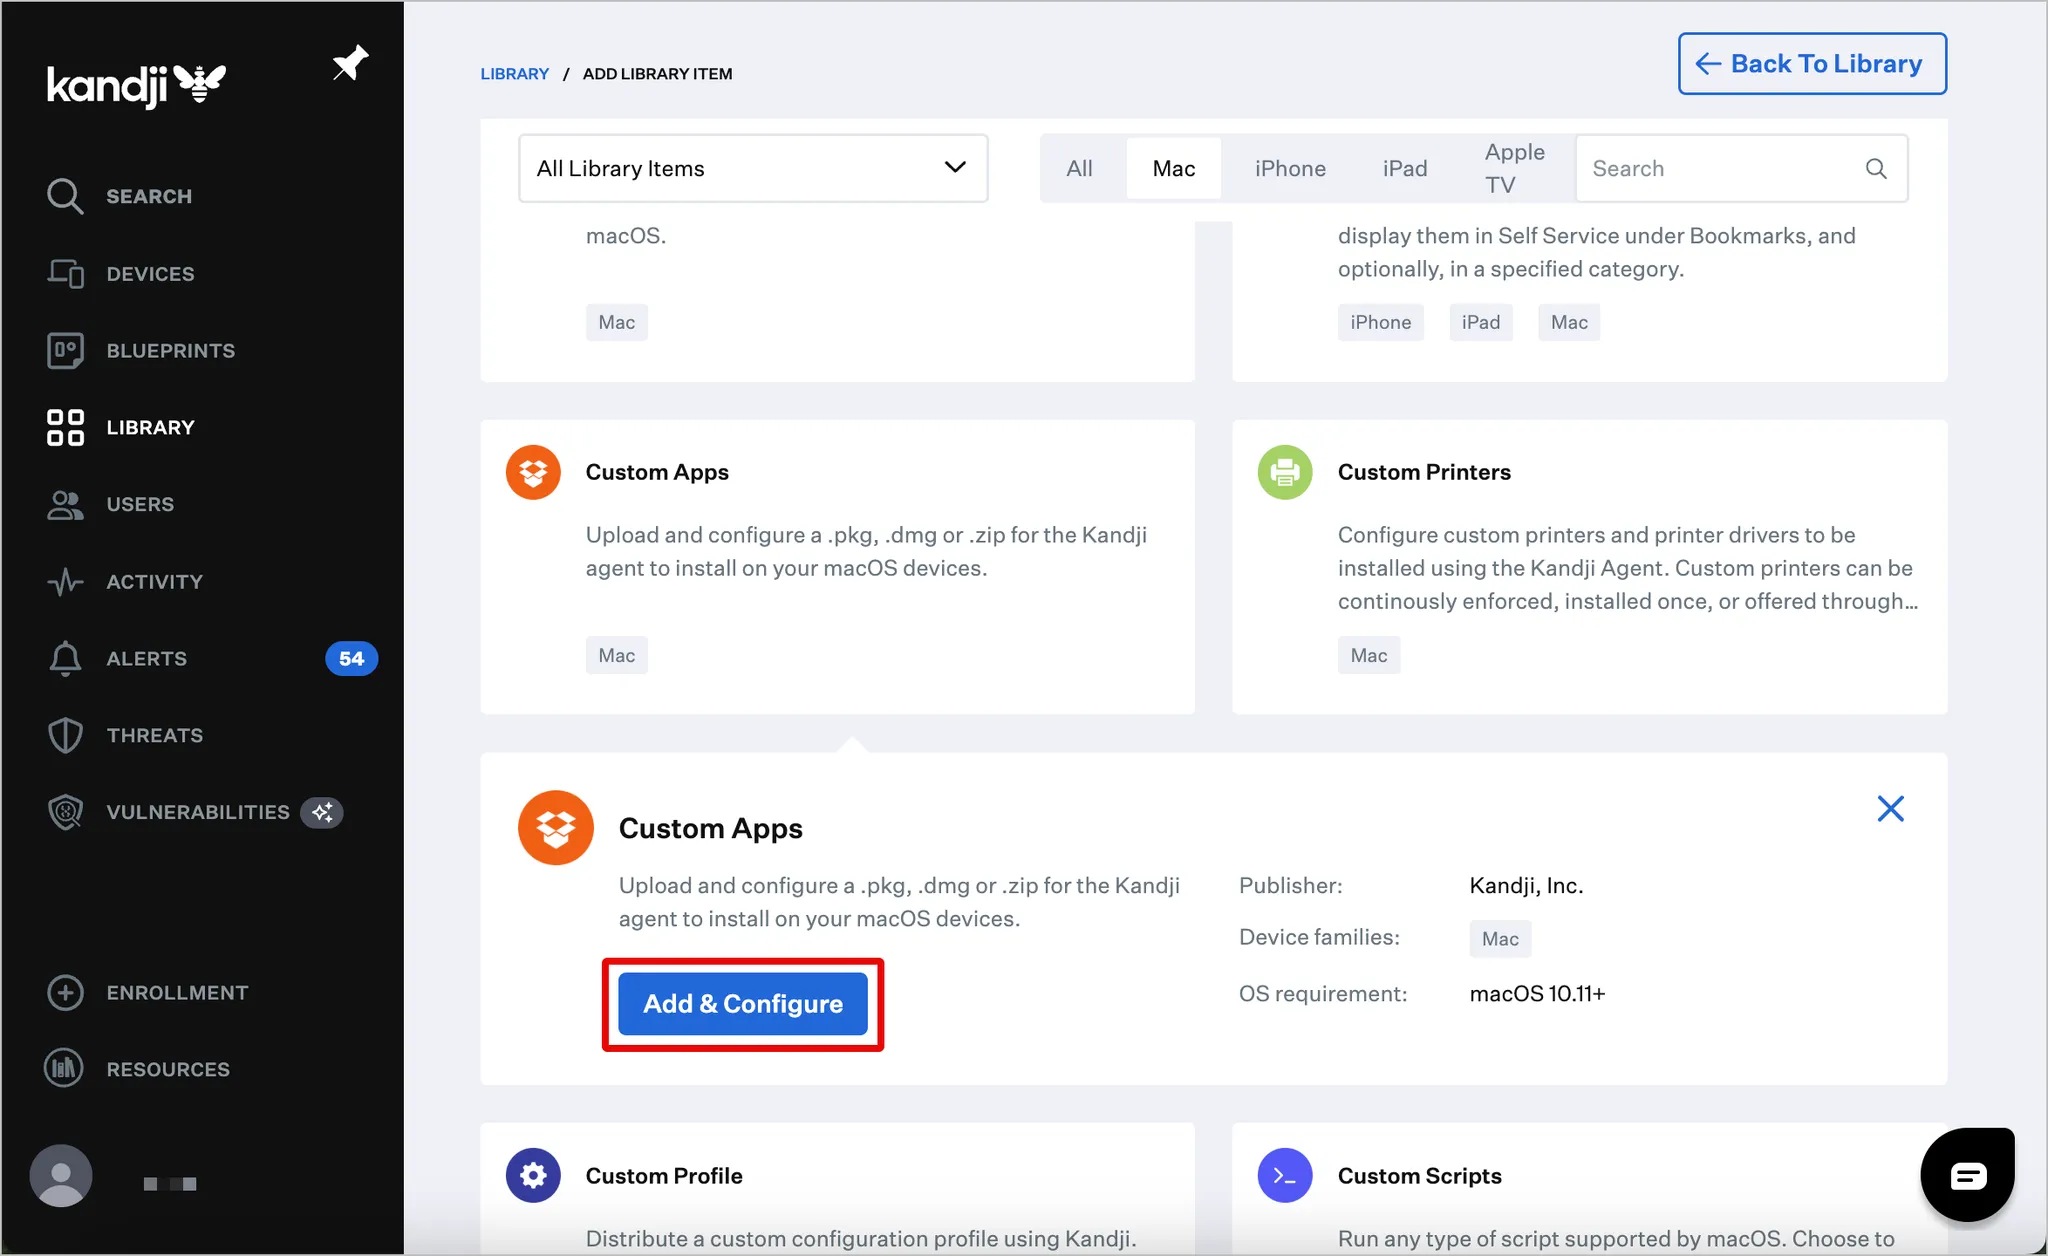
Click Add & Configure.
-
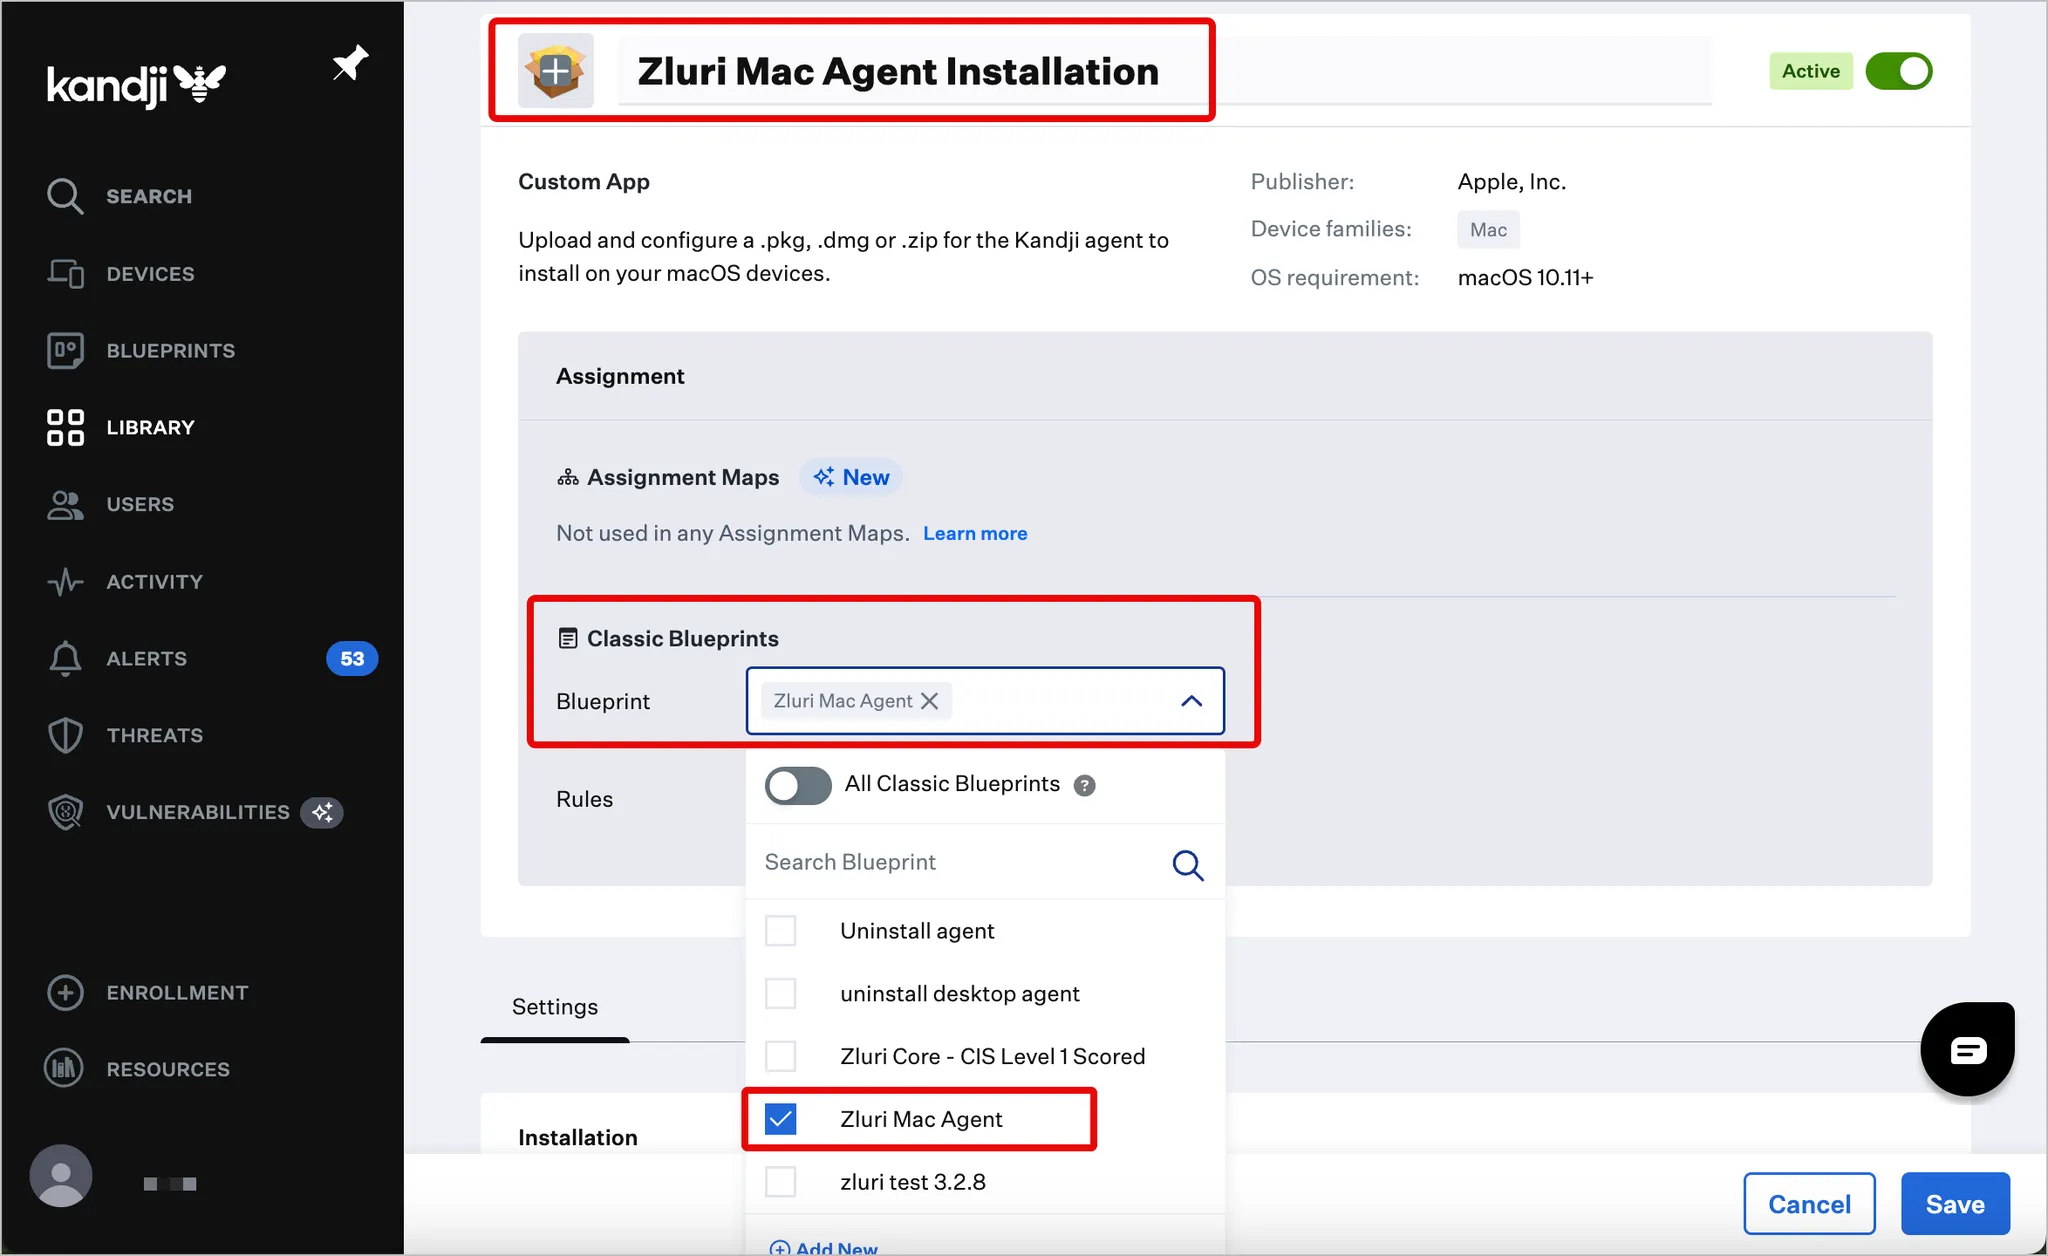
Add a title, then select the previously created blueprint from Classic Blueprints.
-
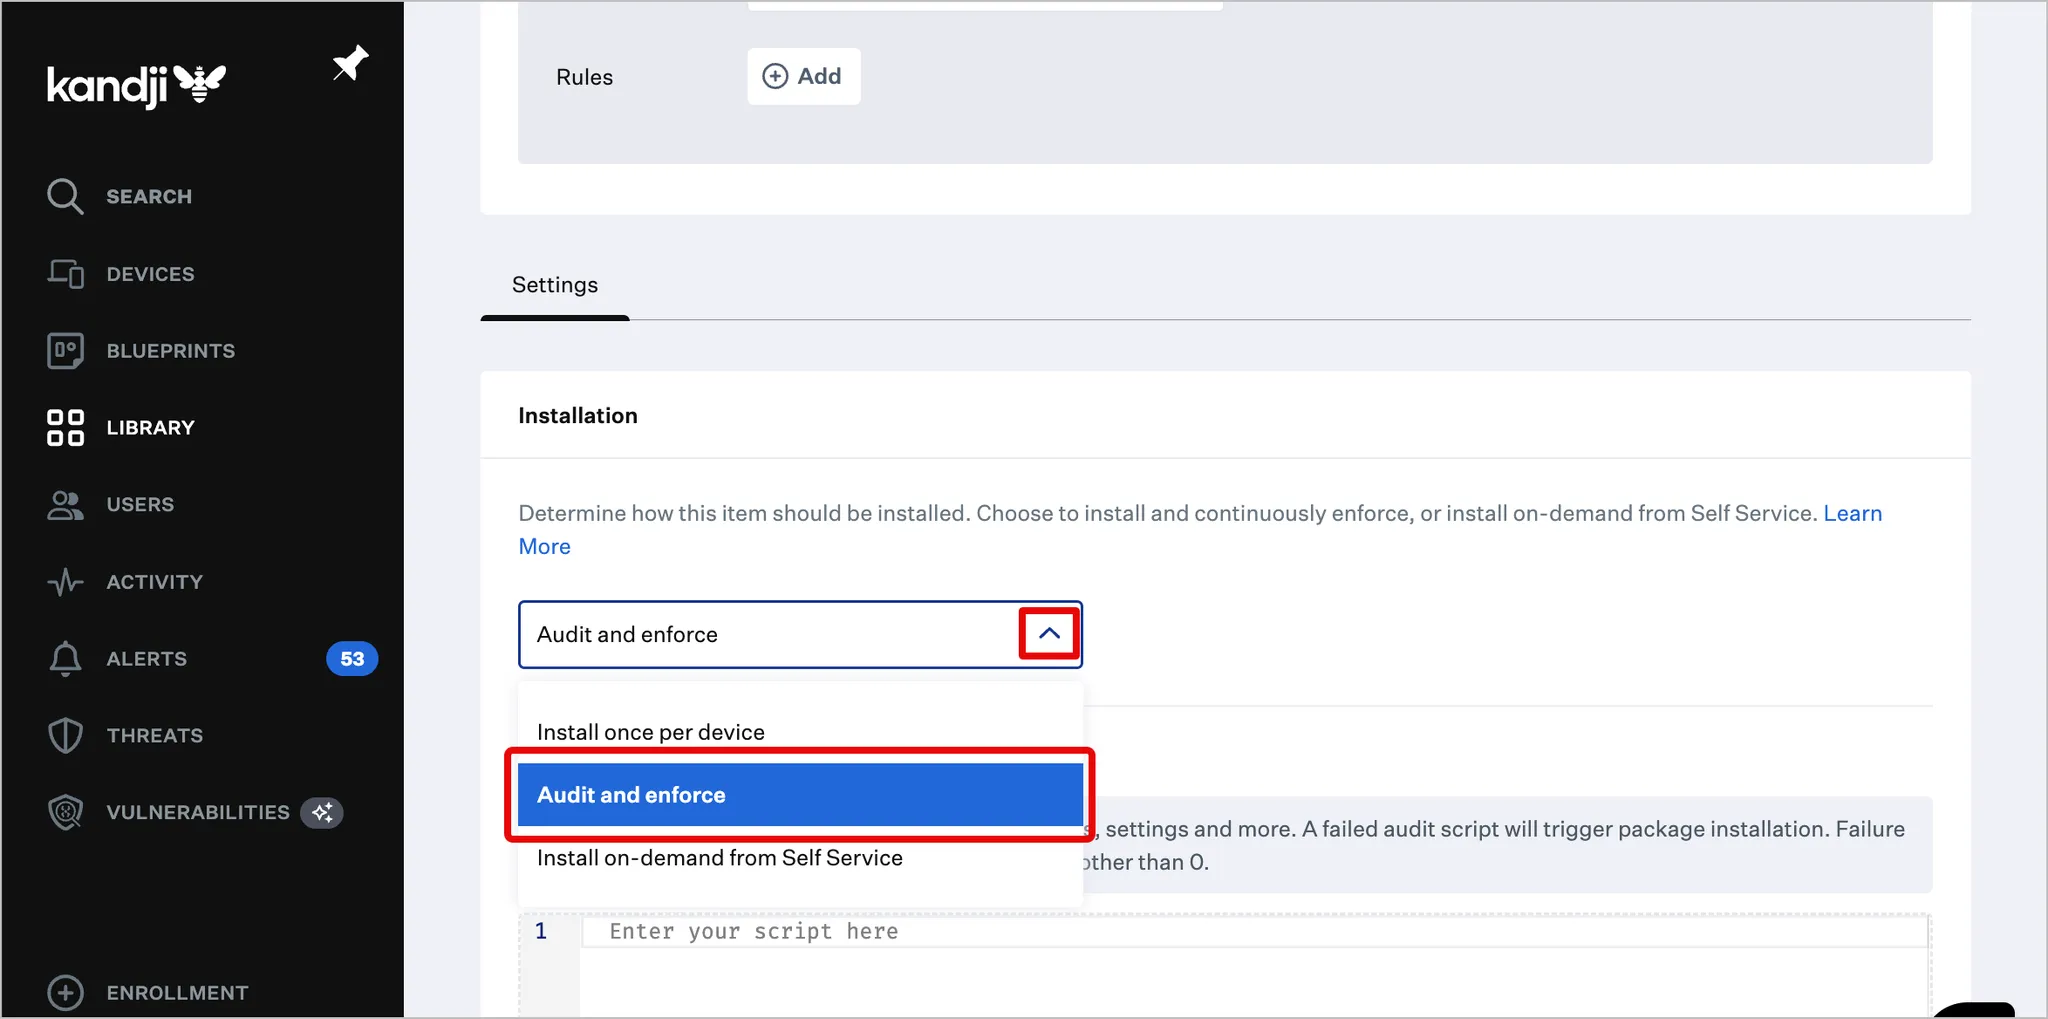
Scroll down to the Installation section and select Audit and enforce from the list.
Add scripts and upload the macOS agent package
-
Copy and paste this script in the Audit Script section. Replace the value of
ORG_TOKENwith the Zluri organization token obtained previously.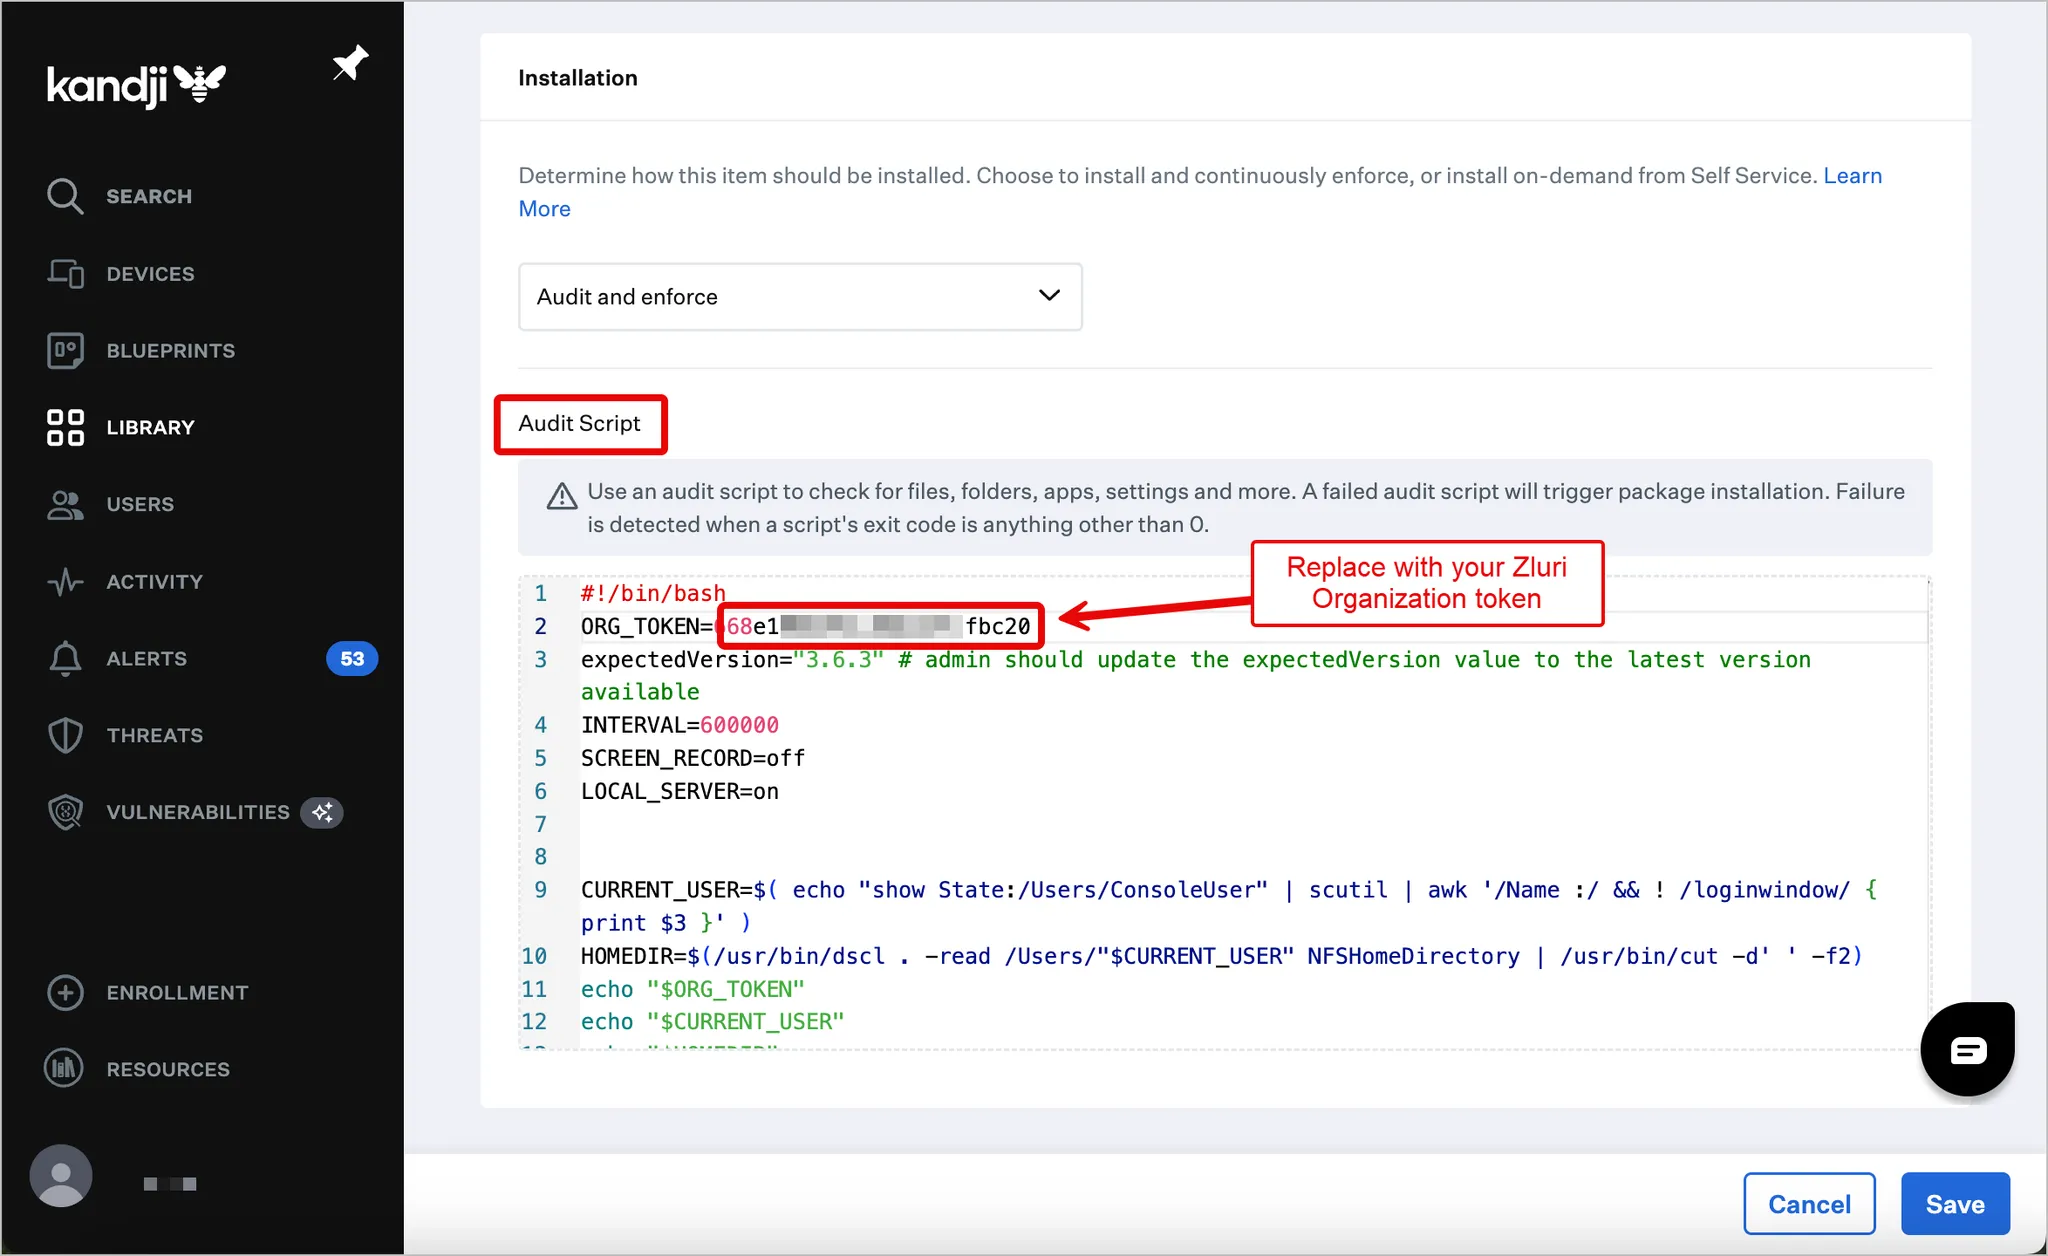
-
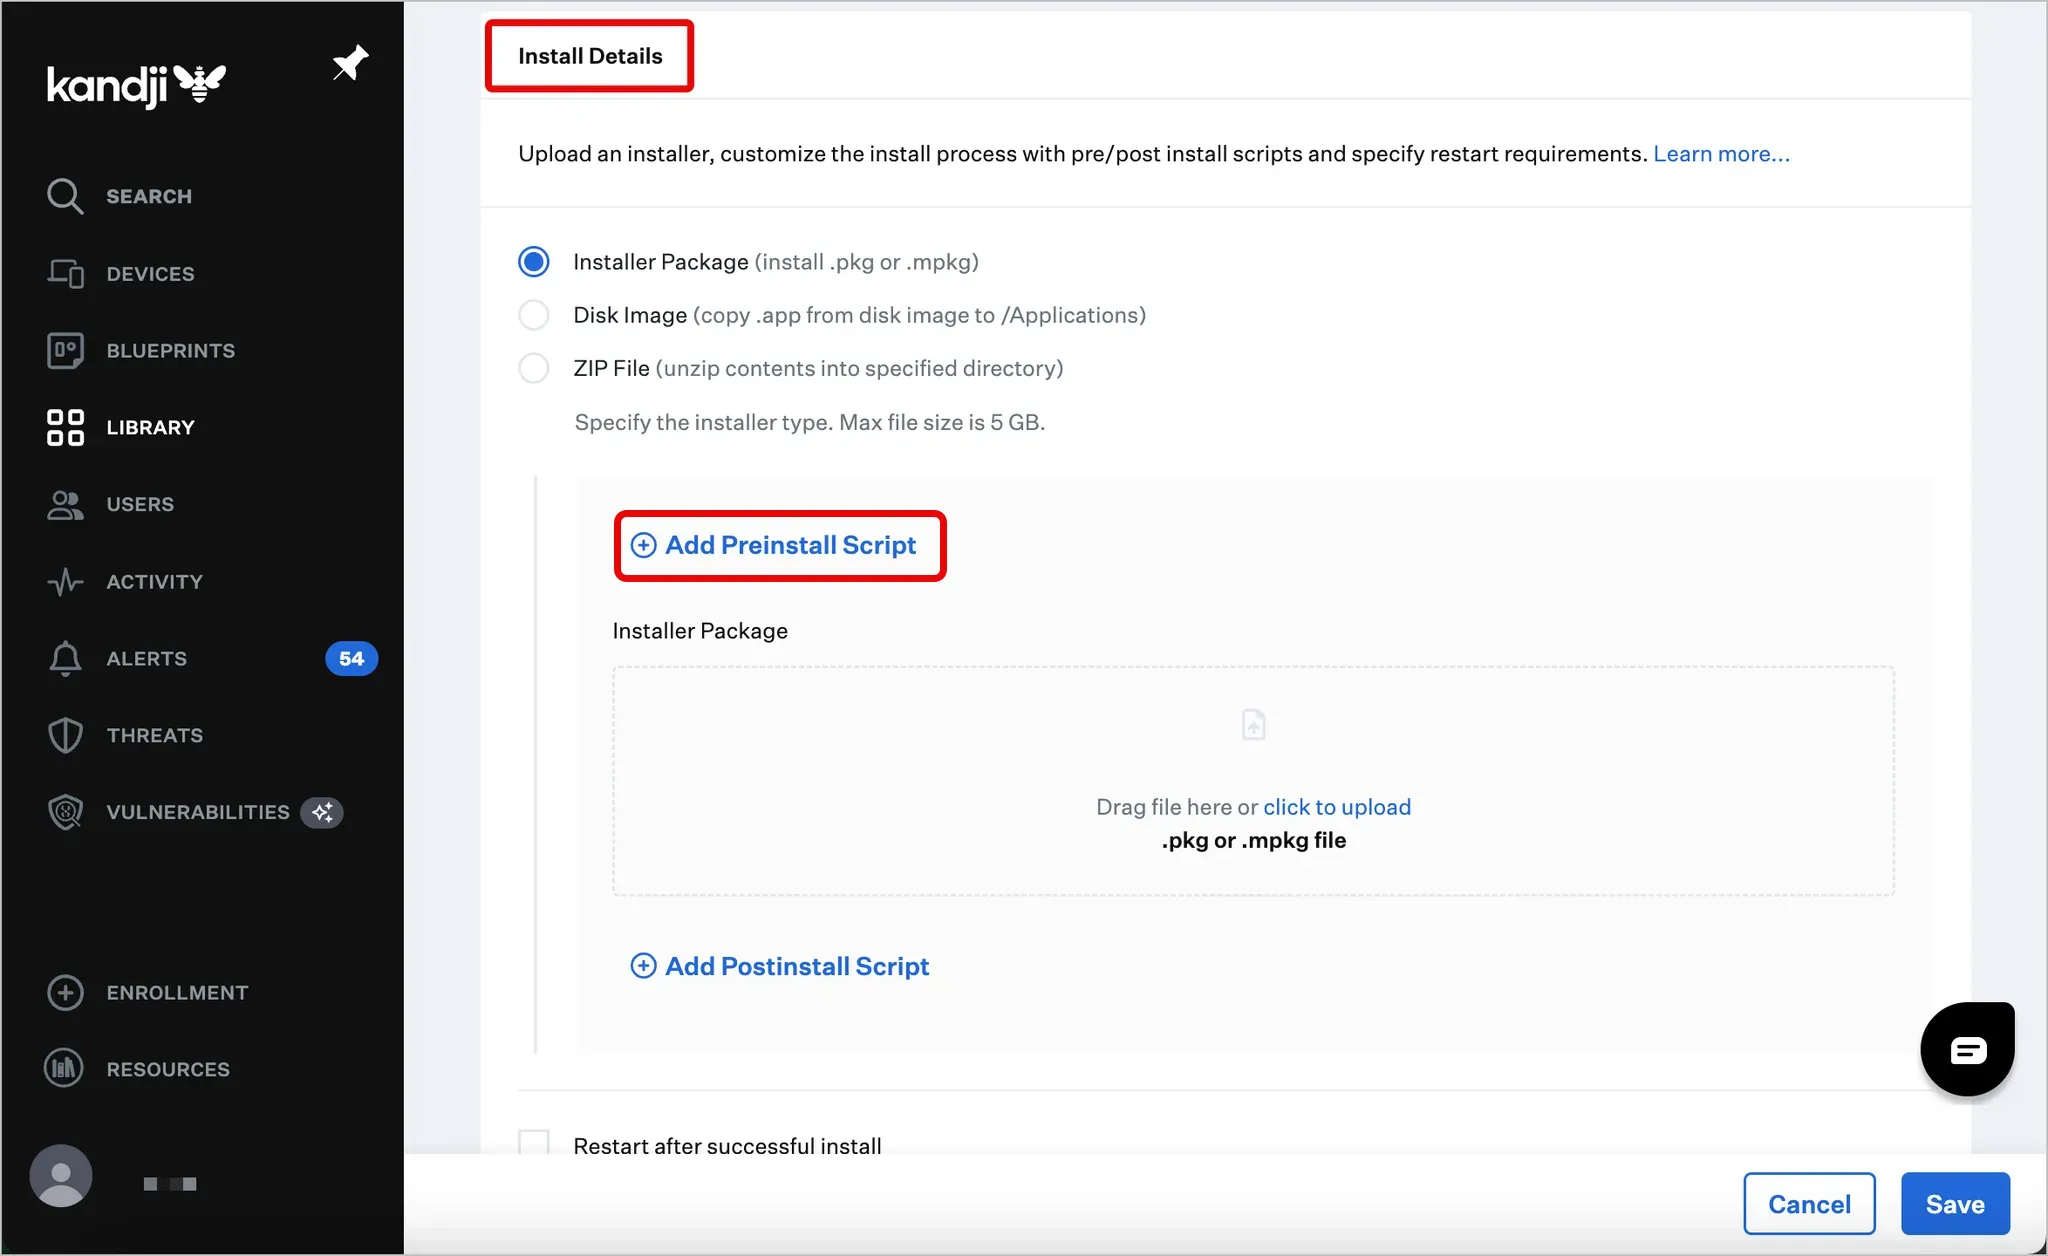
Scroll down to the Install Details section and click Add Preinstall Script.
-
Copy and paste this preinstall script. Replace the value of
ORG_TOKENwith the Zluri organization token obtained previously.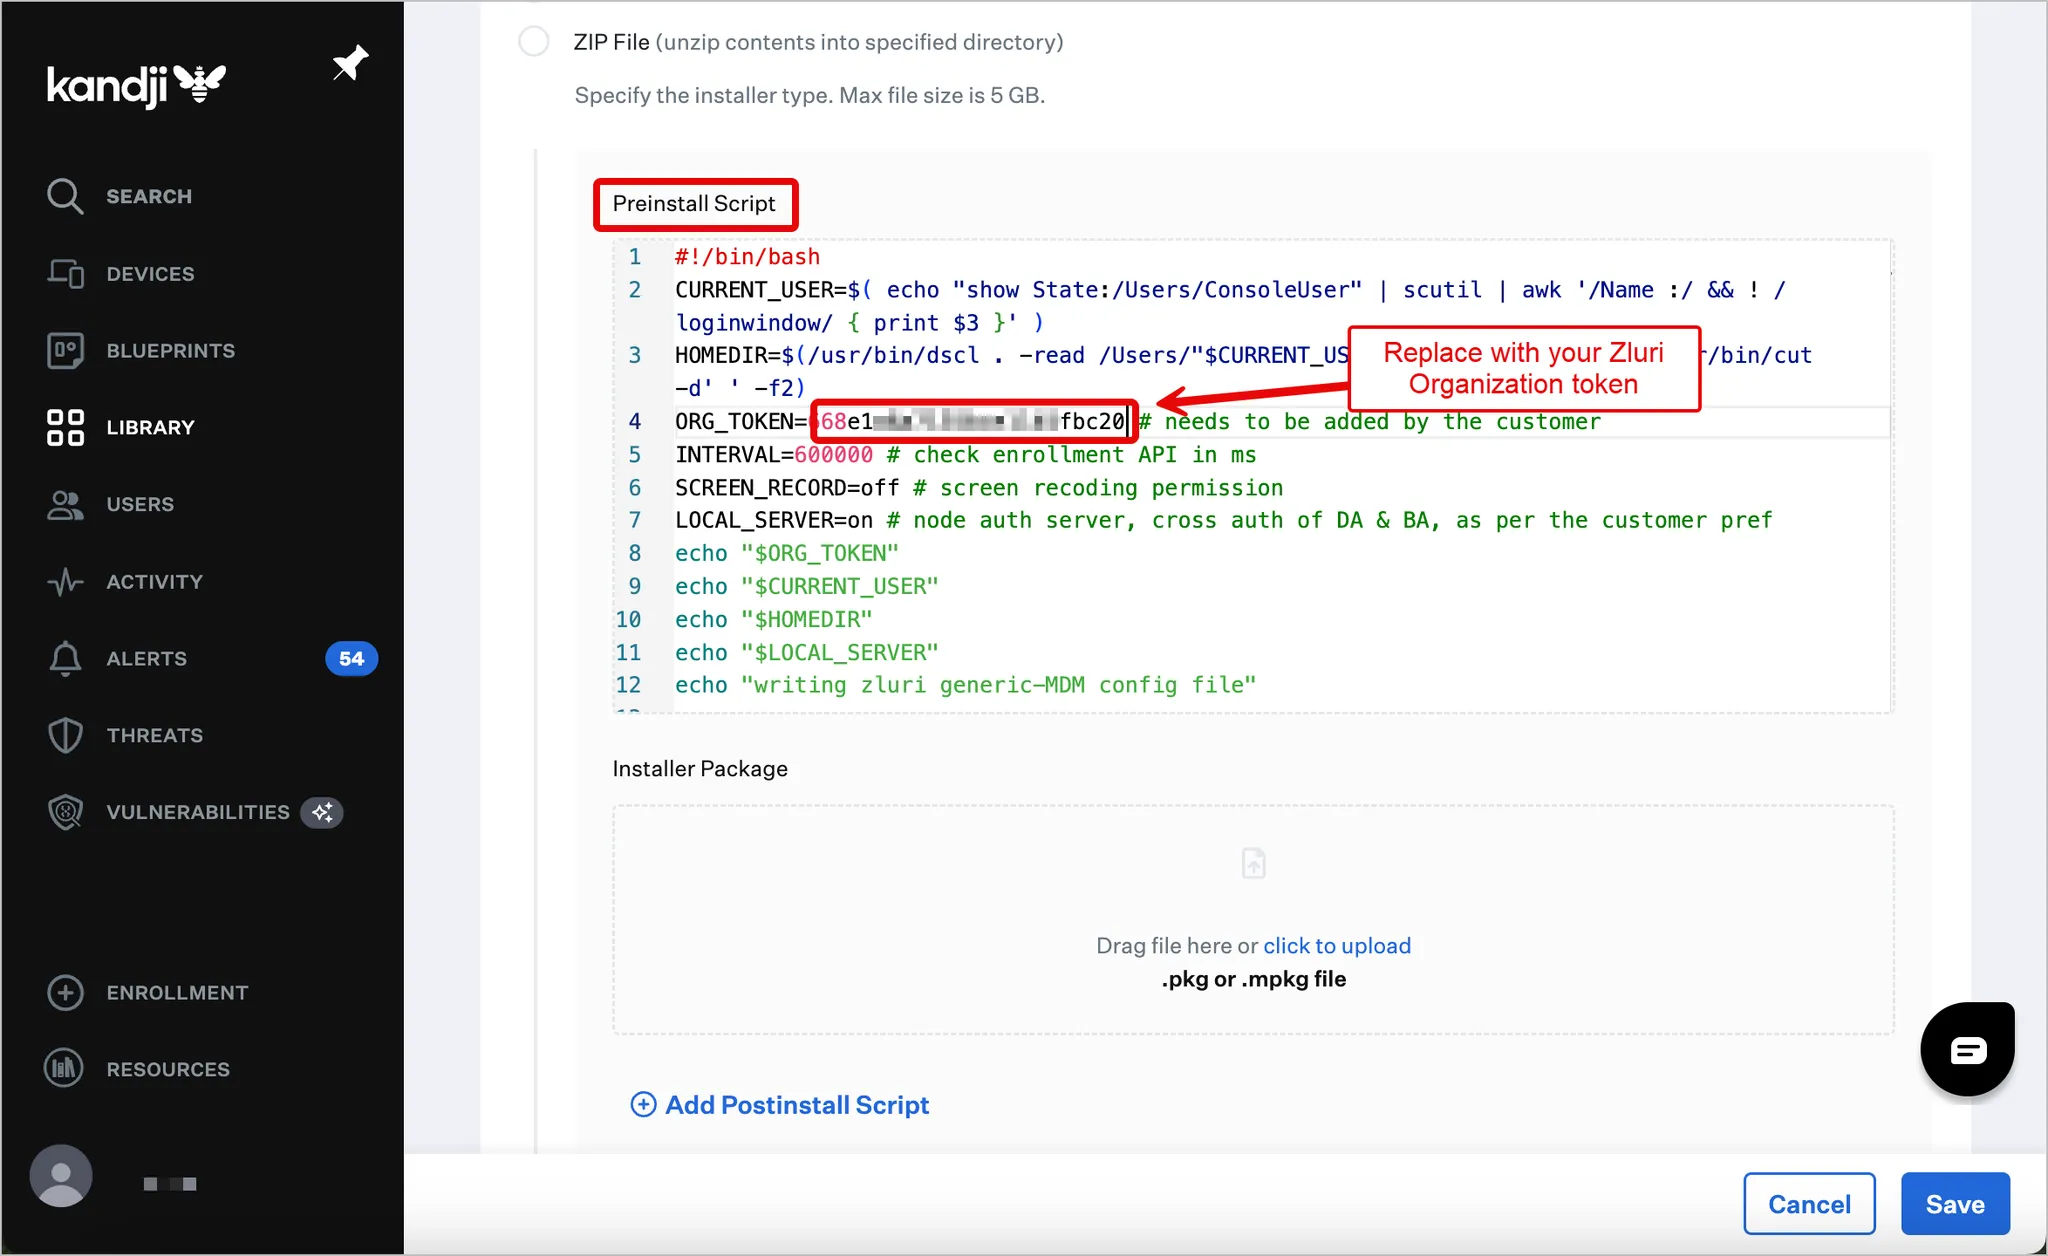
-
Download the latest Zluri Mac Agent package.
-
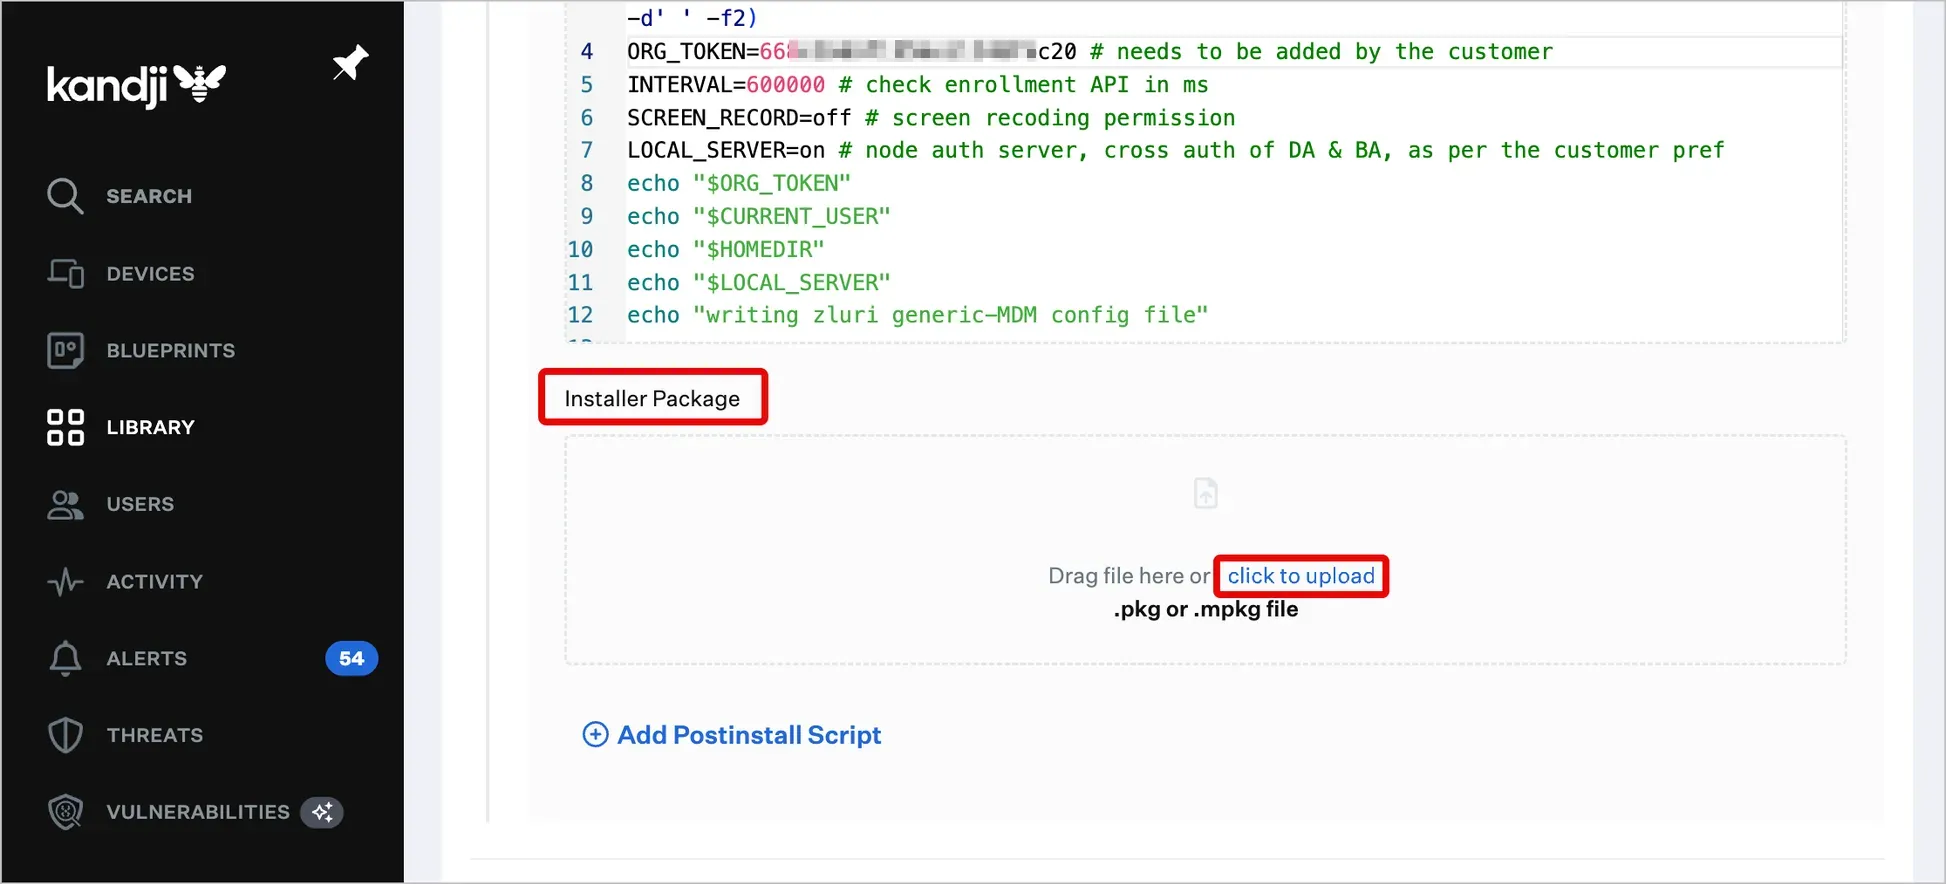
In the Installer Package section, upload the package by selecting click to upload.
-
Click Add Postinstall Script, then copy and paste this script. Replace the value of
ORG_TOKENwith the Zluri organization token obtained previously . Click Save.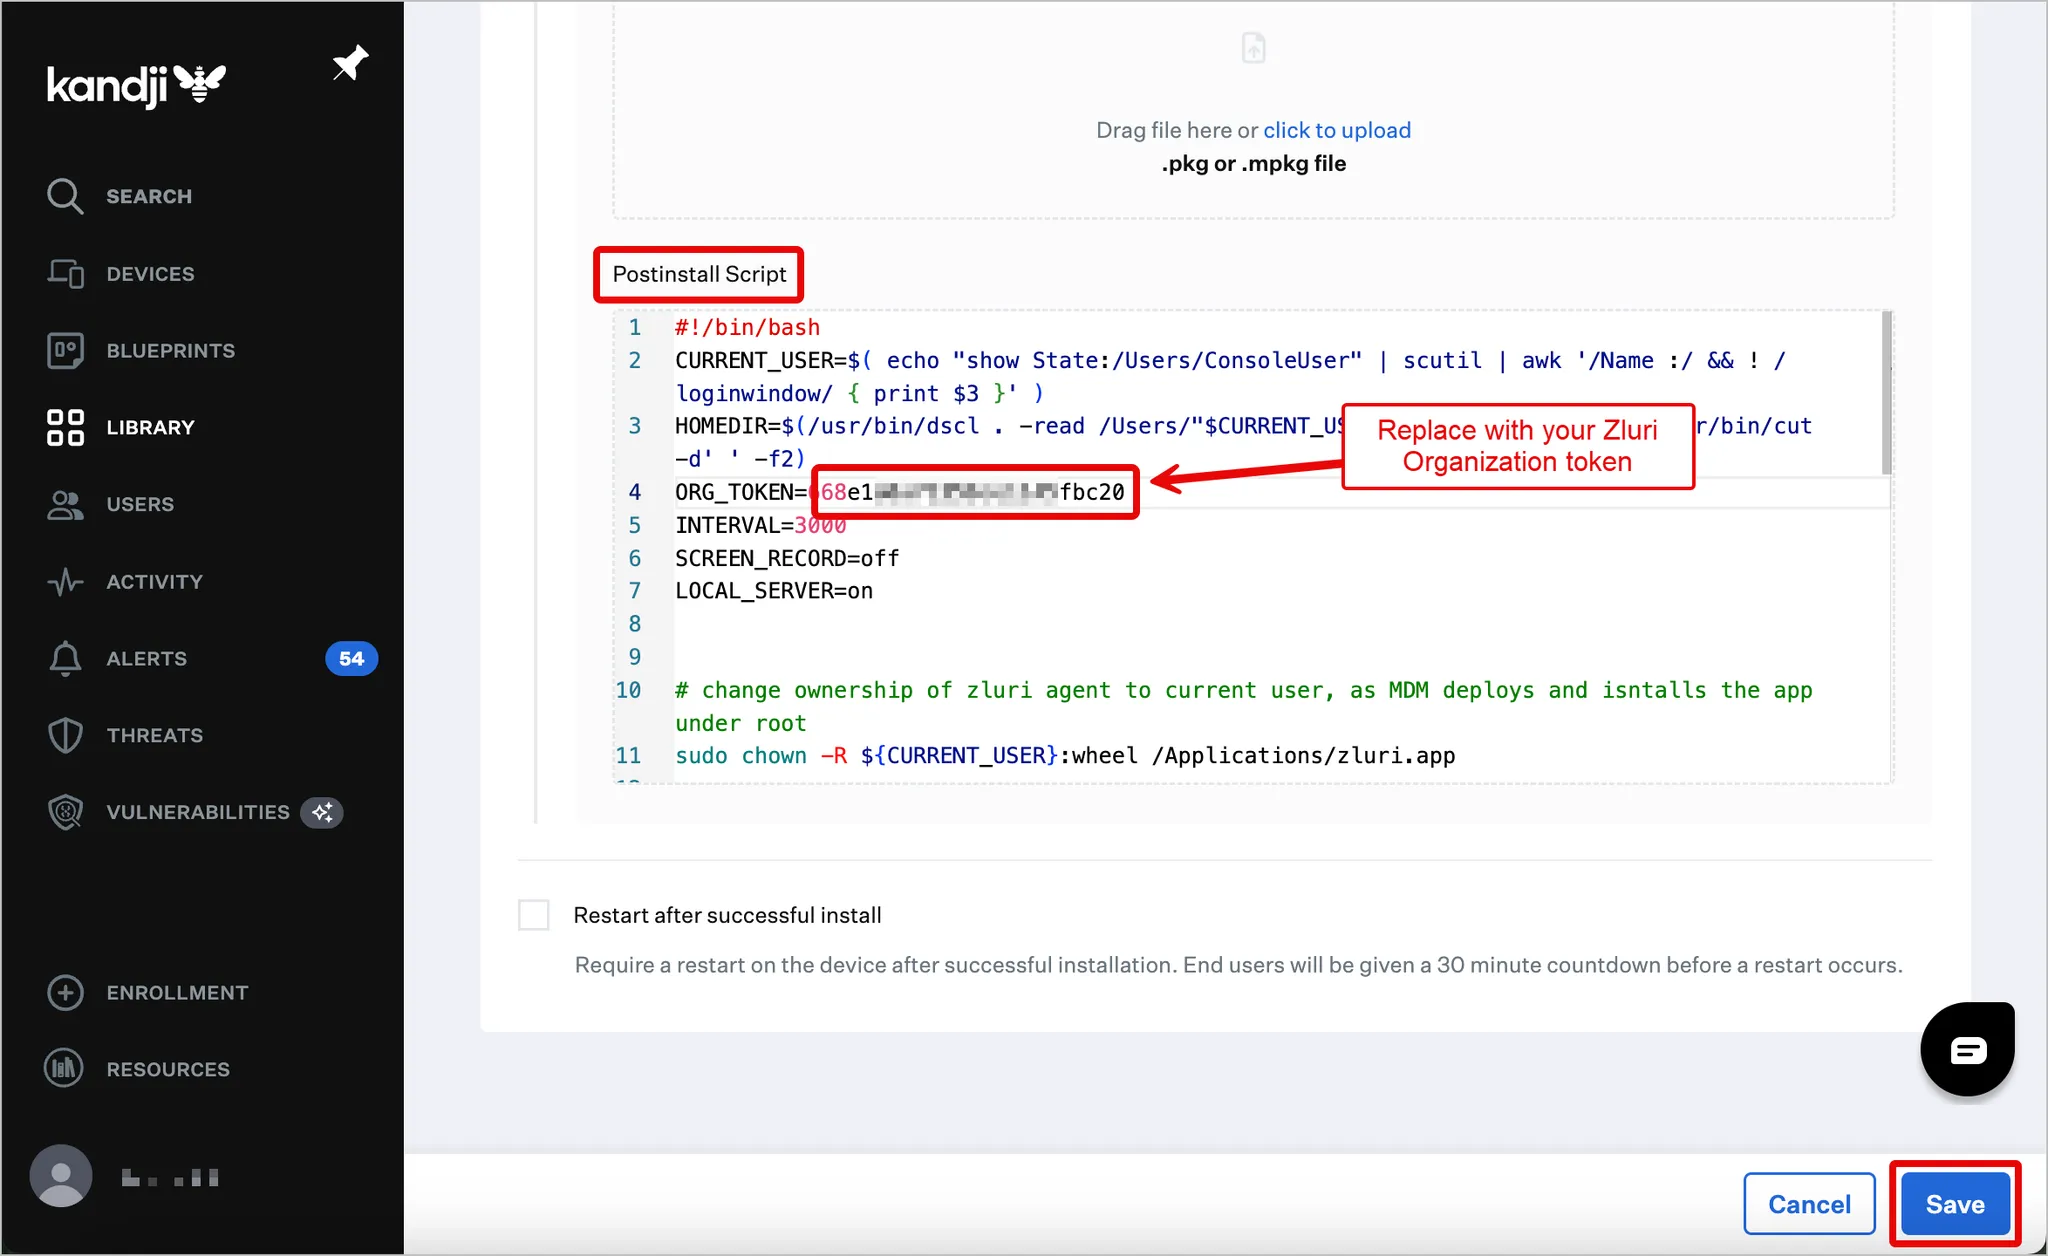
Assign device(s) to blueprint
- In the Kandji Dashboard, select Devices from the left sidebar and navigate to the Views tab.
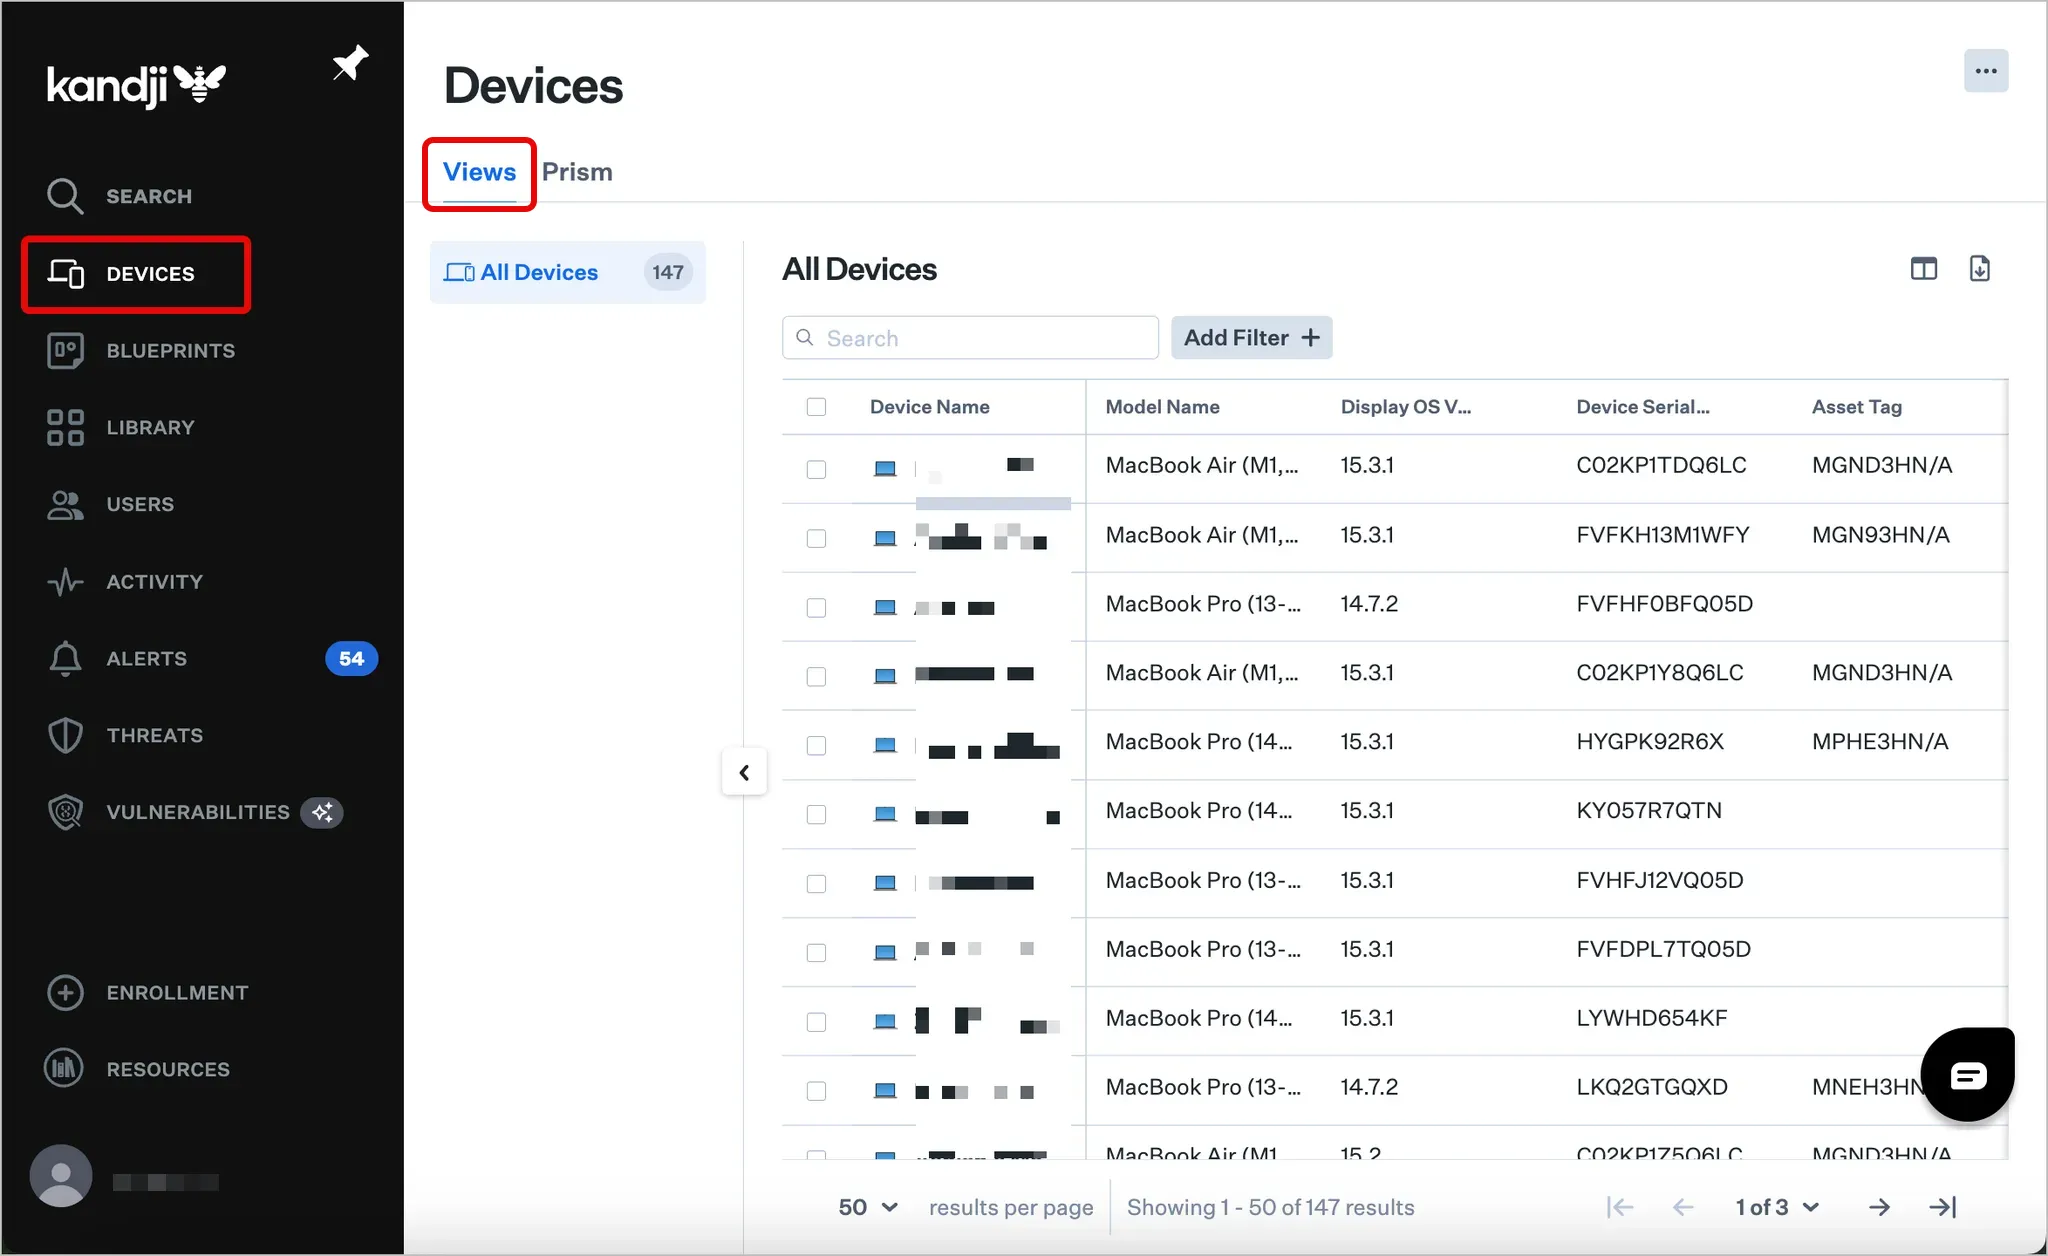
- Select the checkbox(es) next to the device name(s) you wish to assign to the Blueprint. Click Change Blueprint.
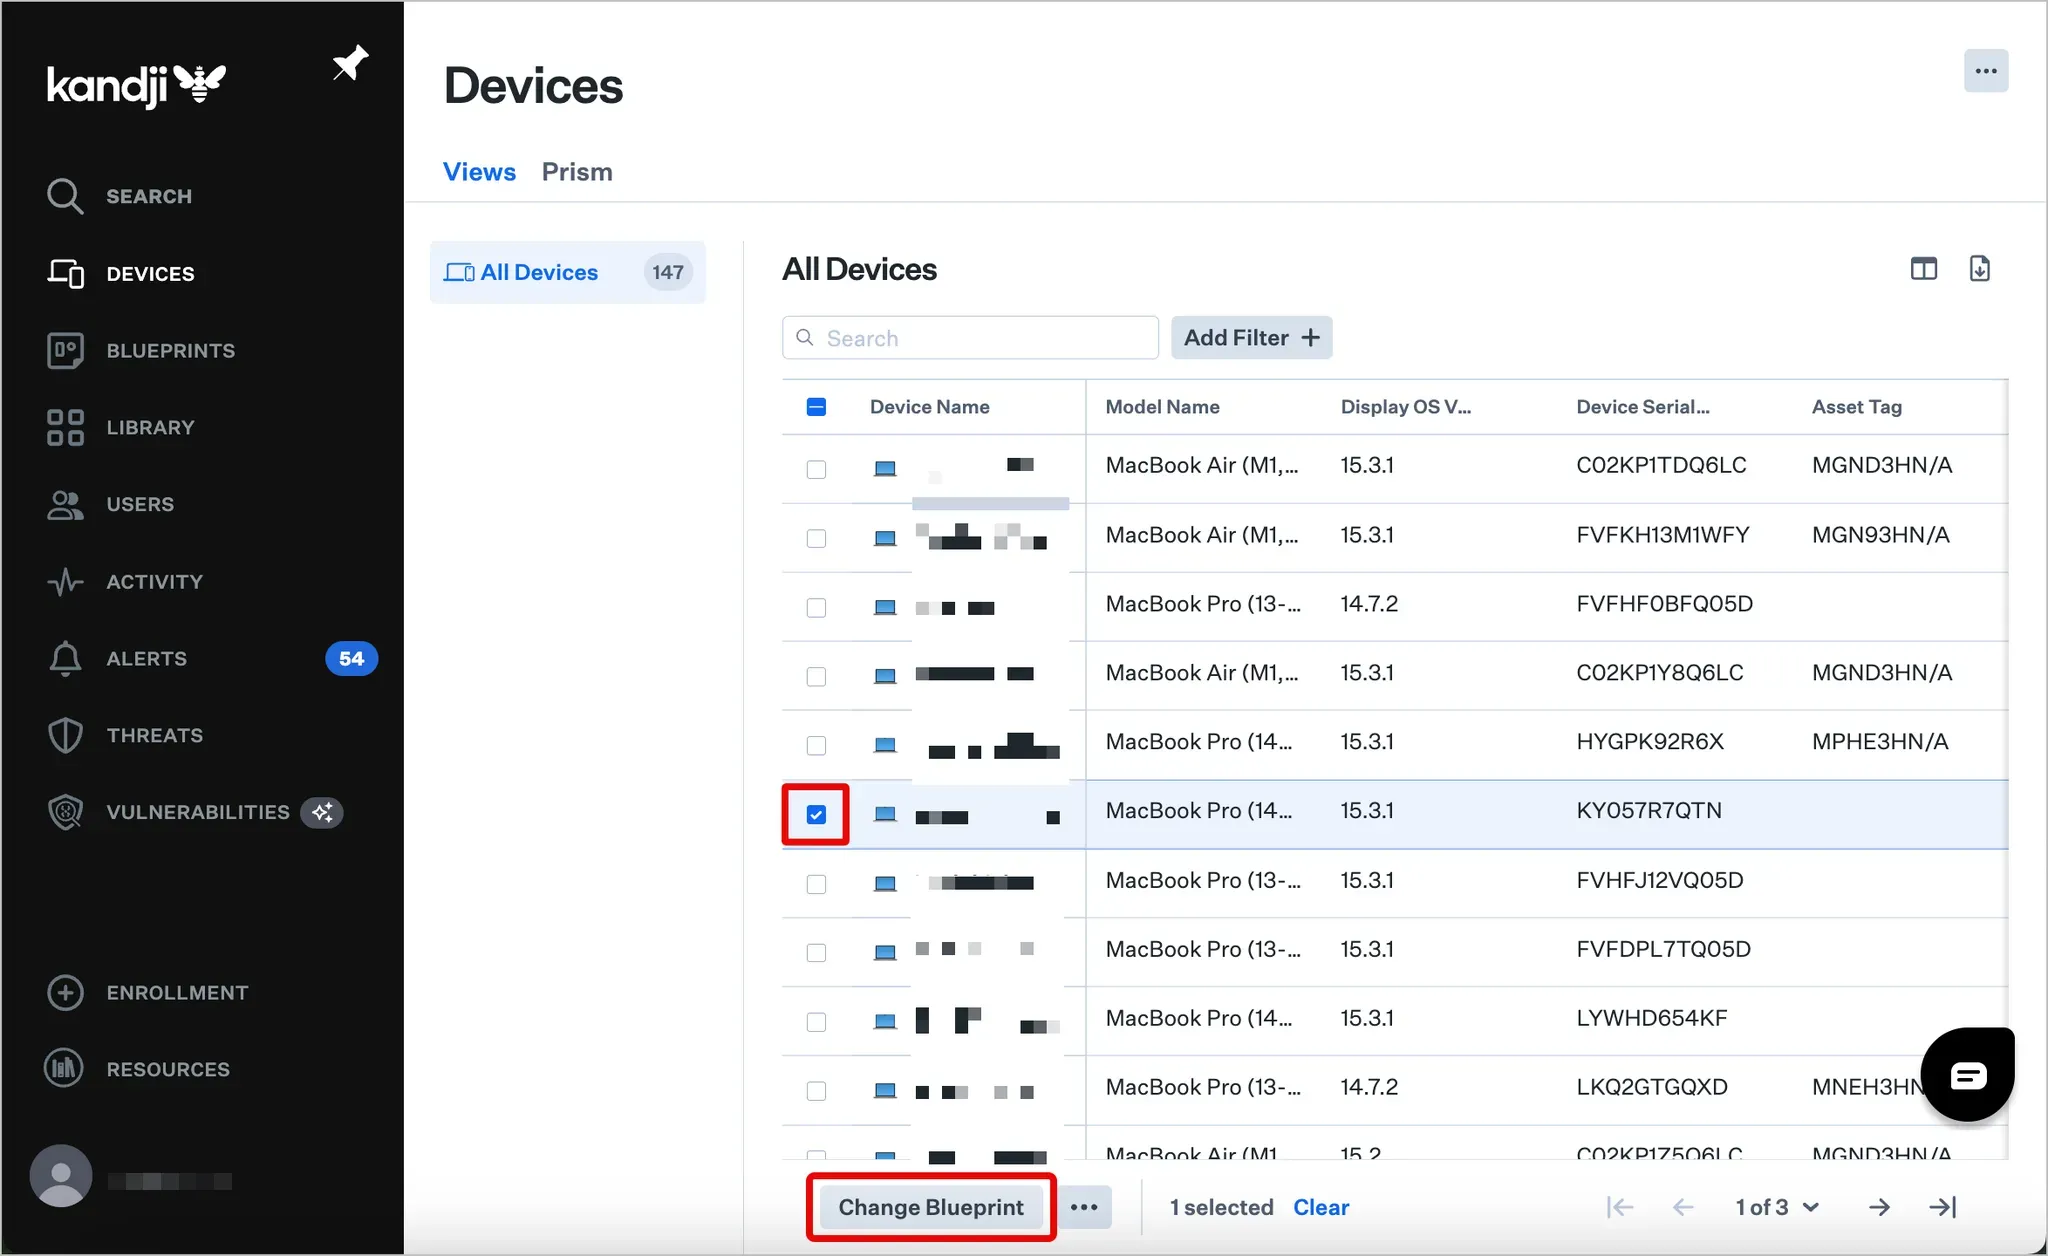
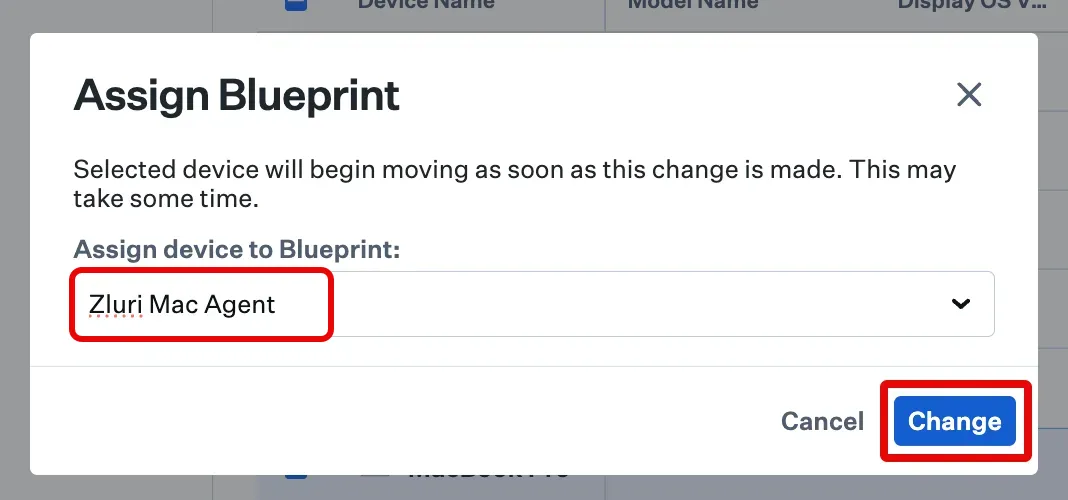
- In the Assign Blueprint pop-up, select the previously created blueprint from the dropdown, then click Change.
Kandji may take 24 to 48 hours to install the agent. The target devices also need to be turned on and connected to the internet.
Post-installation
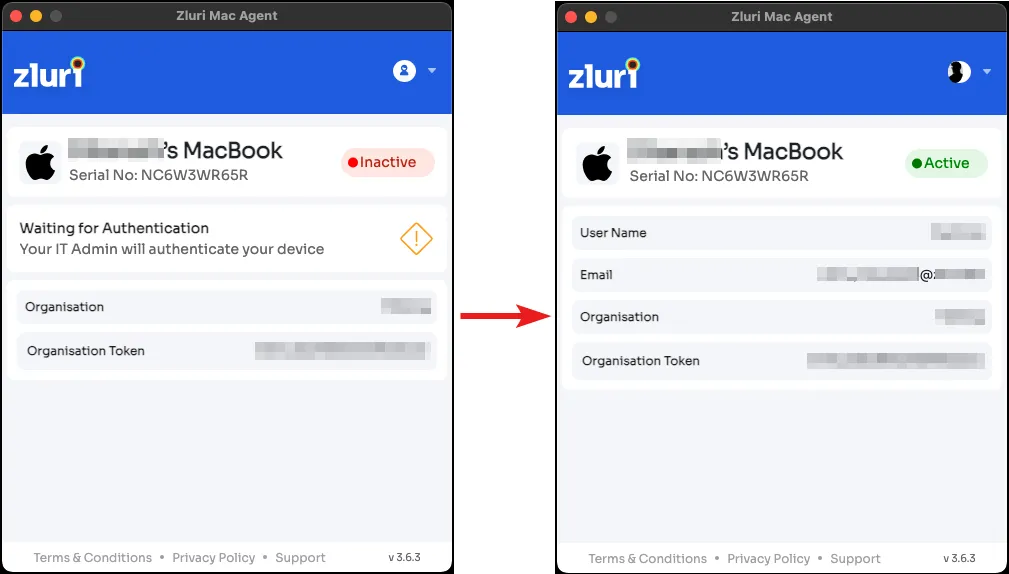
After installation, the application status will be 🔴 Inactive. If you’ve connected the Kandji integration to Zluri, Kandji will automatically map the agent to the user within 24 hours. The status will then change to 🟢 Active.
If you don’t wish to connect the Kandji integration to Zluri, you can map the agents manually.
Got questions? Feel free to submit a ticket or contact us directly at [email protected].