Connect Via SSO
Connect Jamf Pro to Zluri via SSO
Prerequisites
- Administrator privileges in Jamf Pro (to create API role and client)
- SSO Enabled:
- Enabled: If SSO is enabled, you need to generate Client ID, Client Secrets and Organisation Subdomain.
- Disabled: If SSO is disabled, you can connect with Username, Password and Organisation Subdomain.
Username and Password should be of an administrator in Jamf Pro.
Integration steps
Create an API role
-
Log in to Jamf Pro.
-
Click Settings in the sidebar.
-
In the System section, click API Roles and Clients.
-
Click the API Roles tab at the top of the pane.
-
Click New.
-
Enter a display name for the API role.
-
In the Jamf Pro API role privileges field, search for and assign the following privileges:
- Read User Extension Attributes
- Read Static User Groups
- Read Smart User Groups
- Read User
- View JSS Information
- Read Advanced Computer Searches
- Read Computers
-
Click Save.
Create an API Client
- In Jamf Pro, click Settings in the sidebar.
- In the System section, click API roles and clients.
- Click the APl Clients tab at the top of the pane.
- Click New.
- Enter a display name for the API client, e.g.,
zluri-integration. - In the API Roles field, assign the previously created role.
- Under Access Token Lifetime, enter the time in seconds that you want access tokens to be valid for.
- Click Save.
- Click Edit.
- Click Enable API Client.
- Click Save.
Generate a client secret
- Navigate to the API client created above and click Generate Client Secret.
- Click Create Secret in the confirmation dialog.
- Copy and save the client secret in a secure location.
Connect the Jamf Pro instance in Zluri
-
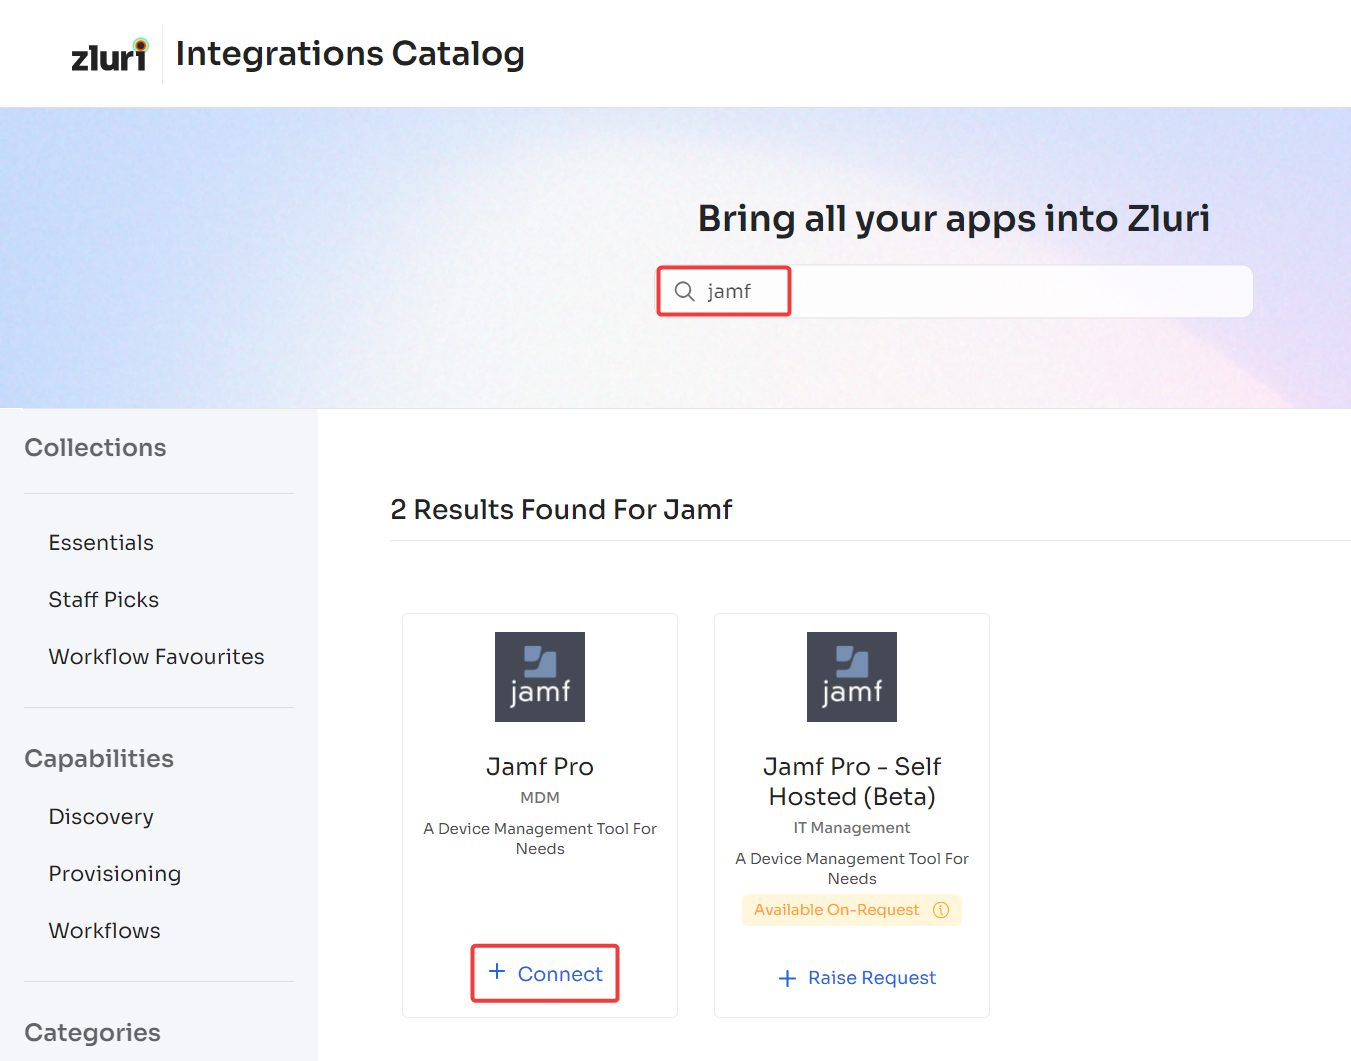
Open the Integrations Catalog, search for “jamf pro”, and click ➕ Connect.
-
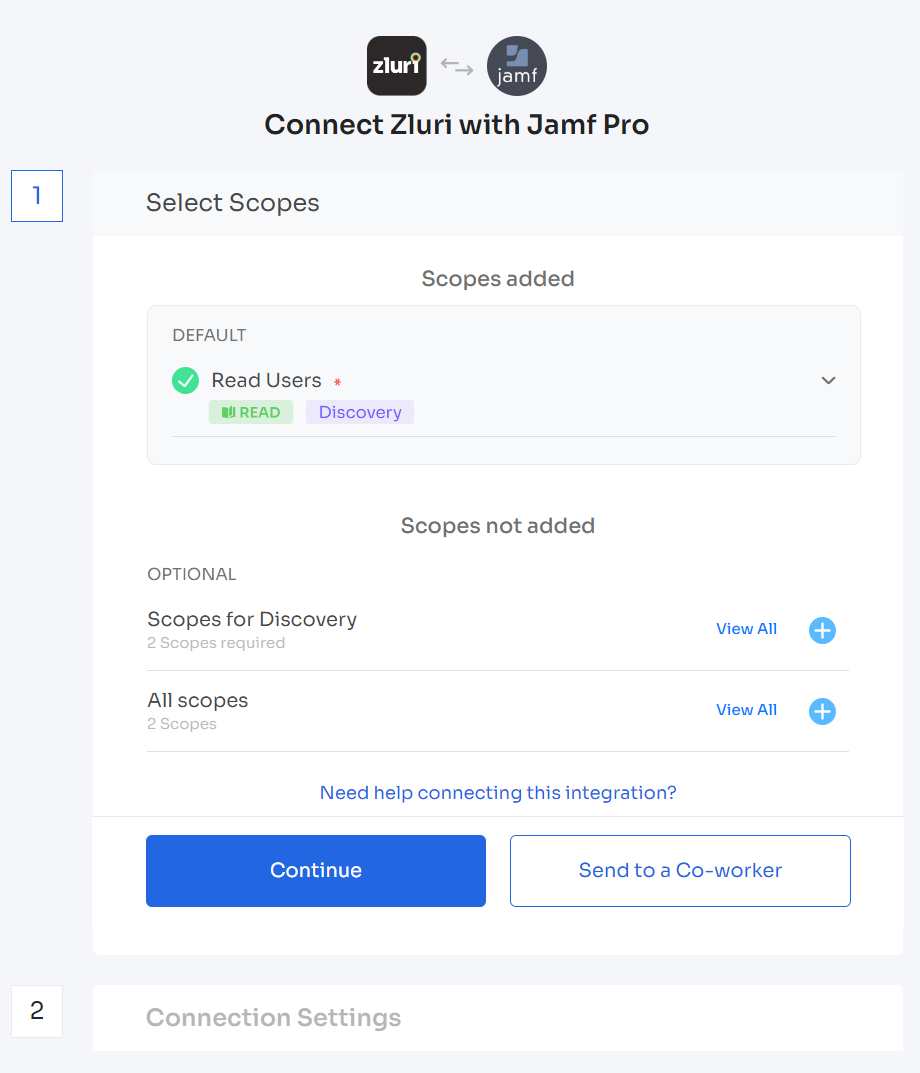
Choose the scopes for the integration, and click Continue. You can click the down-arrow button towards the right of a scope to find out what it does.
If you added the optional privileges while creating the API role, select the optional scopes here as well.
-
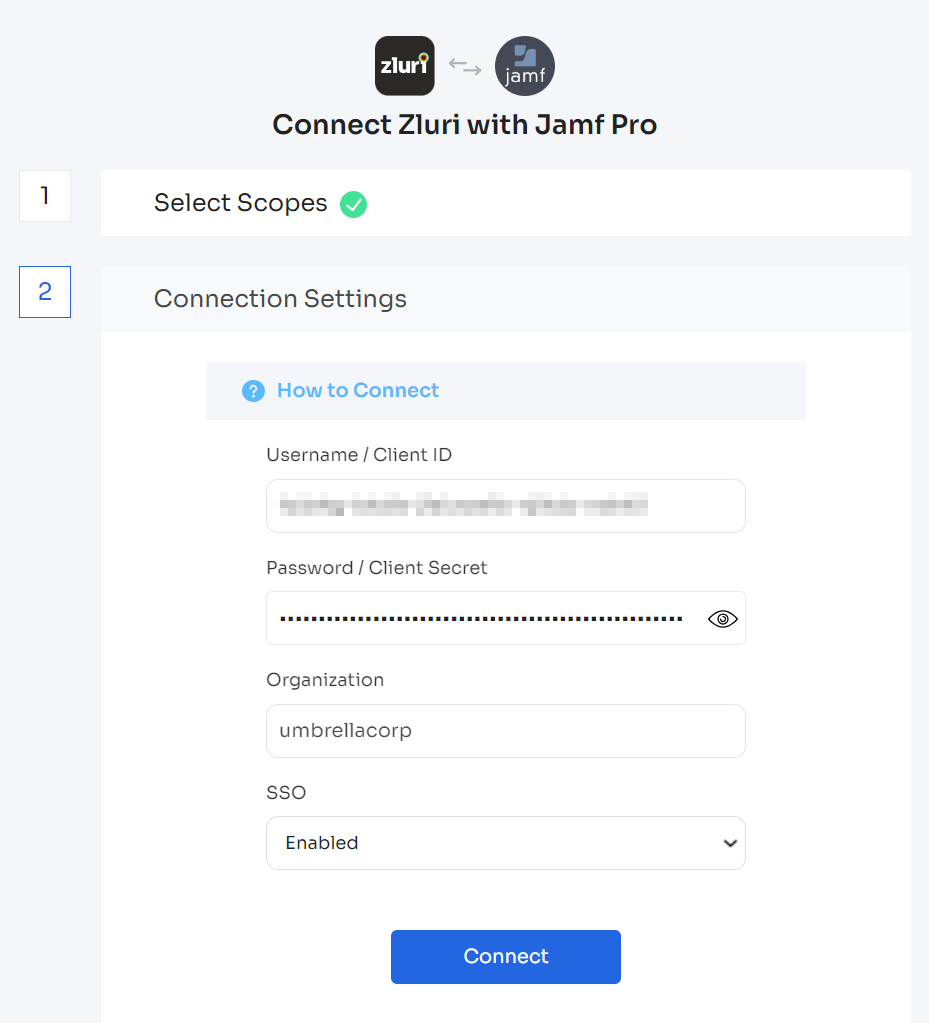
Fill out the fields as follows:
-
Username / Client ID: Enter the client ID created above
-
Password / Client secret: Enter the secret for the client ID
-
Organization Subdomain: Your company's Jamf Pro subdomain, for example, if you access Jamf through
umbrellacorp.jamfcloud.com, enterumbrellacorphere. -
SSO: Set to Enabled
-
-
Click Connect, give the connection a name and description, and you’re ready to go!
Got questions? Feel free to submit a ticket or contact us directly at [email protected].
Updated 4 months ago