Manual Deployment
Install and log in to Zluri's macOS desktop agent manually
Zluri's macOS desktop agent monitors the device’s SaaS app usage and feeds it to Zluri servers for analysis. You can then access and evaluate these insights in the Zluri dashboard.
Install
-
Download the Zluri agent installer.
-
Double-click the downloaded file to begin installation.
-
Click Continue followed by Install in the installation window.
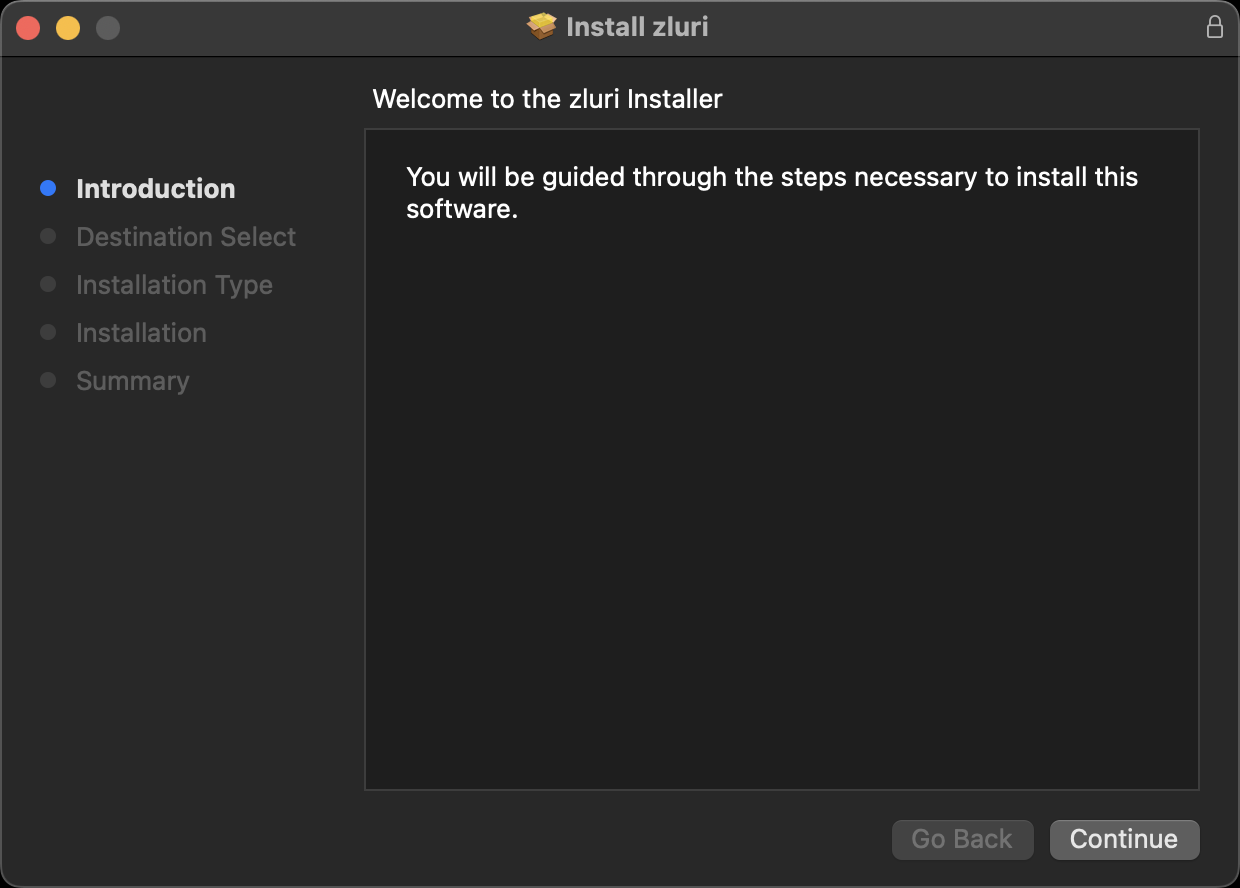
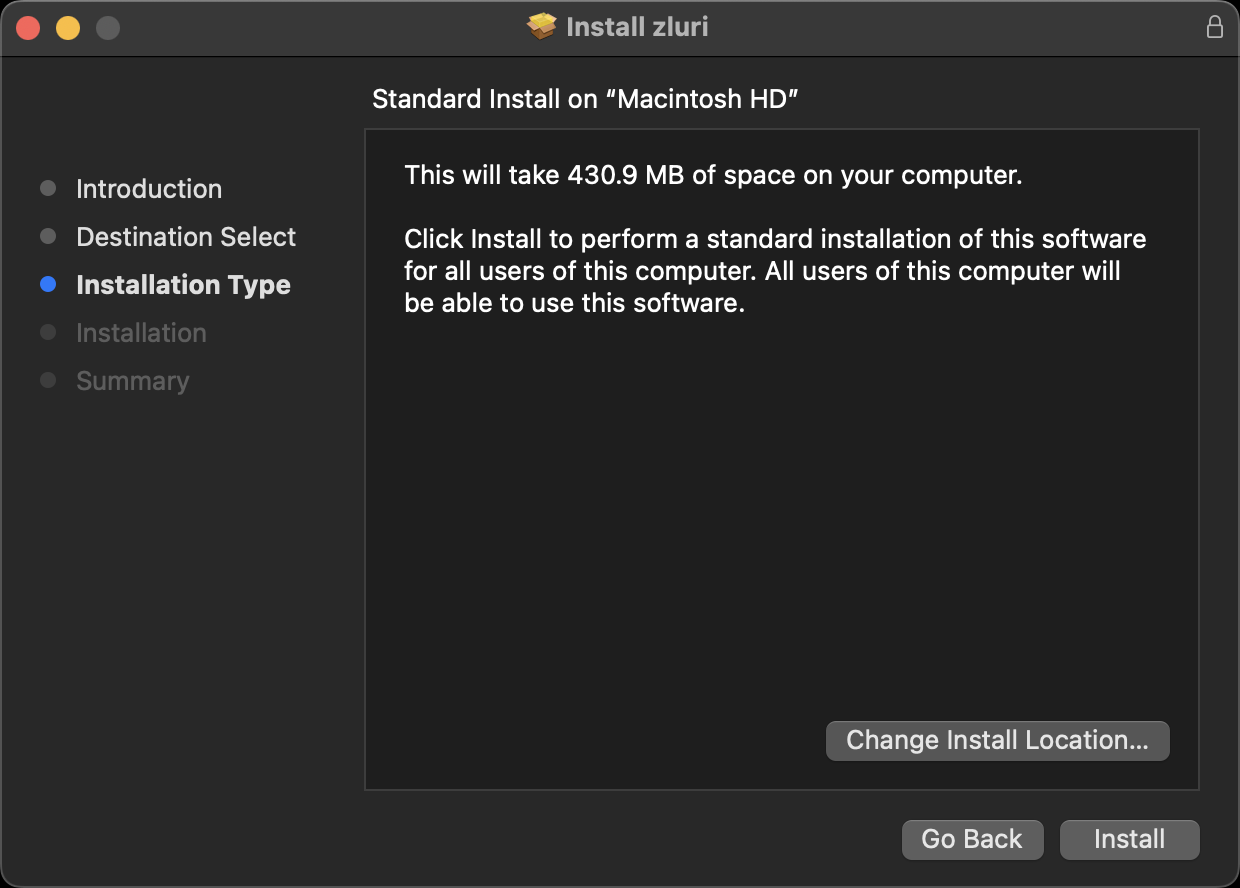
-
Authenticate using your password or fingerprint if prompted.
-
Click OK on this dialog box.
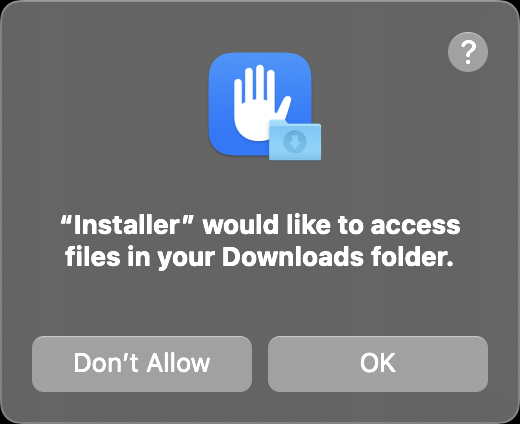
-
Click Close to complete installation.
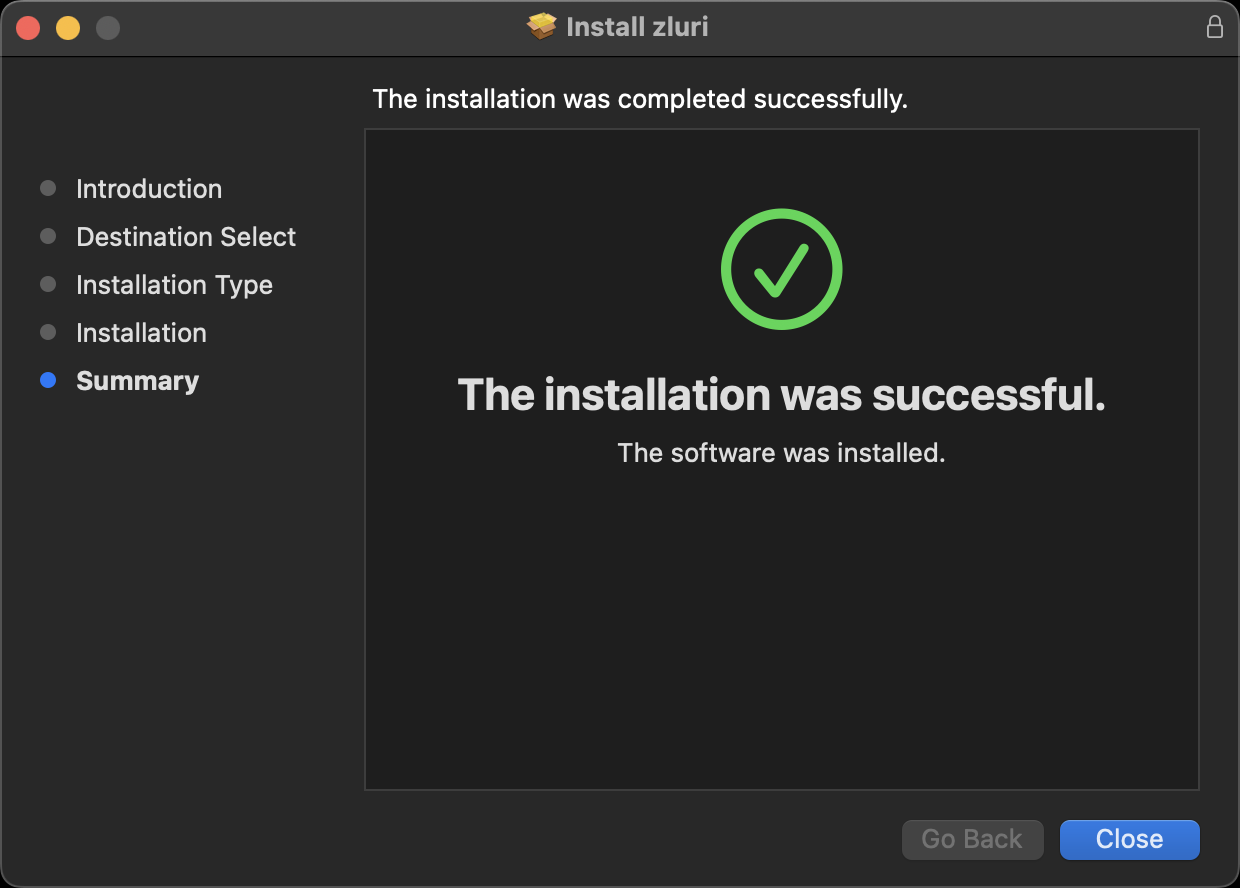
-
You can safely delete the installer file if prompted.

The agent runs silently and won't open a window after installation. Check the system tray to confirm a successful install.

In case the agent icon doesn't appear in the system tray, try restarting your system.
Log in
There are two ways to log in to Zluri:
Option 1: Using a validation code (recommended)
-
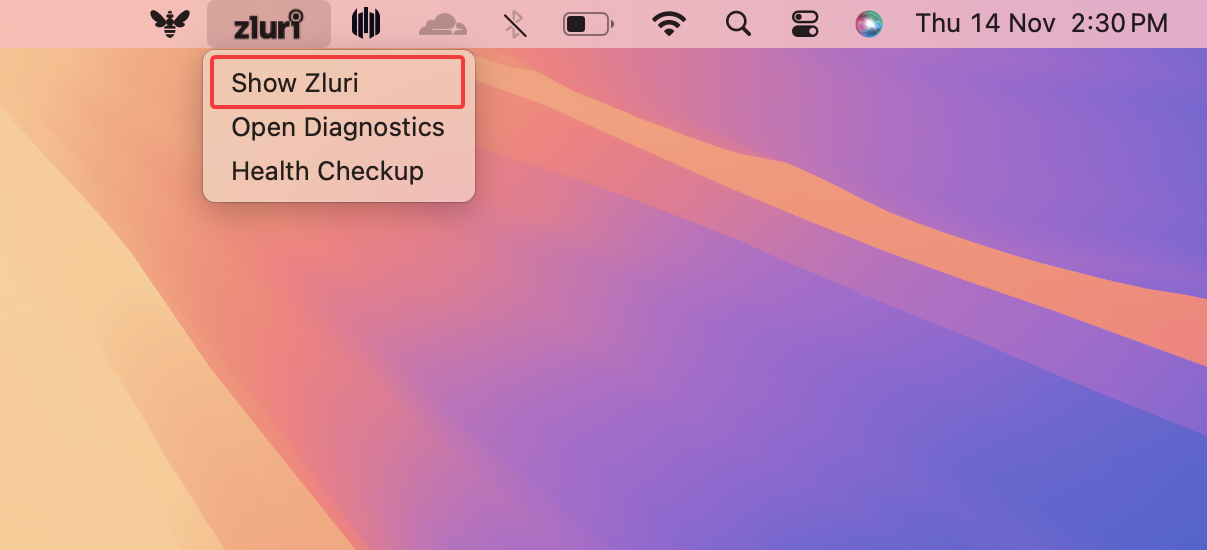
Click the Zluri icon in the system tray and select Show Zluri.
-
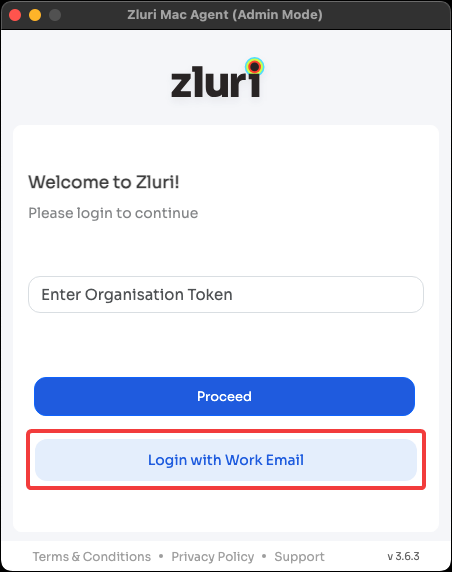
Click Login with Work Email
-
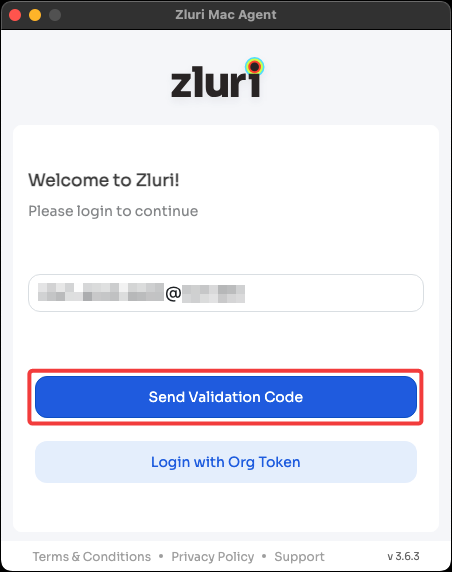
Enter your work email address and click Send Validation Code.
-
Enter the code sent to your email and click Validate.
-
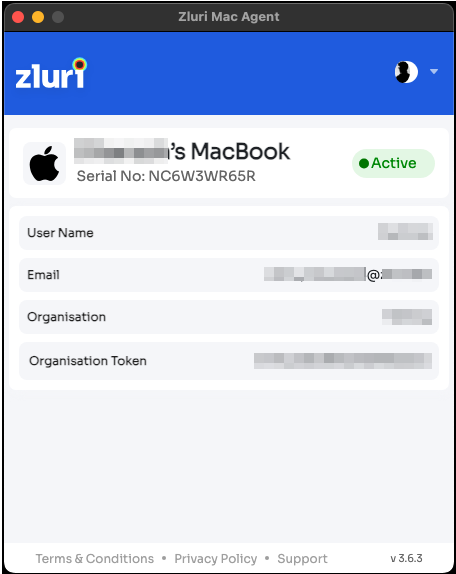
After a successful connection, the app will show an 🟢 Active status.
Option 2: Using an Organization token
-
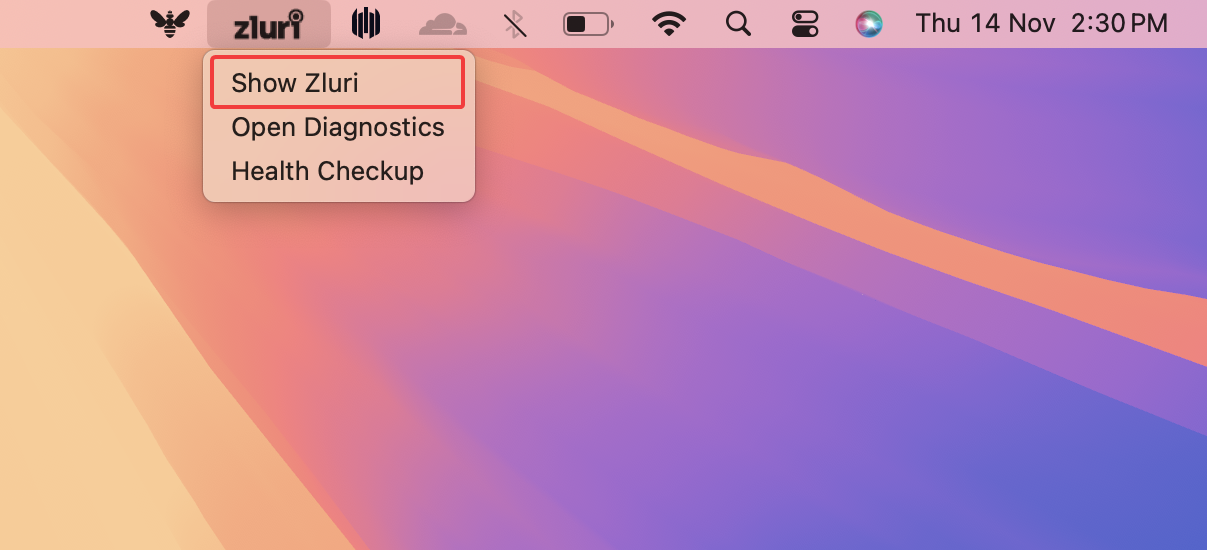
Click the Zluri icon in the system tray and select Show Zluri.
-
Refer to the email from your IT department prompting you to install the Zluri desktop agent and note down the Organization token.
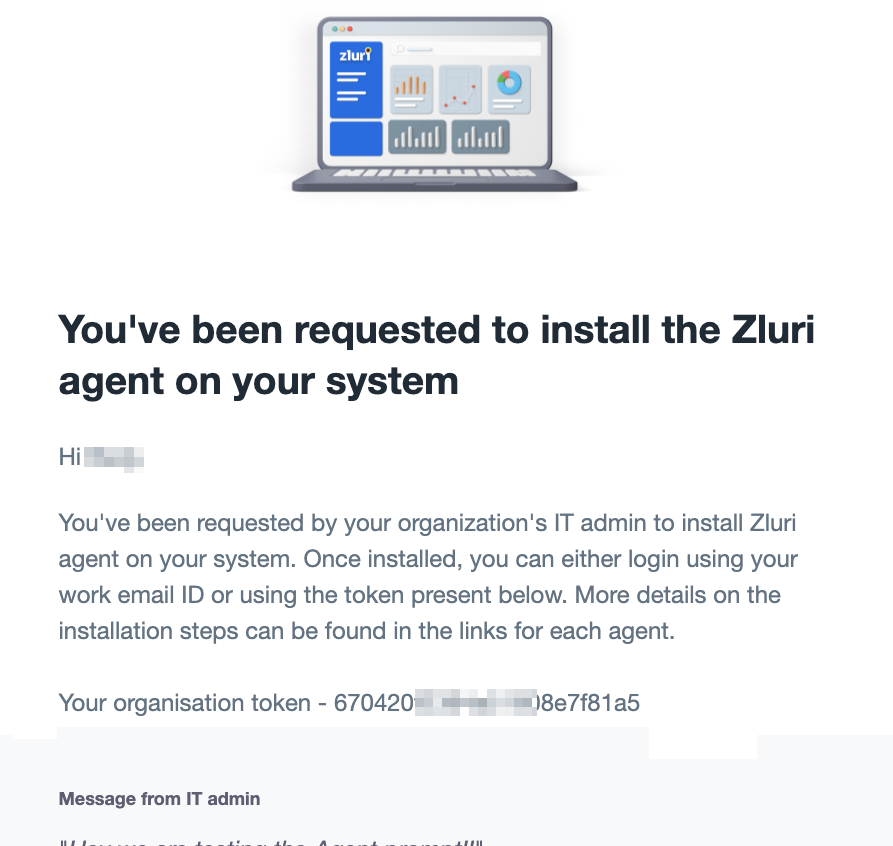
If you haven't received or cannot locate such an email, ask your IT department to resend it.
-
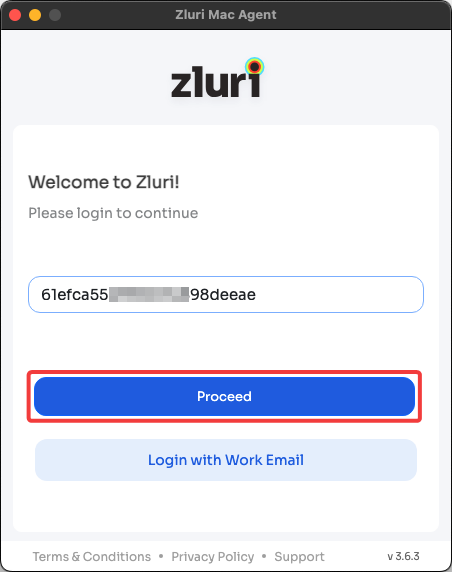
Enter the organization token in this field and click Proceed.
-
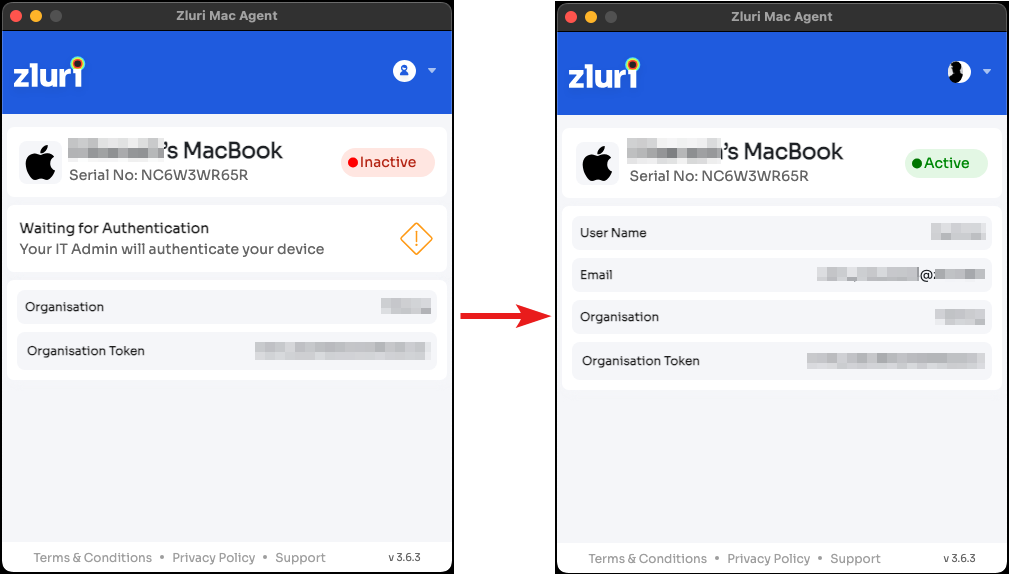
Once logged in, the application status will be 🔴 Inactive. Your IT administrator will now need to authenticate your device from the Zluri dashboard. The status will change to 🟢 Active once they do.
For further assistance, please feel free to submit a ticket or contact us directly at [email protected].
Updated 5 months ago
