Account Setup and Initial Configuration
This guide describes how to create a Zluri account, configure organization details, and connect core integrations to begin managing users, applications, and SaaS spend.
Sign Up
Zluri access is invite-only. Registration requires an invite code or a request for one.
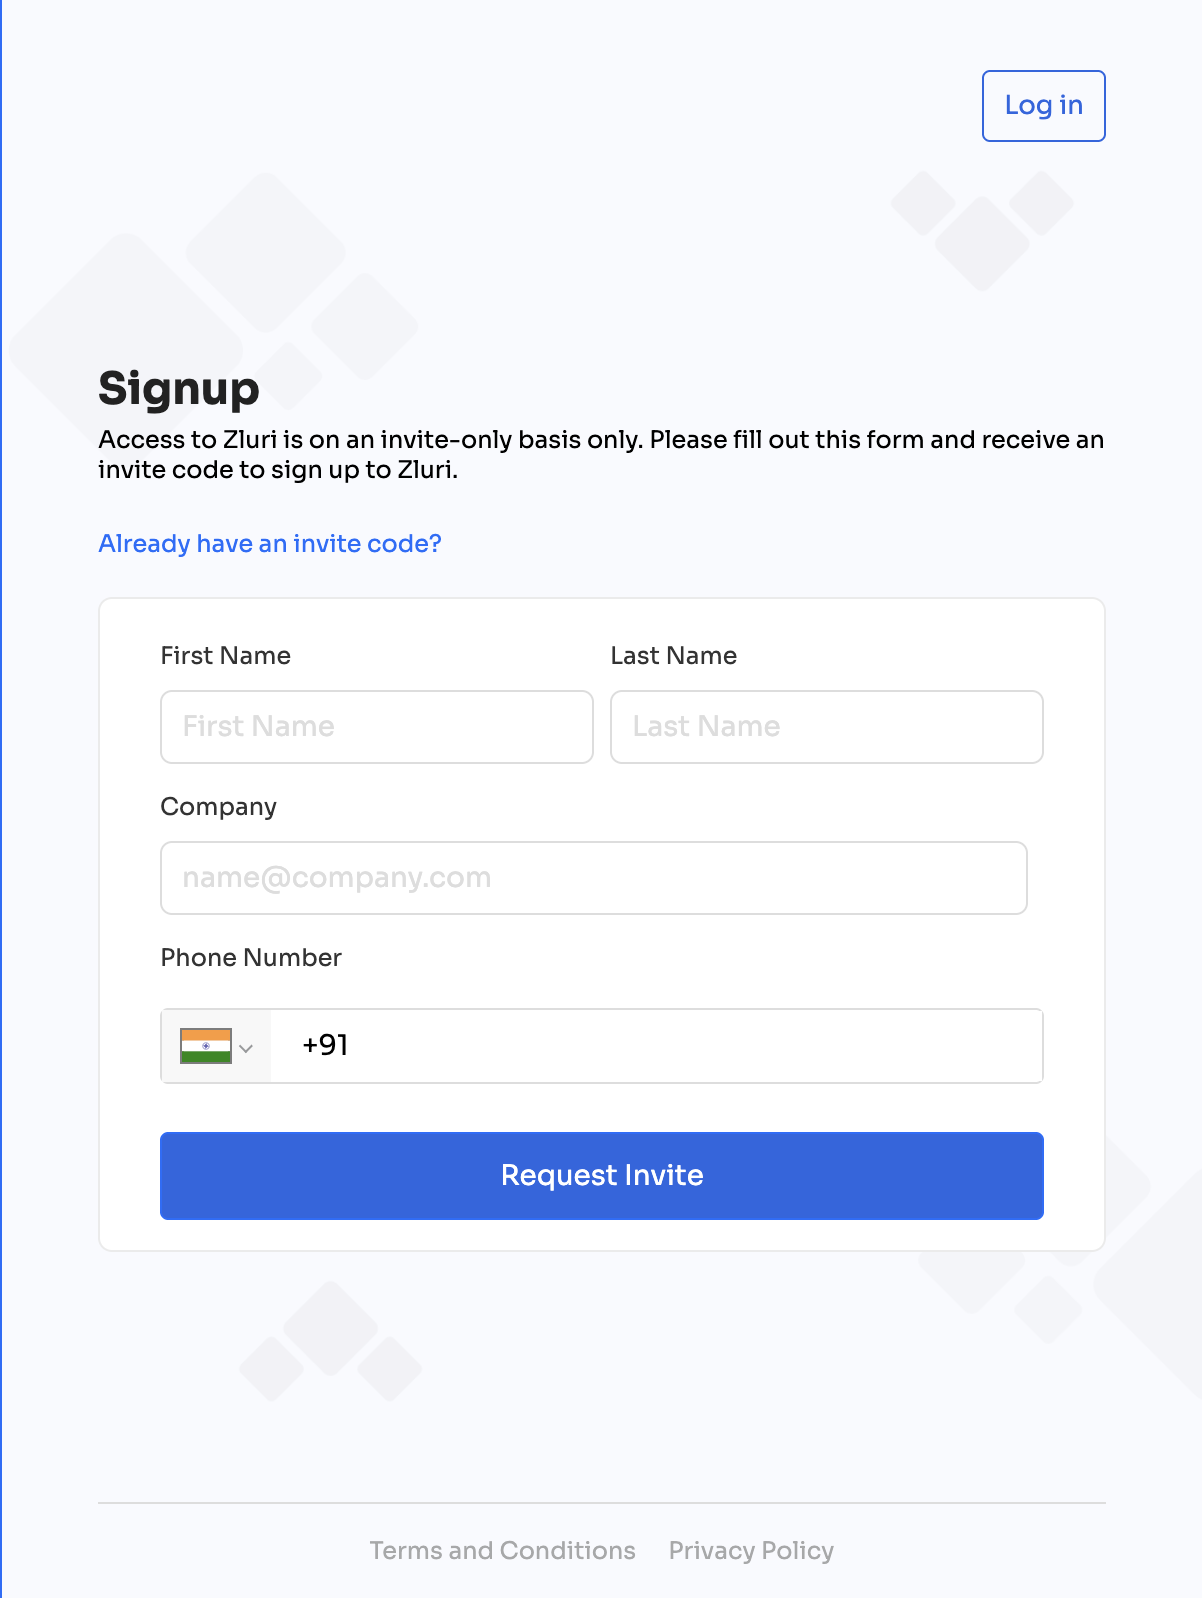
1. Sign Up Without an Invite Code
Navigate to:
https://signup.zluri.com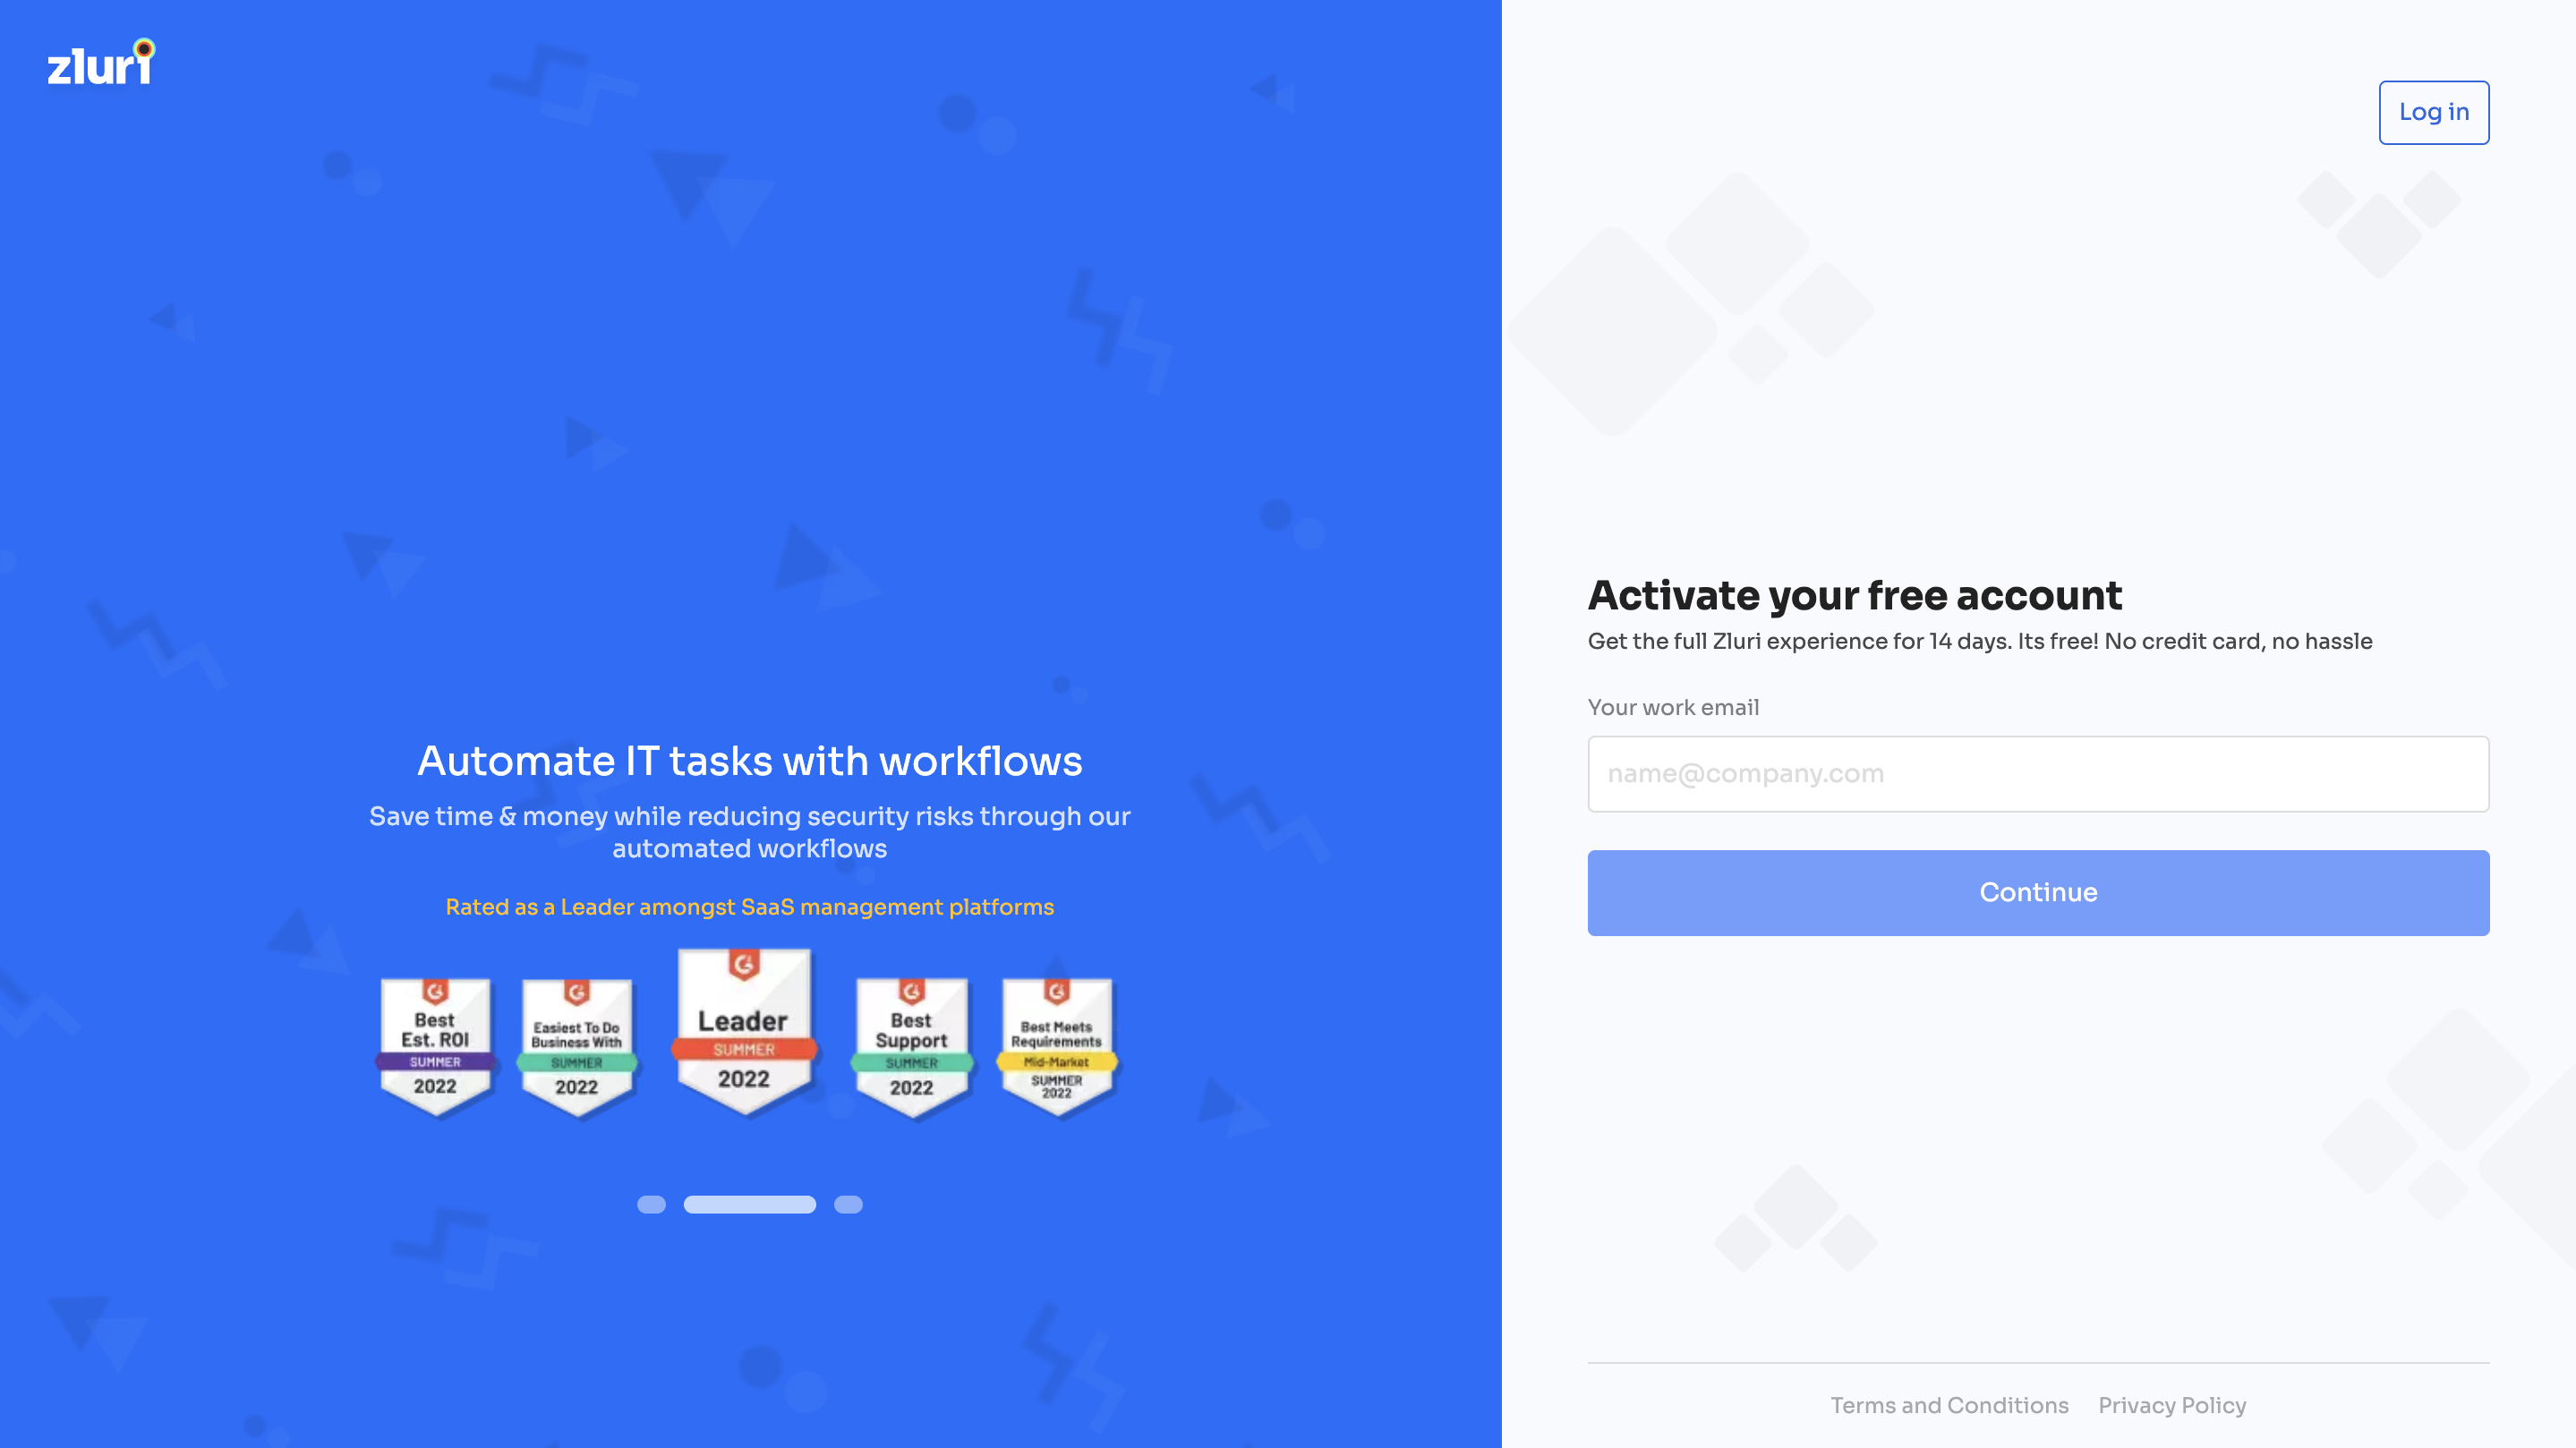
Enter the following details:
- First Name
- Last Name
- Company Work Email
- Phone Number
Click Request Invite.
System Behavior
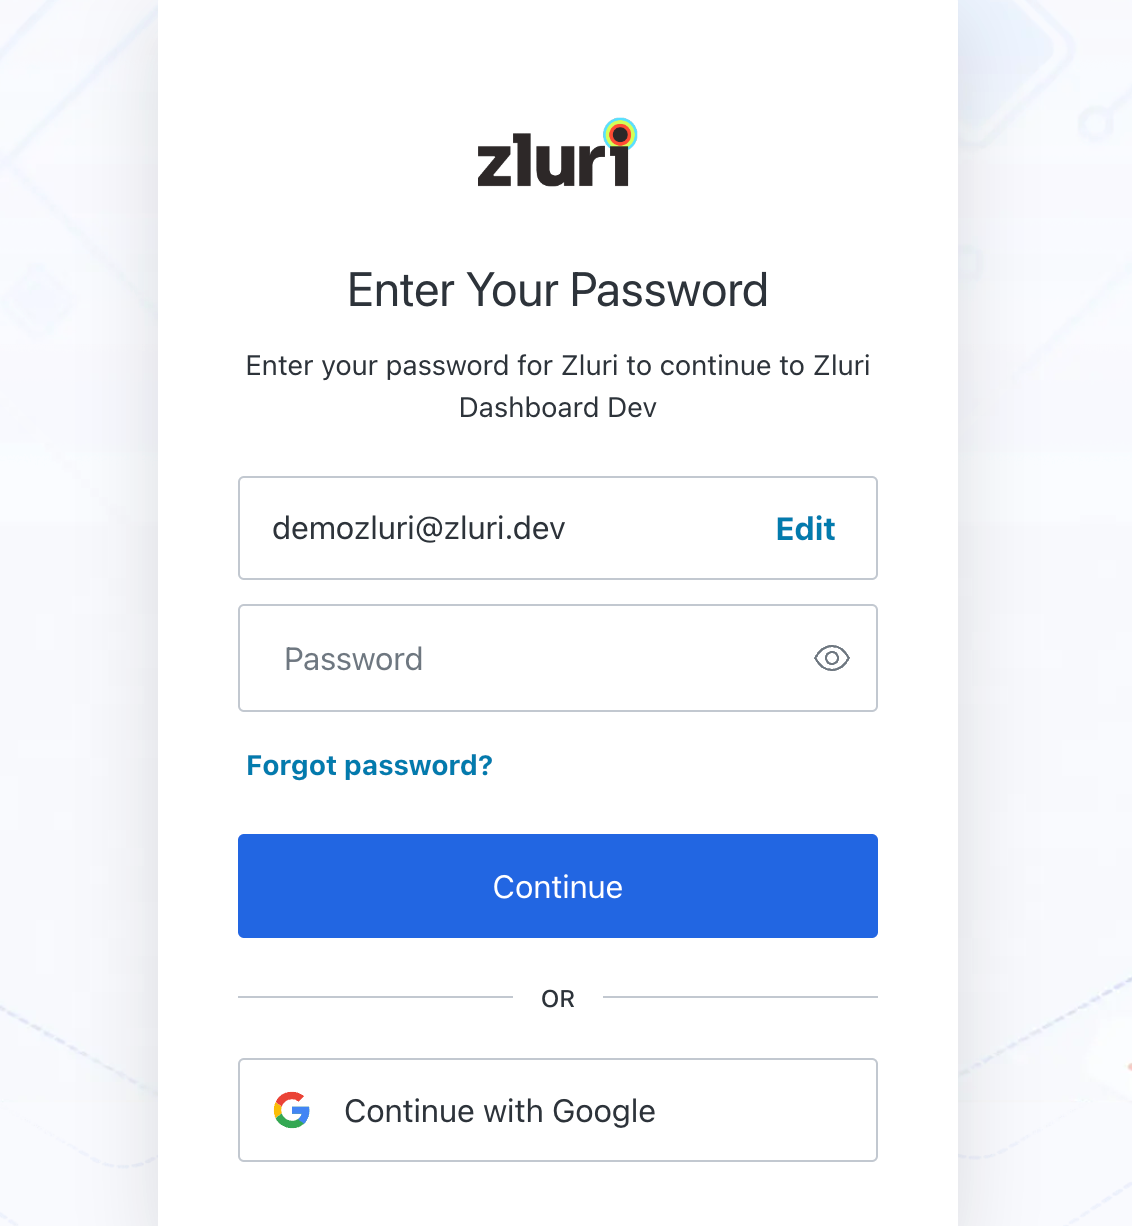
- If the email is not linked to an existing account, the system prompts password creation and registration completion.
- If the email is already registered, the system redirects to the login page for authentication using the existing password or configured SSO provider.
After submitting the invite request, the system sends an invite code to the registered email address. The invite code is required to complete registration.
2. Sign Up With an Invite Code
Navigate to:
https://signup.zluri.com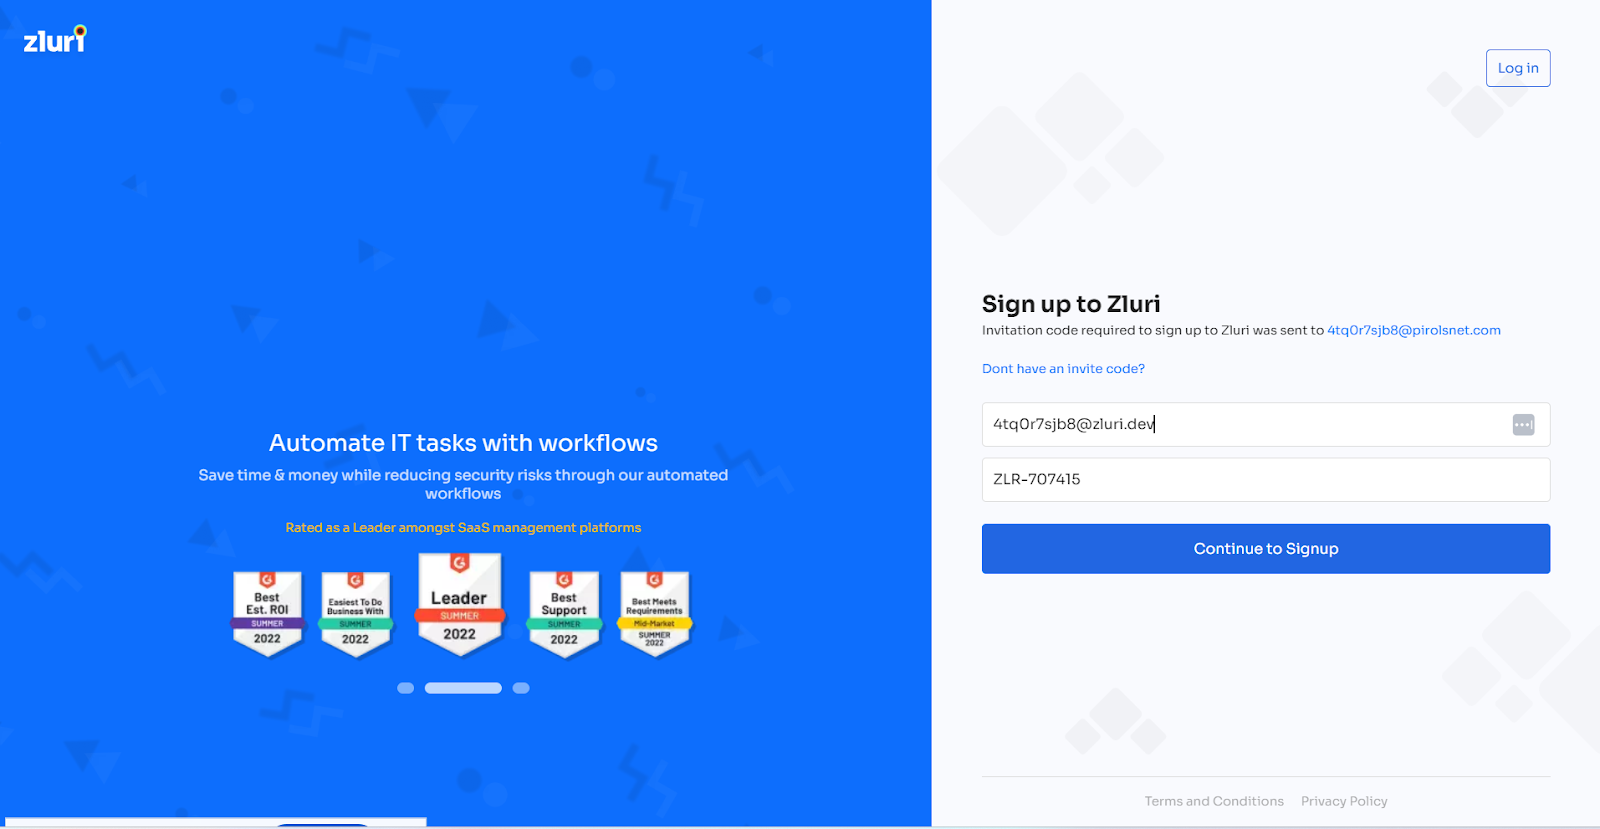
Enter:
- Work Email
- Invite Code
Click Continue to Signup.
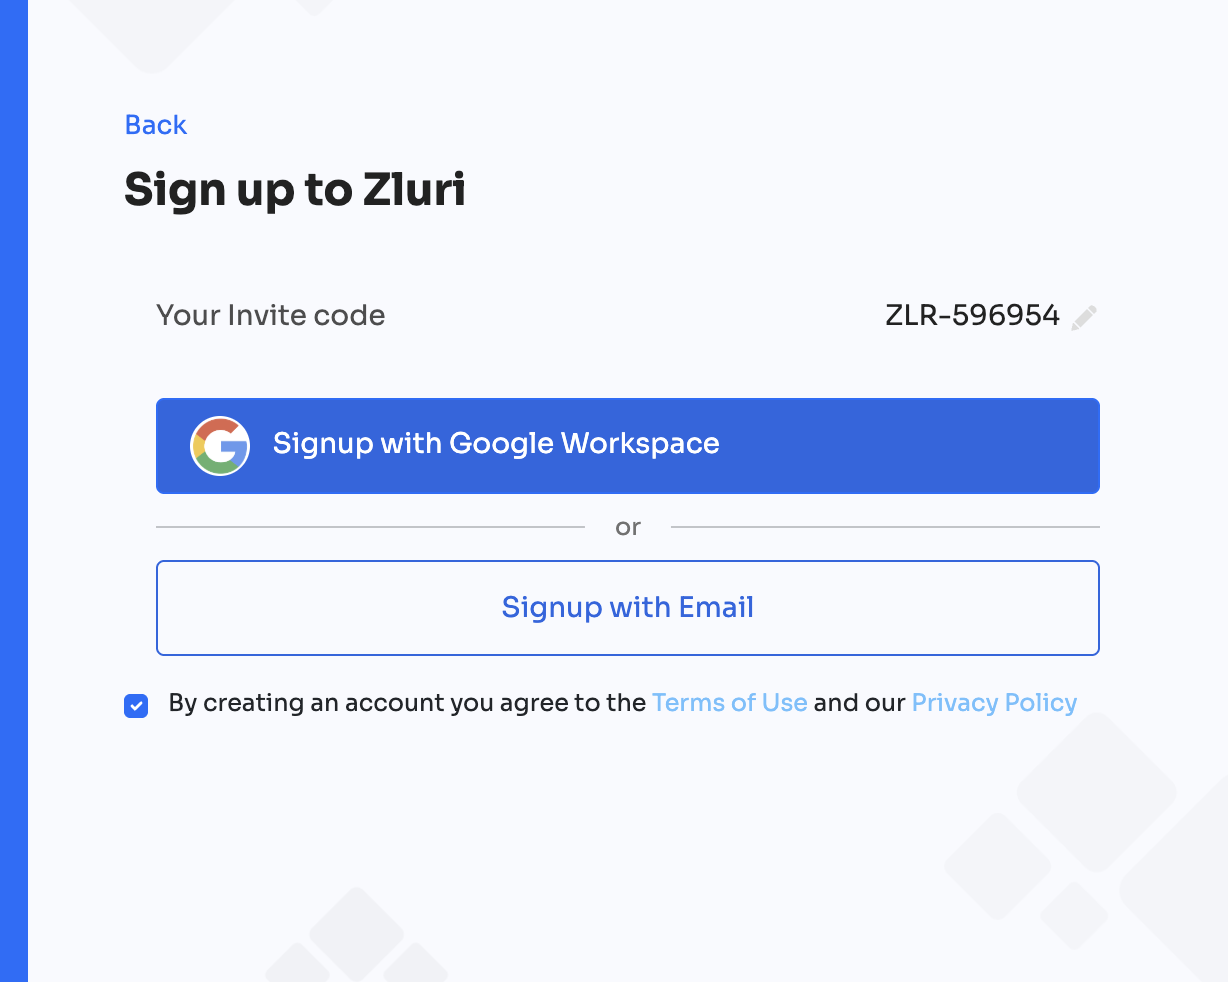
On the Sign Up page, select one of the following options:
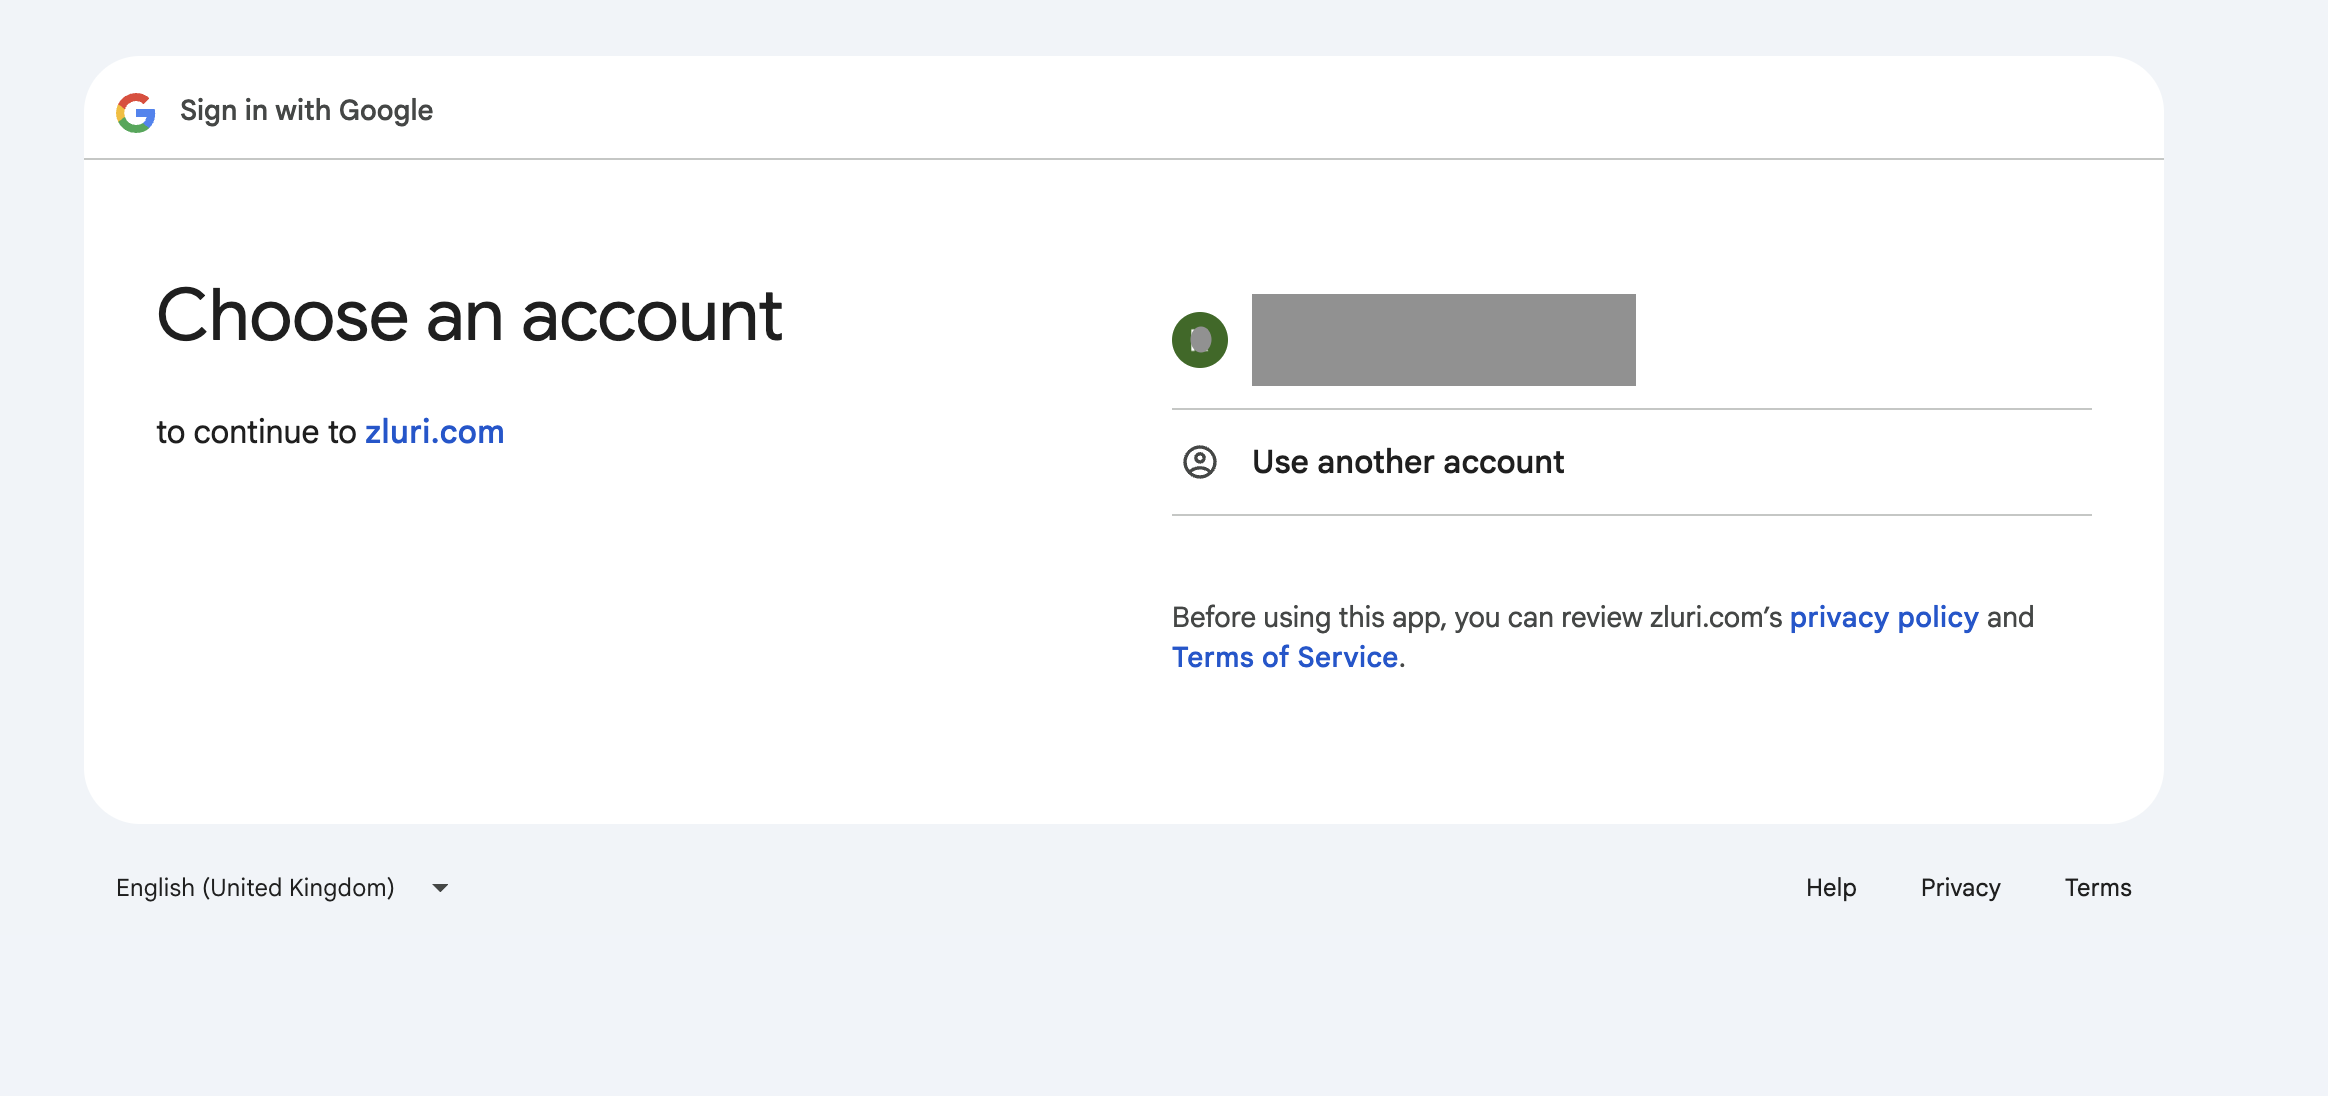
- Sign up with Google Workspace
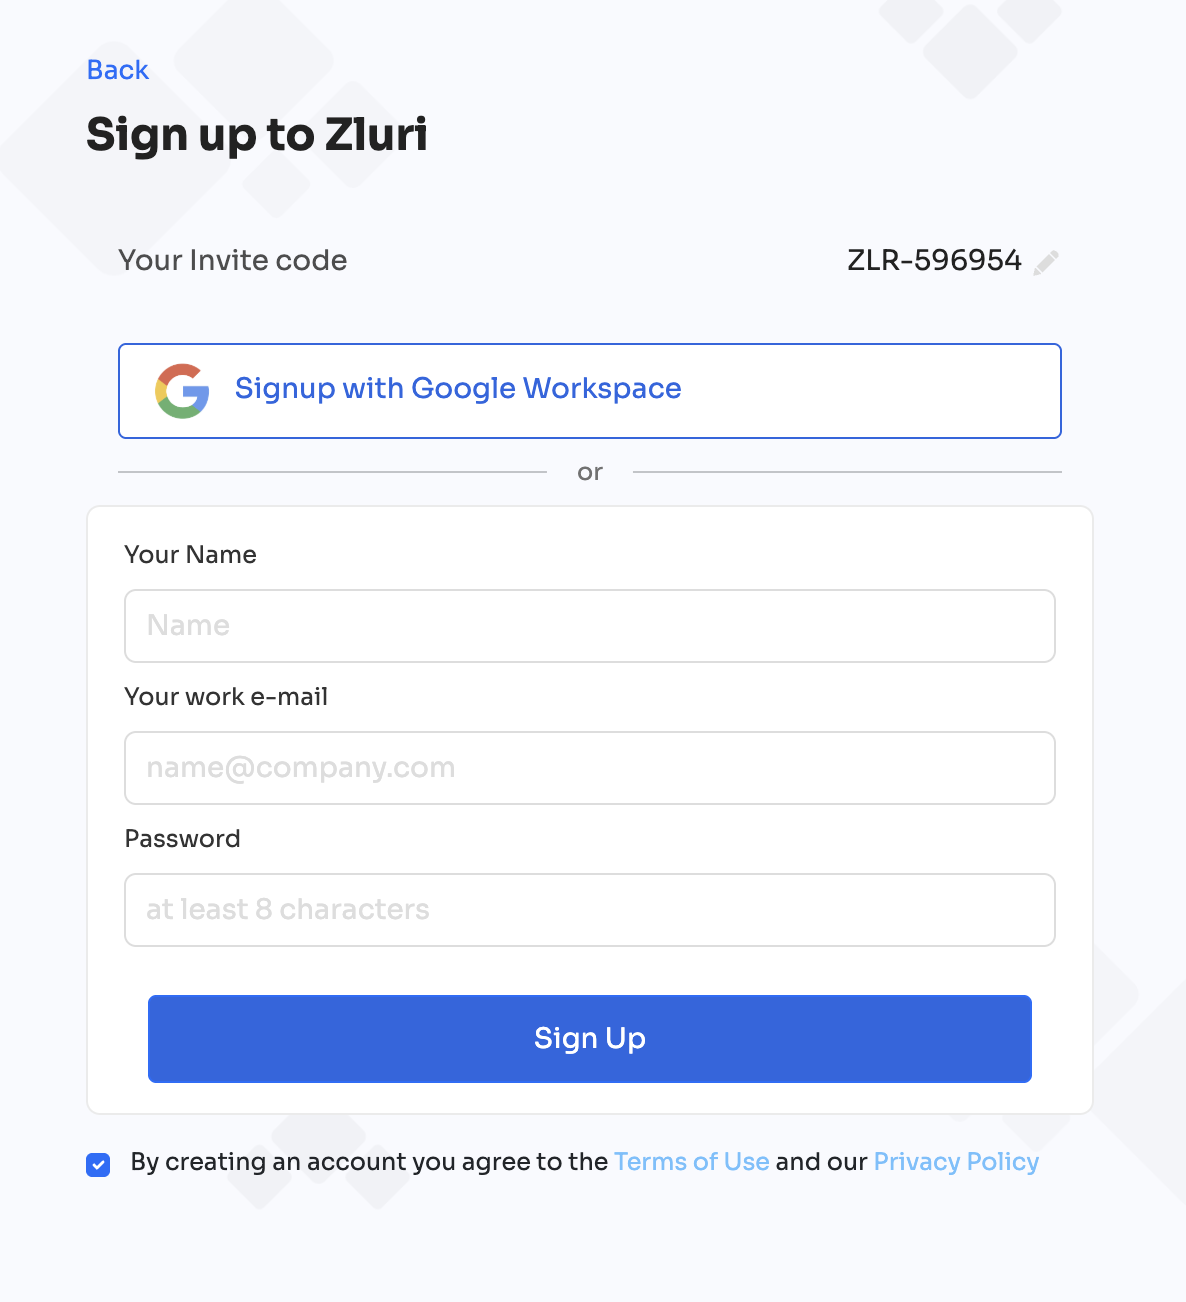
- Sign up with Email
If signing up with email:
- Enter Name, Work Email, and Password (minimum 8 characters).
- Click Sign Up.
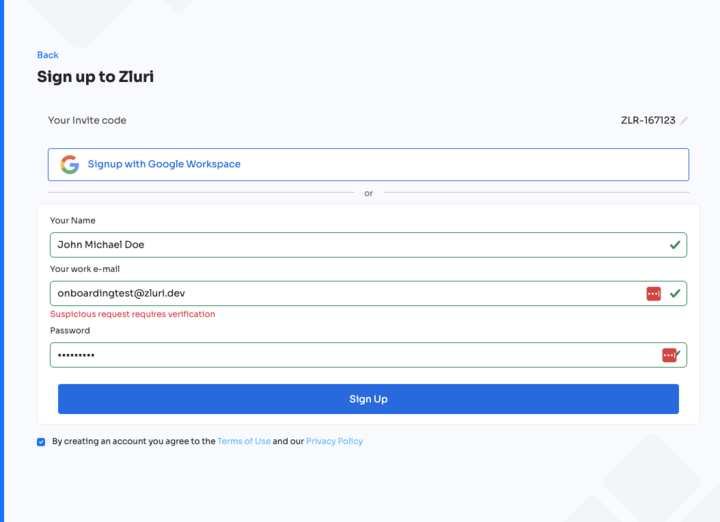
Verification Message
If the message “Suspicious request requires verification” appears, repeated sign-up attempts or use of test domains may have triggered verification controls.
Contact support for assistance.
Initial Setup After Login
After first login, complete the guided setup process.
Step 1: Add Organization Details
Enter:
- Organization Name
- Default Currency
- Start Month of the Financial Year
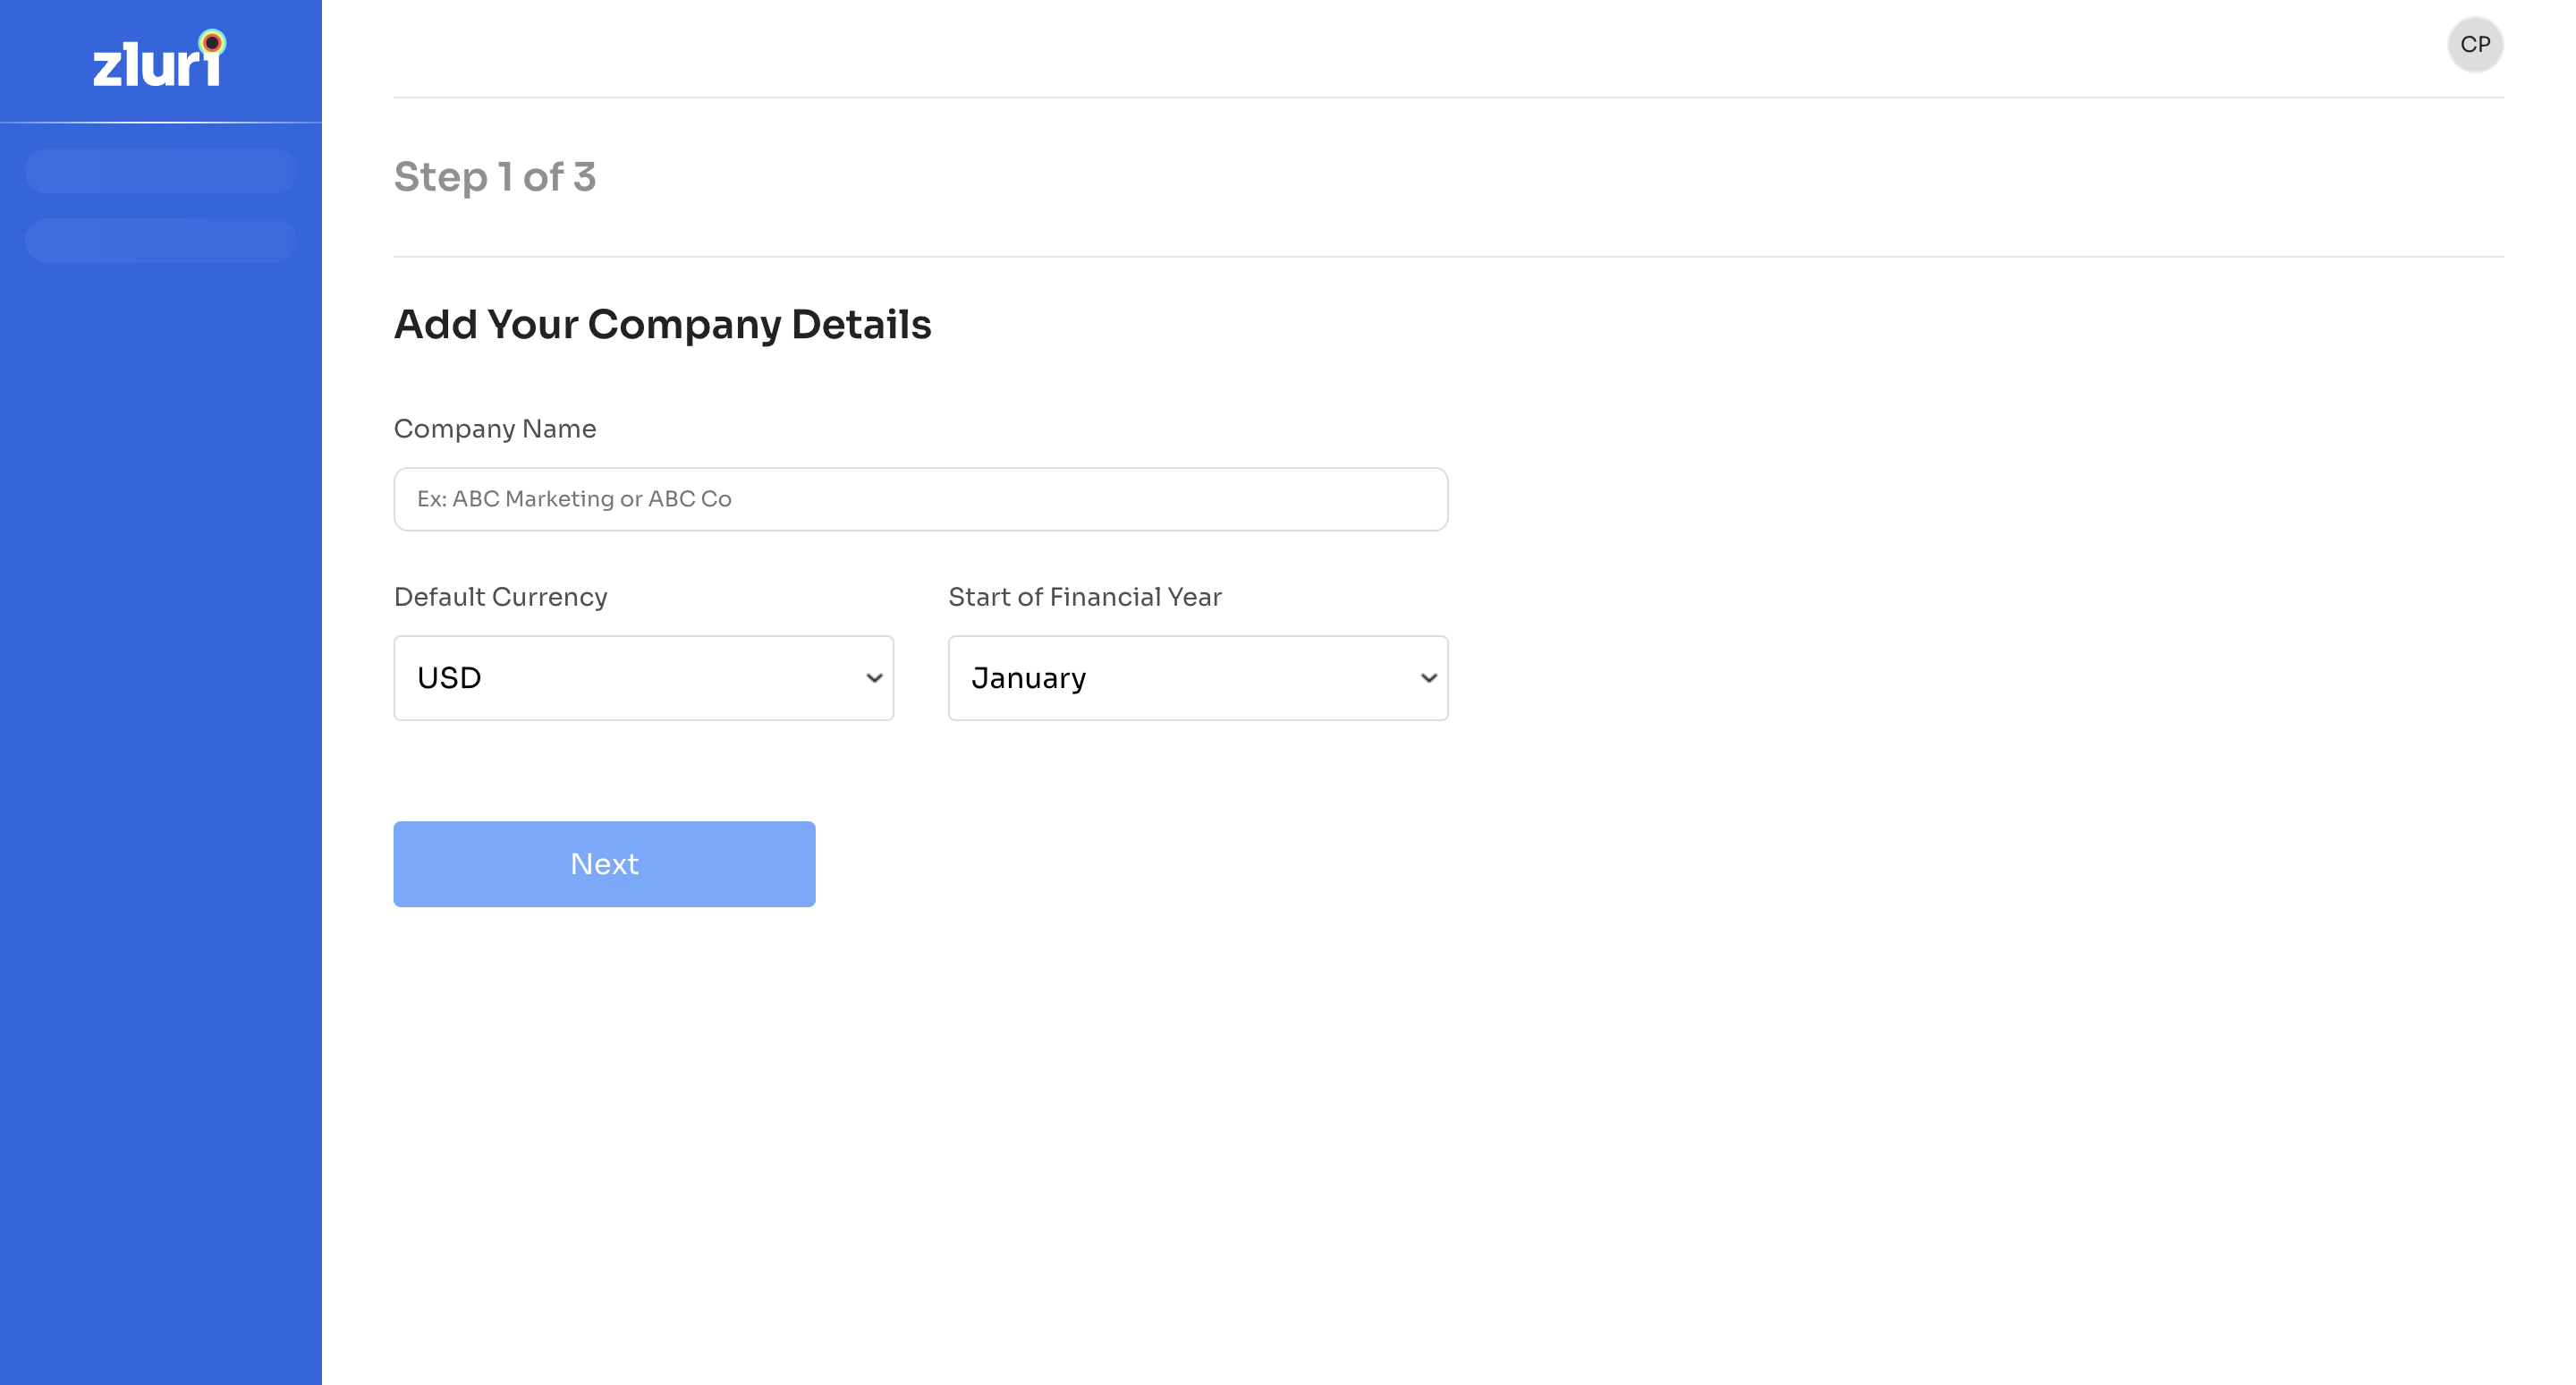
These settings define the organization’s financial and reporting configuration.
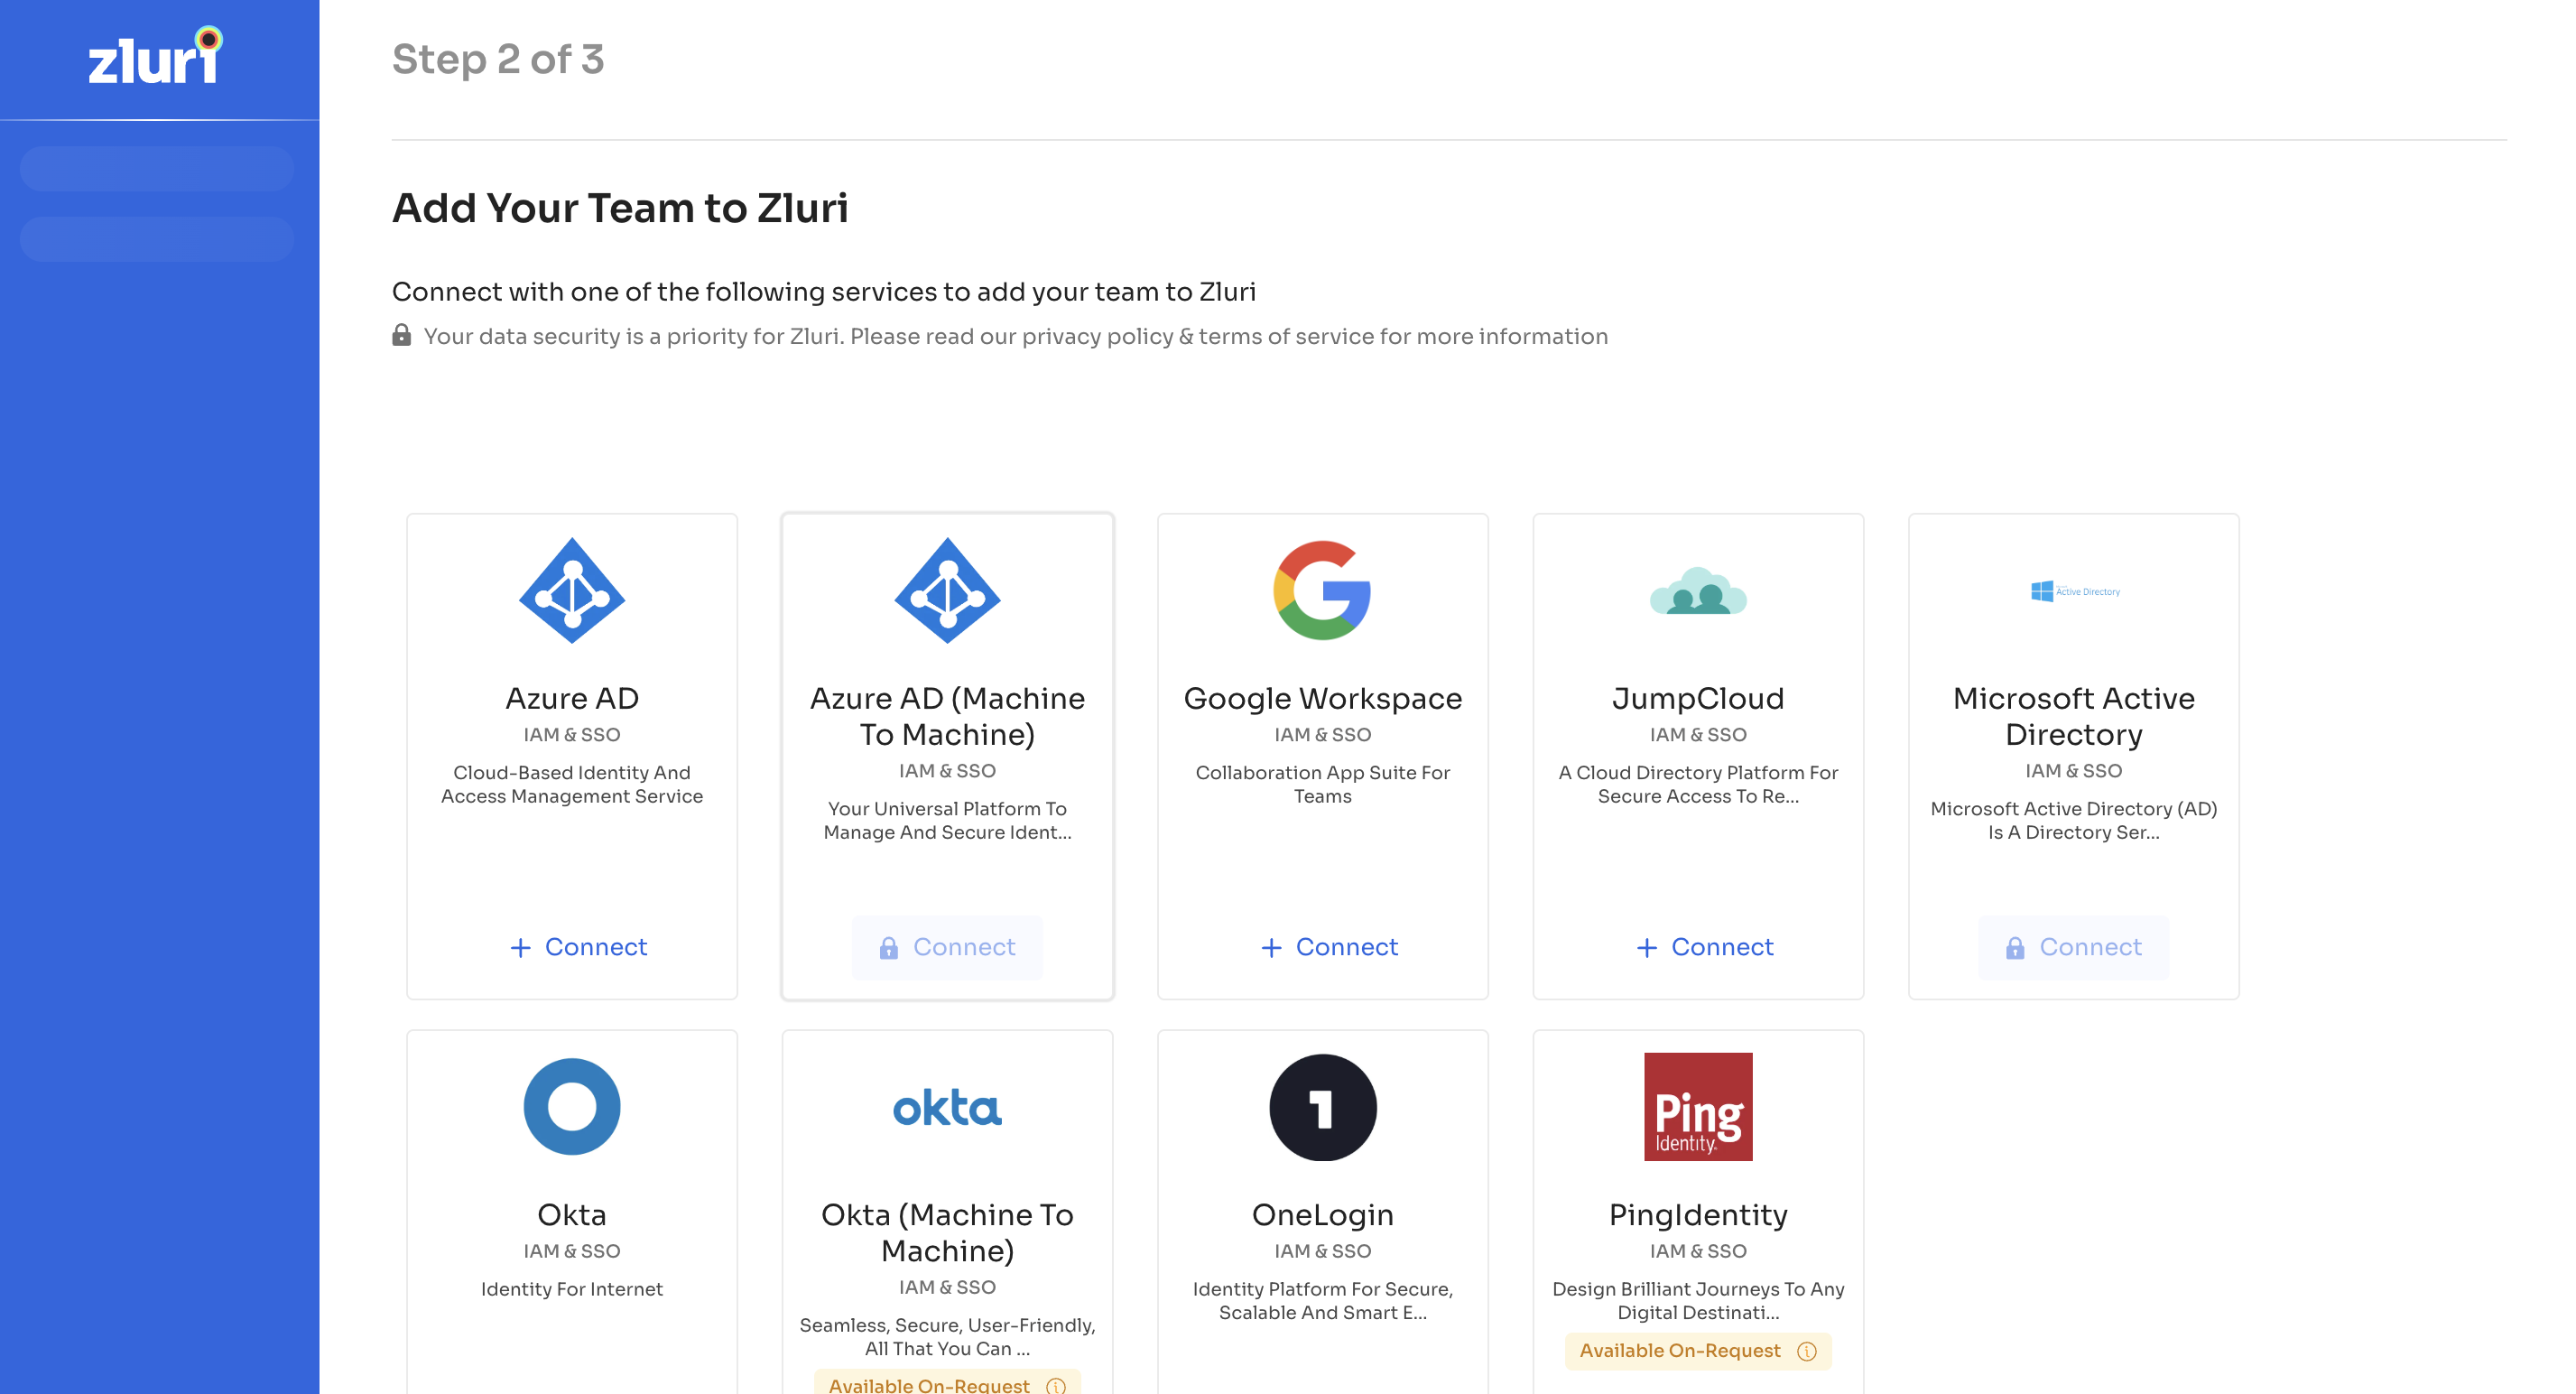
Step 2: Add Team Members
Connect an IAM or SSO provider to import users into Zluri.
Supported providers include:
- Google Workspace
- Azure AD
- Okta
- OneLogin
- JumpCloud
User data may also be imported via CSV.
This integration imports:
- User accounts
- Departments
- Domain information
- Login and logout events
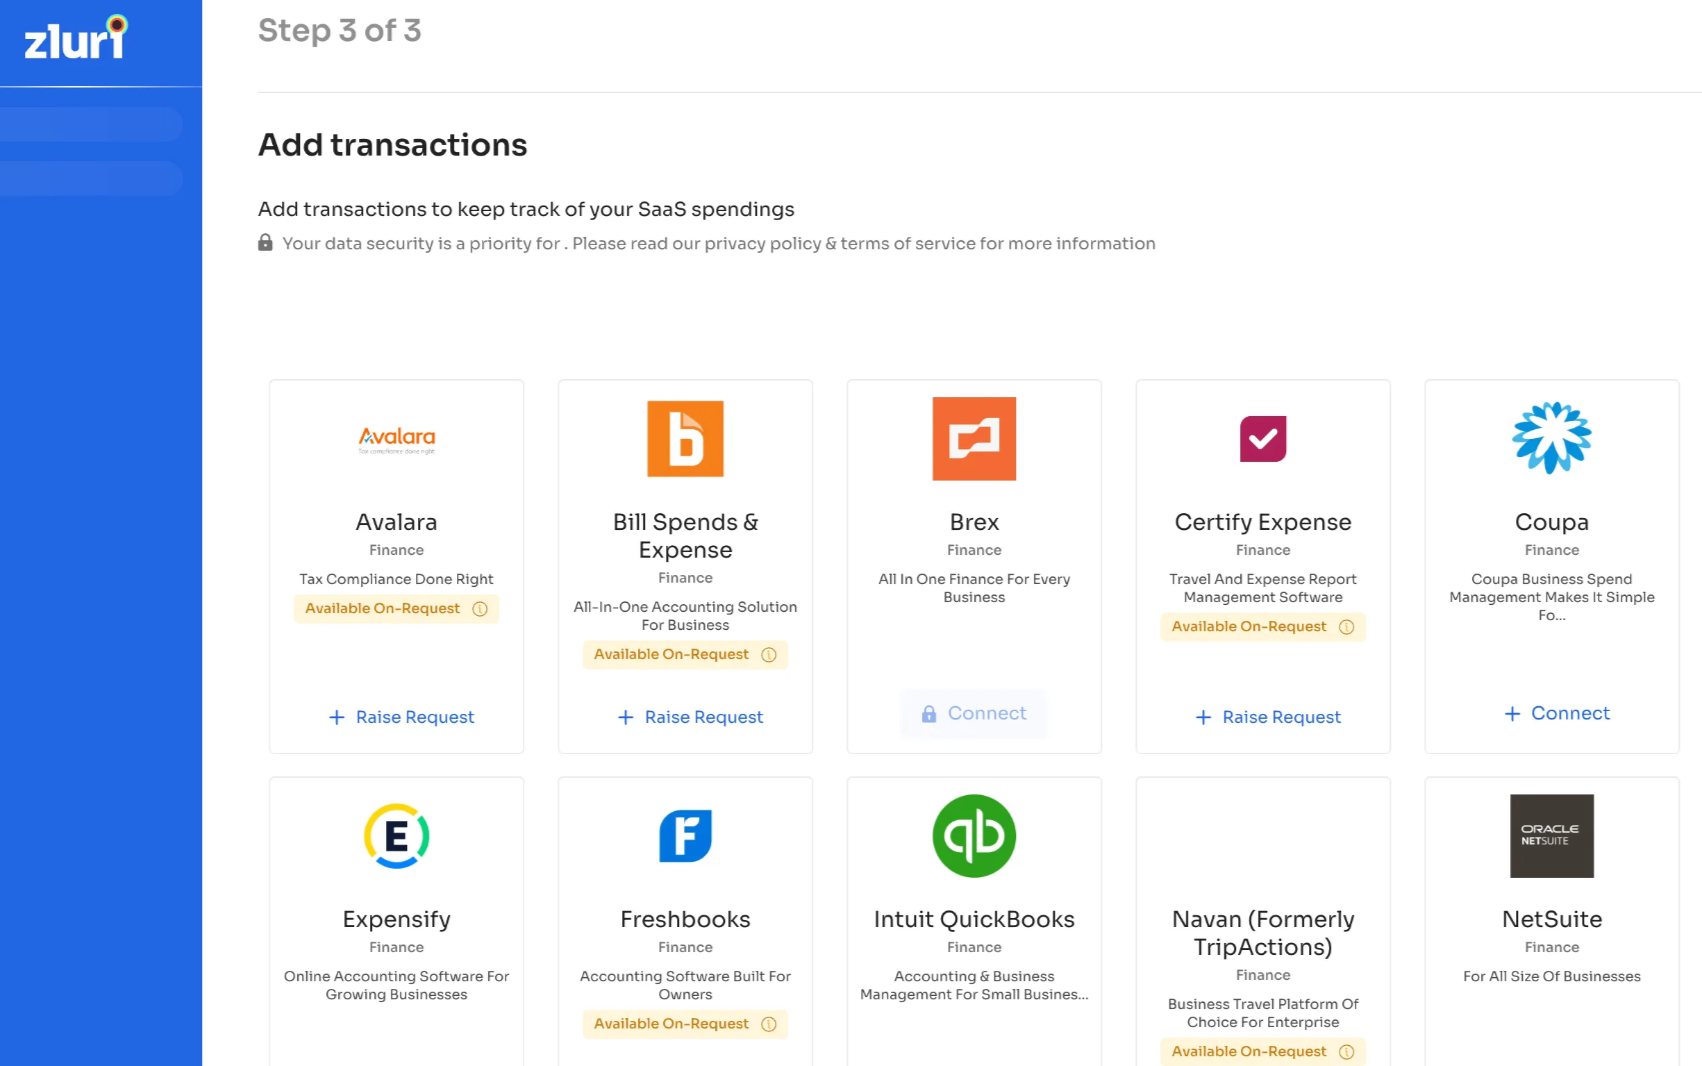
Step 3: Add Transactions
To track SaaS spend, connect a finance application or upload financial data via CSV.
This configuration imports:
- Application-related expenses
- Subscription records
- Vendor transactions
Connect Core Integrations
Core integrations populate Zluri with identity, HR, and financial data.
1. SSO Integration
Connect a supported identity provider.
This integration imports:
- User accounts
- Departments
- Domain information
- Login and logout events
- Application-level security insights
2. Accounting and Finance Tools
Integrate supported finance tools such as:
- QuickBooks
- FreshBooks
- Brex
Financial data may also be uploaded via CSV.
This integration imports:
- Application-related expenses
- Subscription records
- Vendor transactions
3. HRMS Integration
Connect an HR system (for example, BambooHR, Personio, or Keka).
This integration imports:
- Employee profiles
- Job titles
- Department mappings
- Reporting structure
- Joining dates
Add Additional Integrations
After configuring core integrations, open the Integration Catalog to explore and connect additional applications relevant to the organization.
Additional integrations expand visibility into application usage, spend, and access governance.
Set Primary Sources
When multiple connected systems provide overlapping data (for example, job titles from both Google Workspace and BambooHR), configure a primary source for each attribute.
To configure a primary source:
- Open the Primary Sources section in the admin dashboard.
- Select the preferred source system for each field.
Primary source configuration ensures consistent attribute resolution and prevents conflicting data updates across connected systems.
Updated 5 months ago