Uploads
Transaction uploads overview
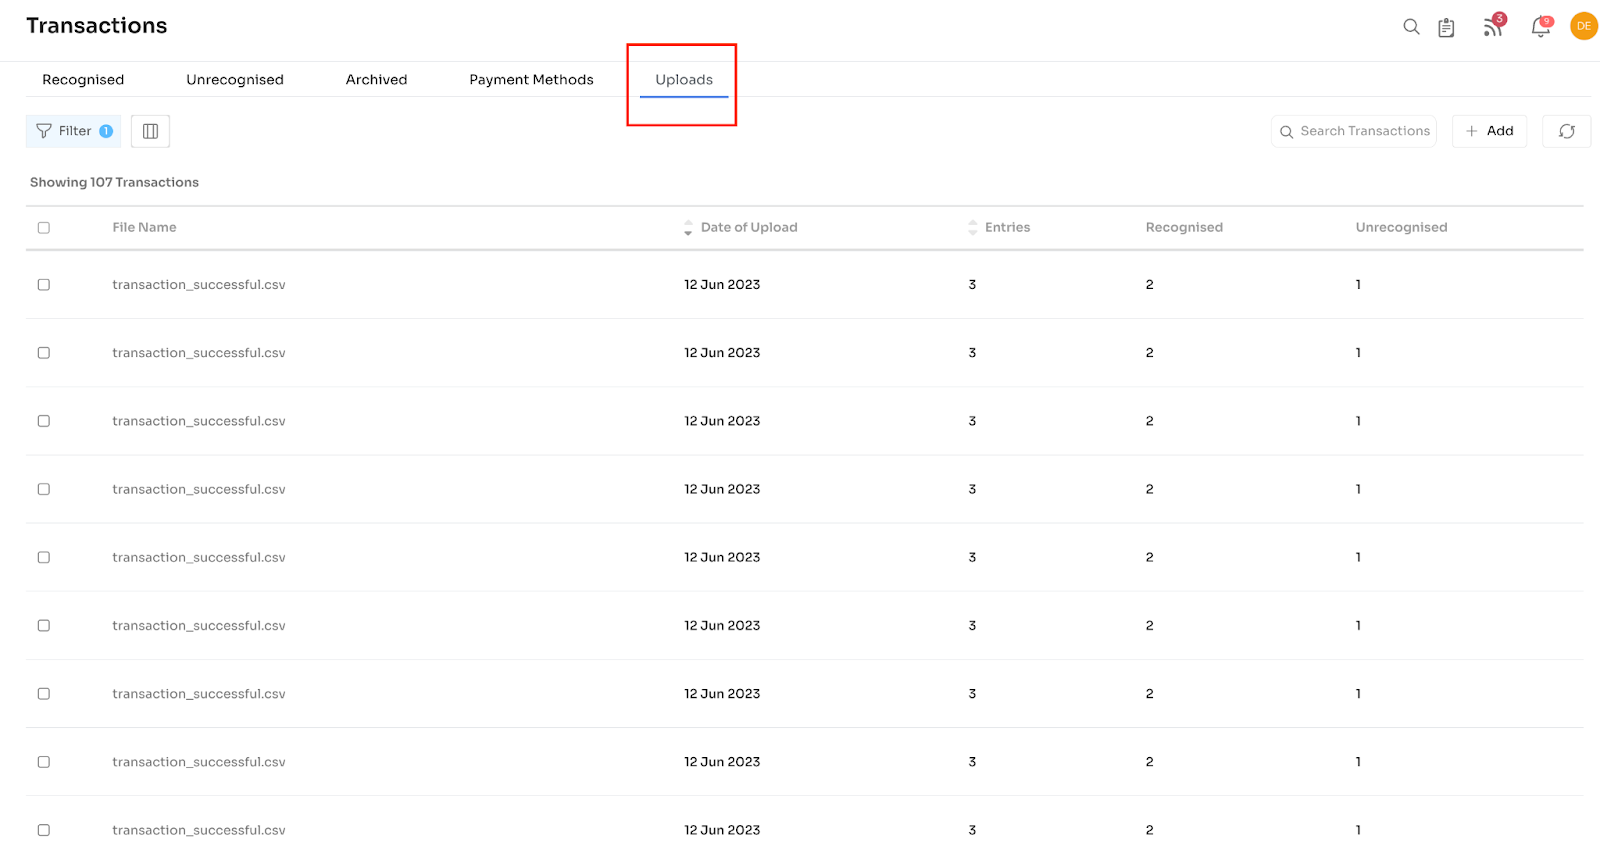
There are five columns in the Uploads section:
File Name, Date of Upload, Entries(number of entries), Recognised, and Unrecognised.
The customer can upload the transactions on this tab manually if required. They can upload a CSV file with the relevant details.
Customers can use the filter option in the Uploads section to filter out the transactions they want to view on the platform. Please refer to the following snapshot:
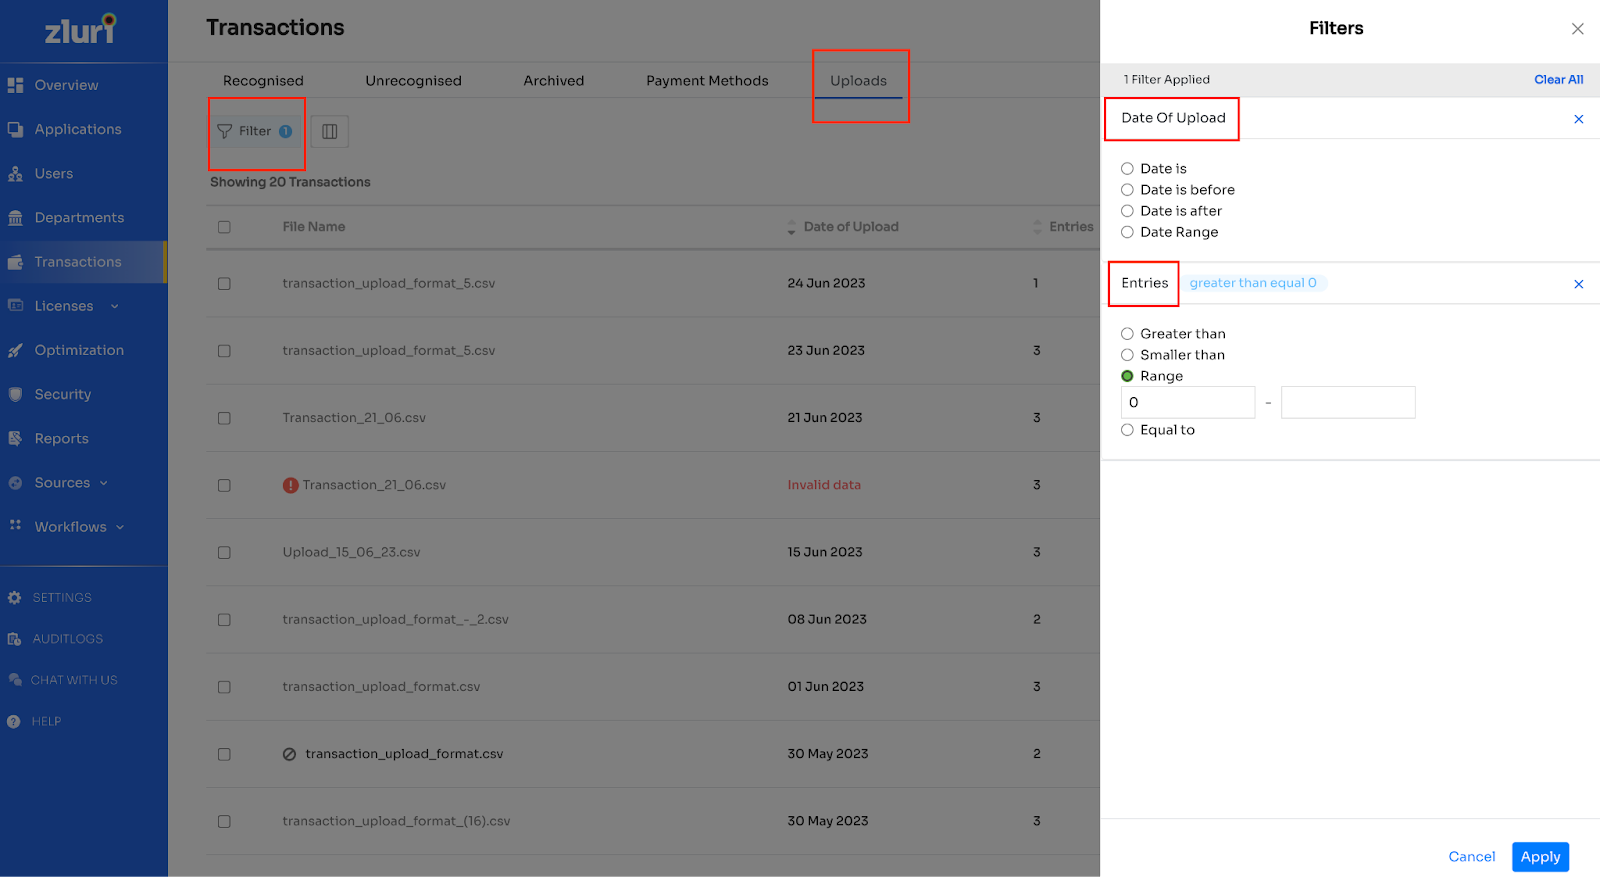
Two filter options are the Date of Upload and the Number of entries in a CSV file.
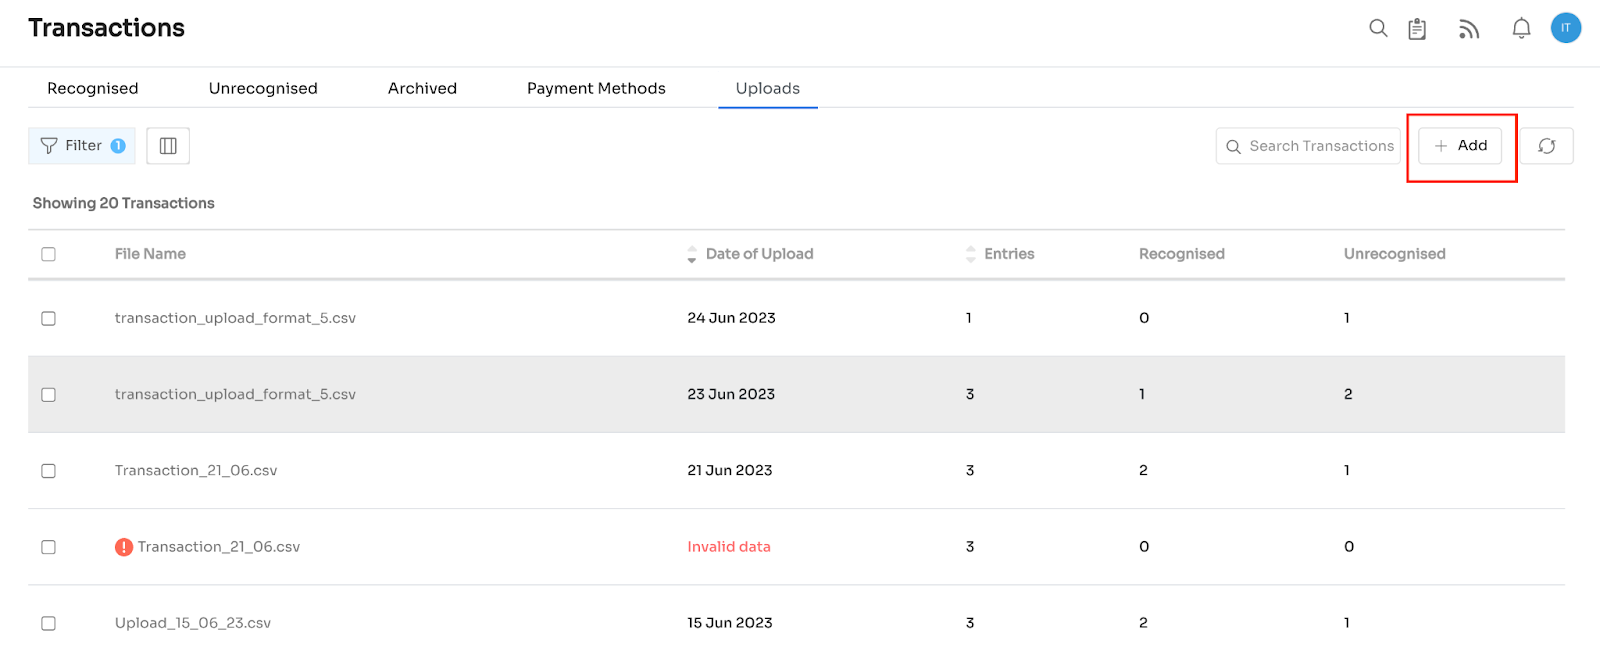
For Uploading a new file, the customer needs to click on the “+ Add” button in the top right corner shown below:
Once the customer clicks on Add, the below screen will appear on the right-hand side of the screen:
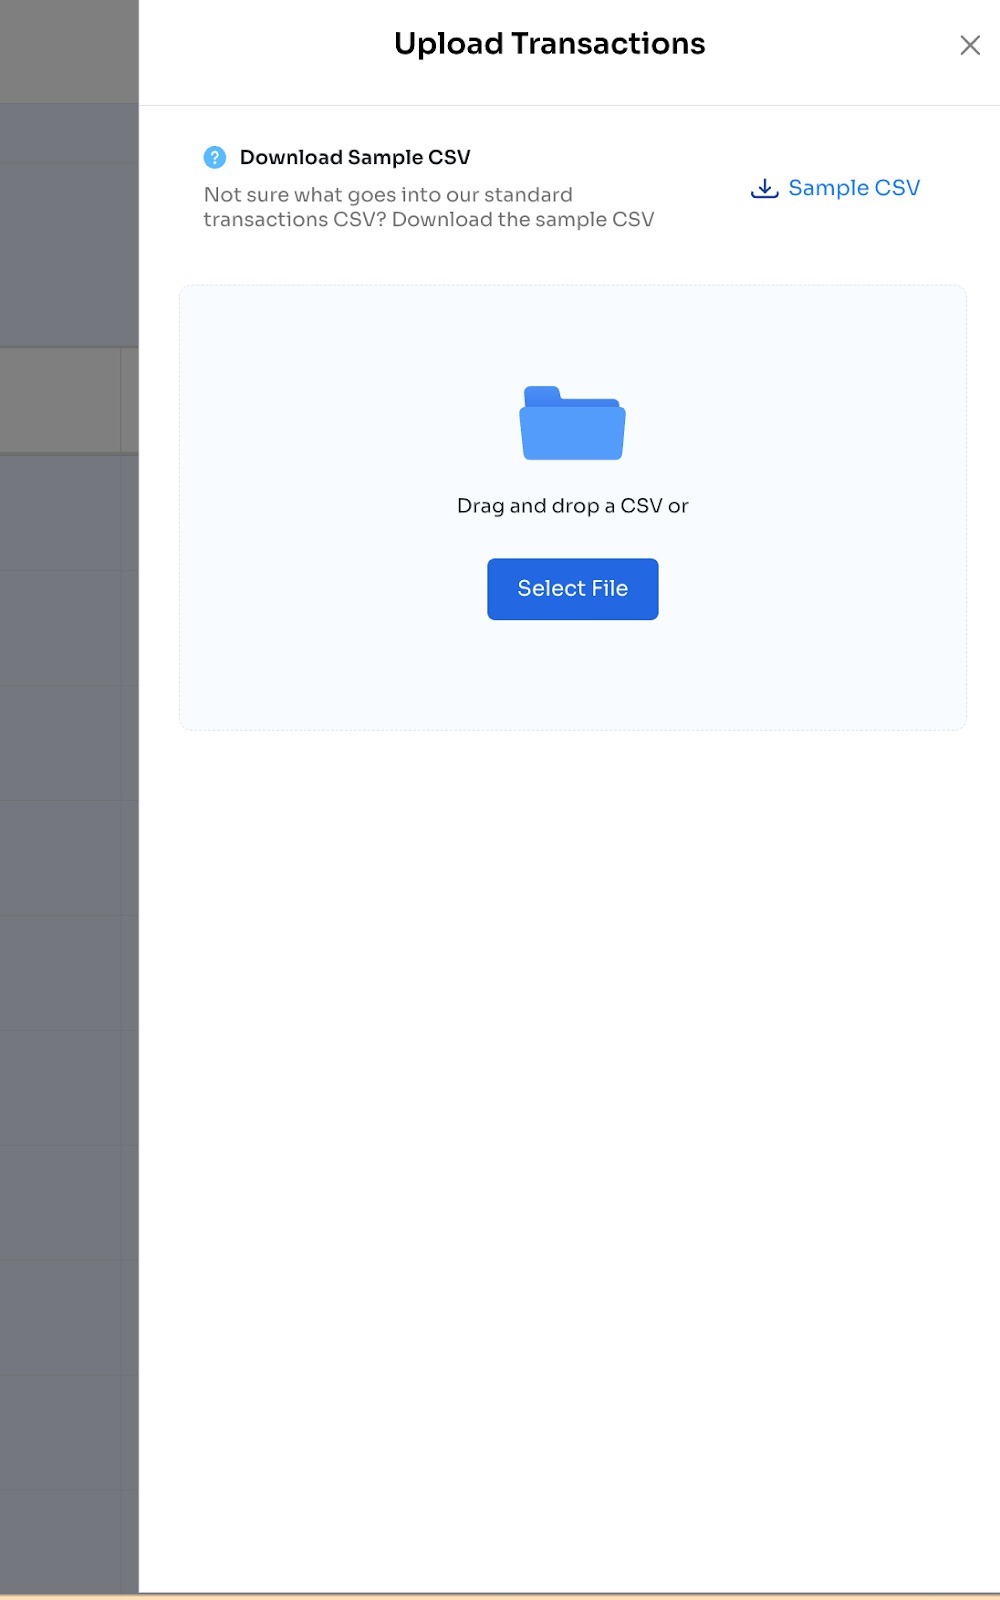
From here, the customer can download the sample CSV file, enter the details and upload the updated CSV back. Sample CSV:
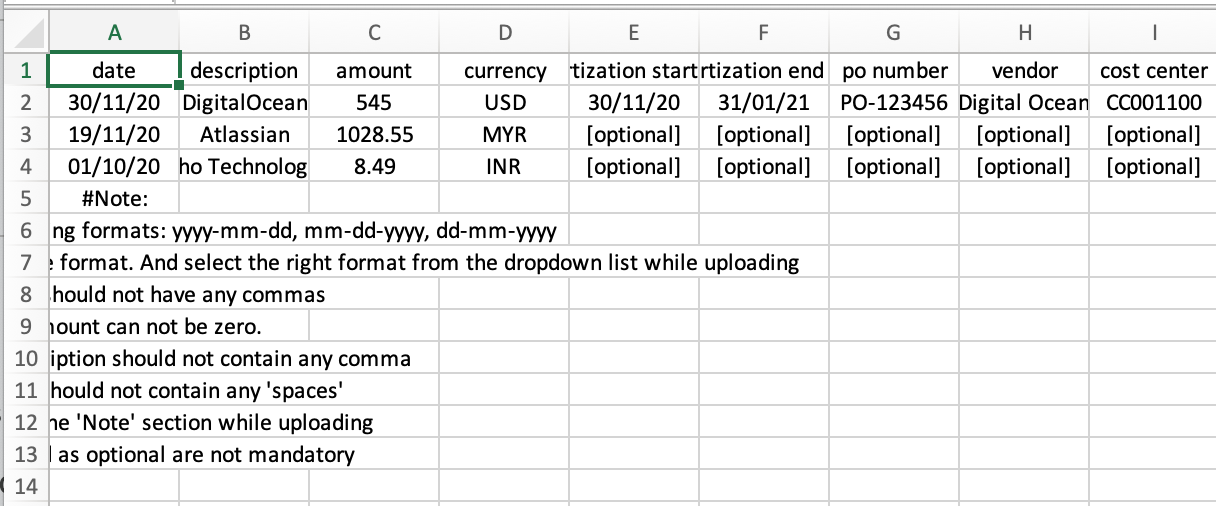
In the case of Vendor and Cost Centres, if the names in the CSV match with existing Vendor Names and Cost Centre names, then Zluri maps the transaction to the specific Vendor or Cost Centre. If not, then new Vendors/Cost Centres are created with the same name as entered in the CSV.
The data can also be sourced from financial integrations provided:
1. The fields are available in the API response of the expense management system
2. The client maintains the data the in their expense management system
If the customer selects a CSV file in the File Name column, the “Deactivate” button will appear in the top right corner. Please refer to the below snapshot:
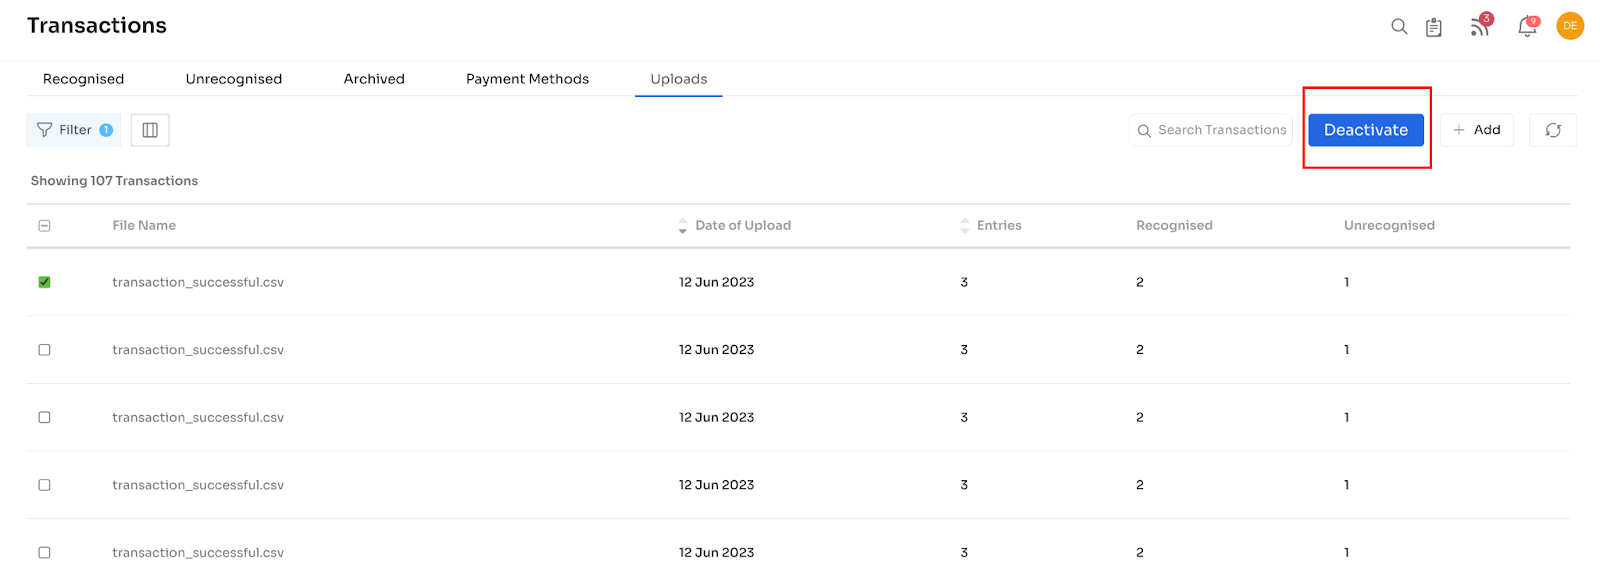
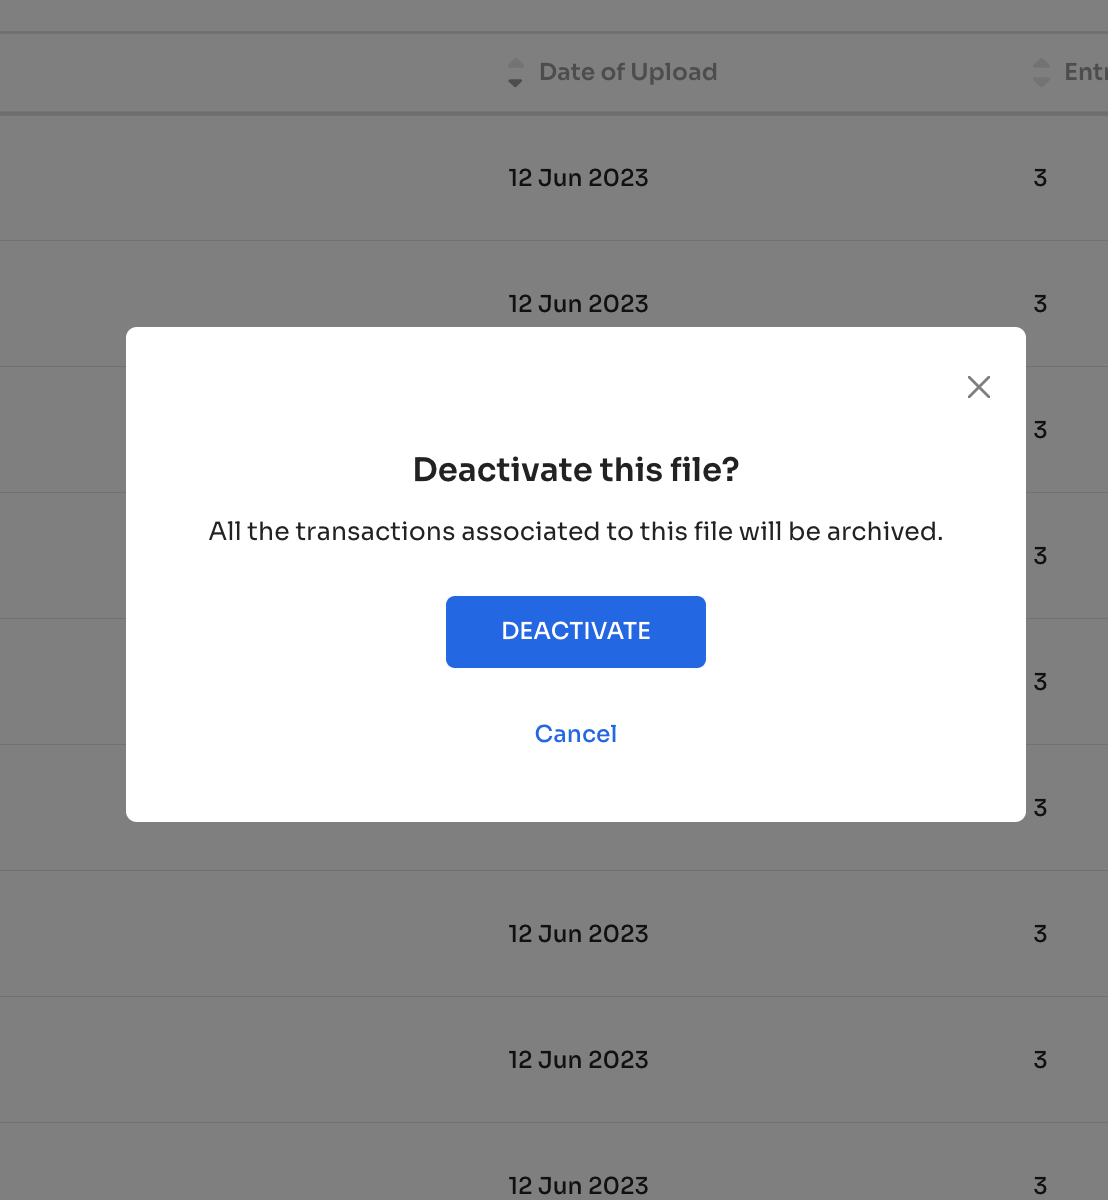
If they click on Deactivate button, the selected CSV file will be deactivated. Please refer to the snapshot:
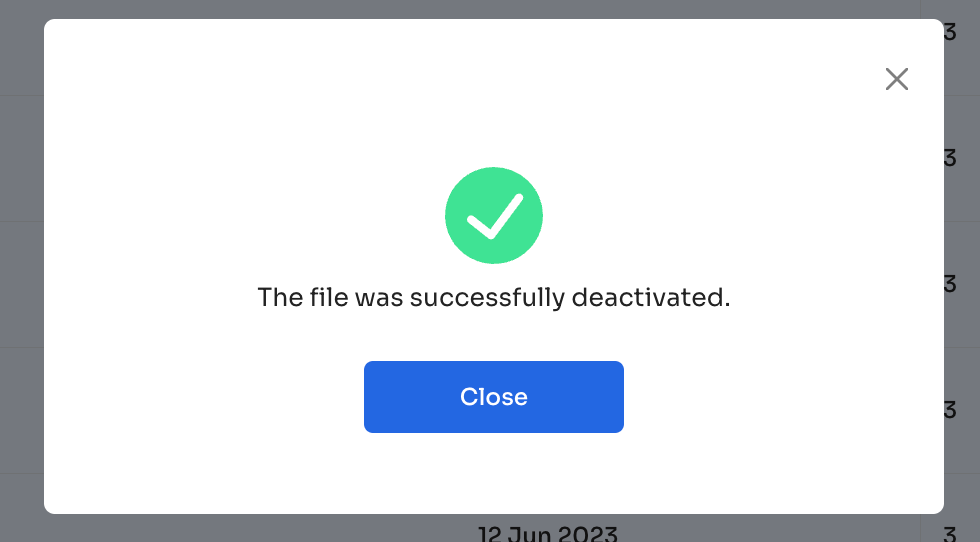
After deactivating a file, the below screen will appear:
Similarly, the customer can activate a deactivated file by mistake. Please refer to the below screenshot:
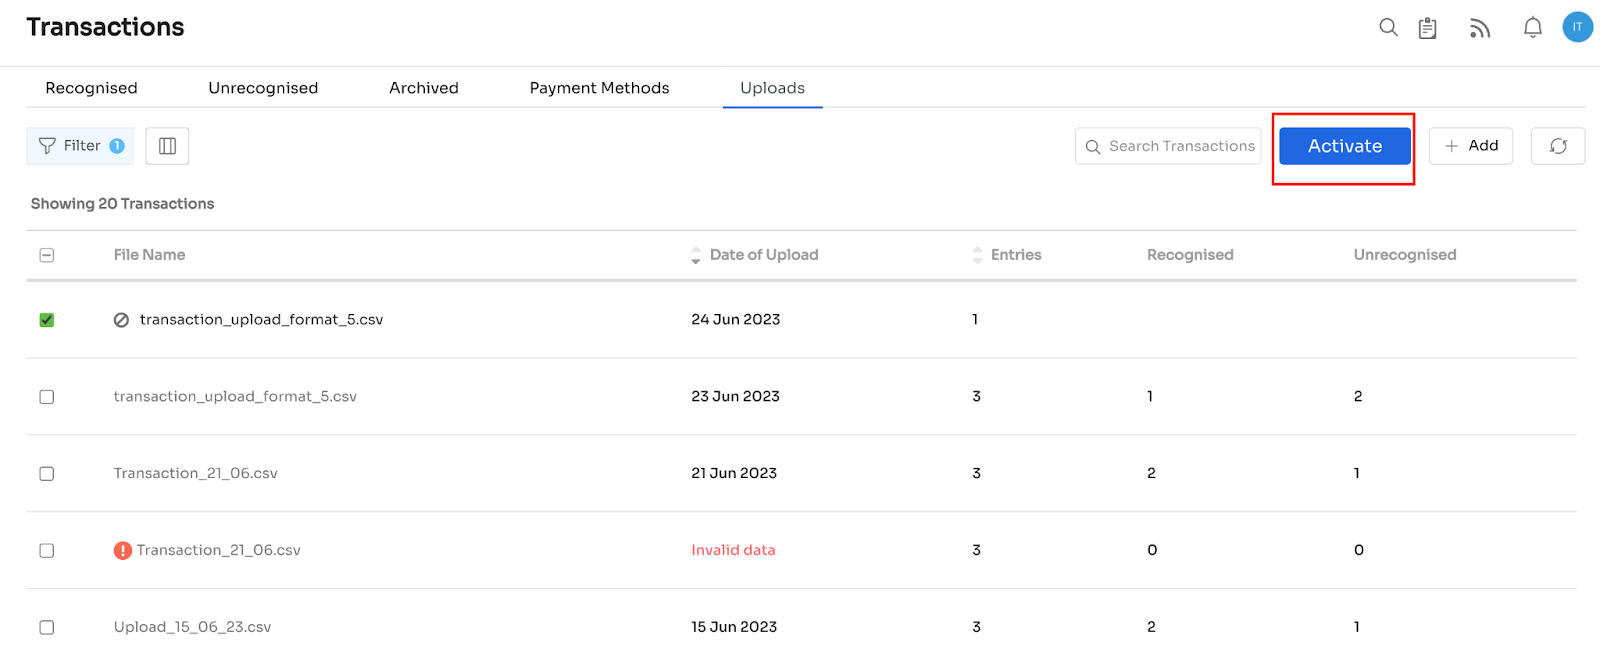
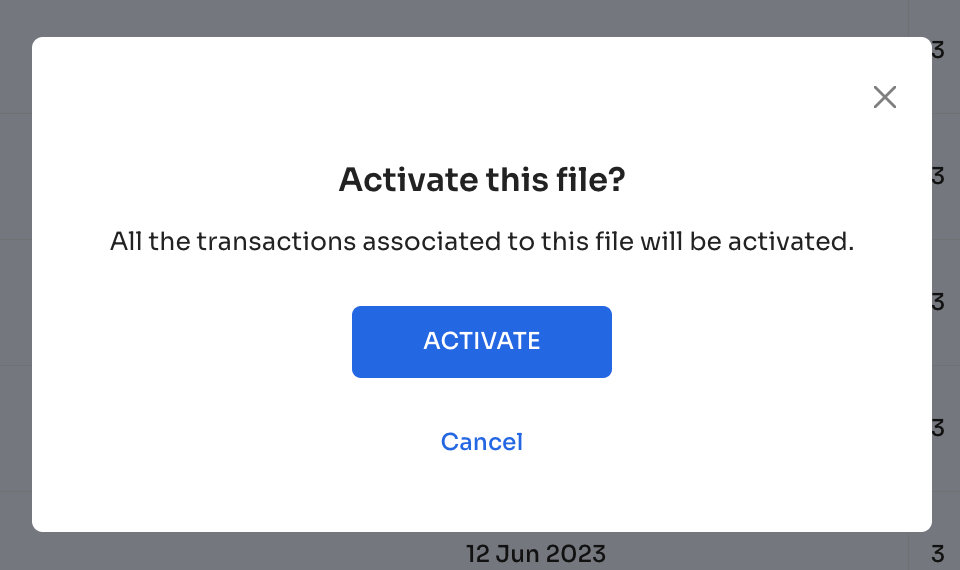
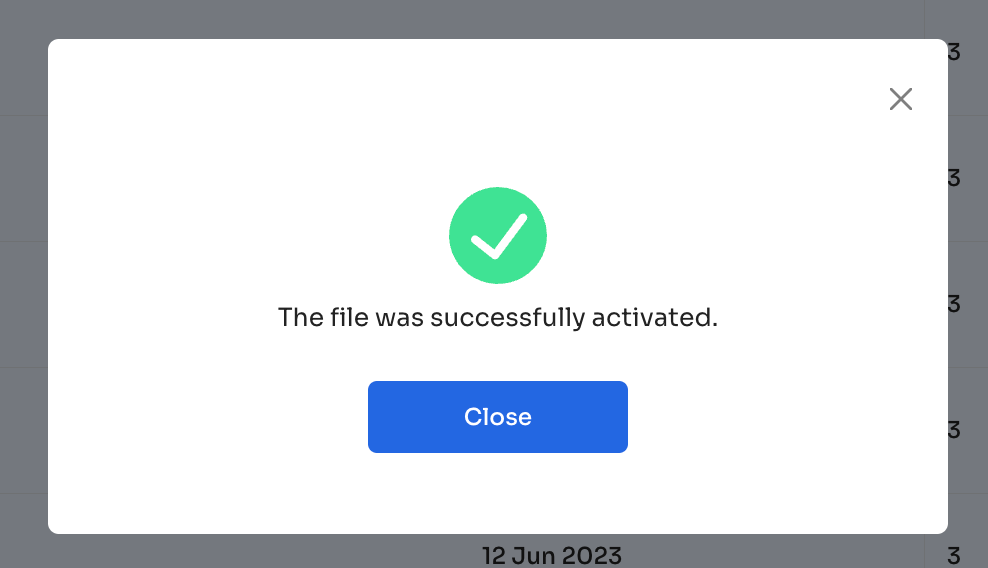
Once, the customer clicks on the “Activate” button, the file will be activated:
If the customer clicks on any file name in the Uploads section, it will open up new tabs inside the Uploads section with details of Recognised, Unrecognised and Archived transactions within that file.
For example, in the below screenshot, the first file has 3 transactions: 2 recognised and 1 unrecognised.

Uploads - Recognised
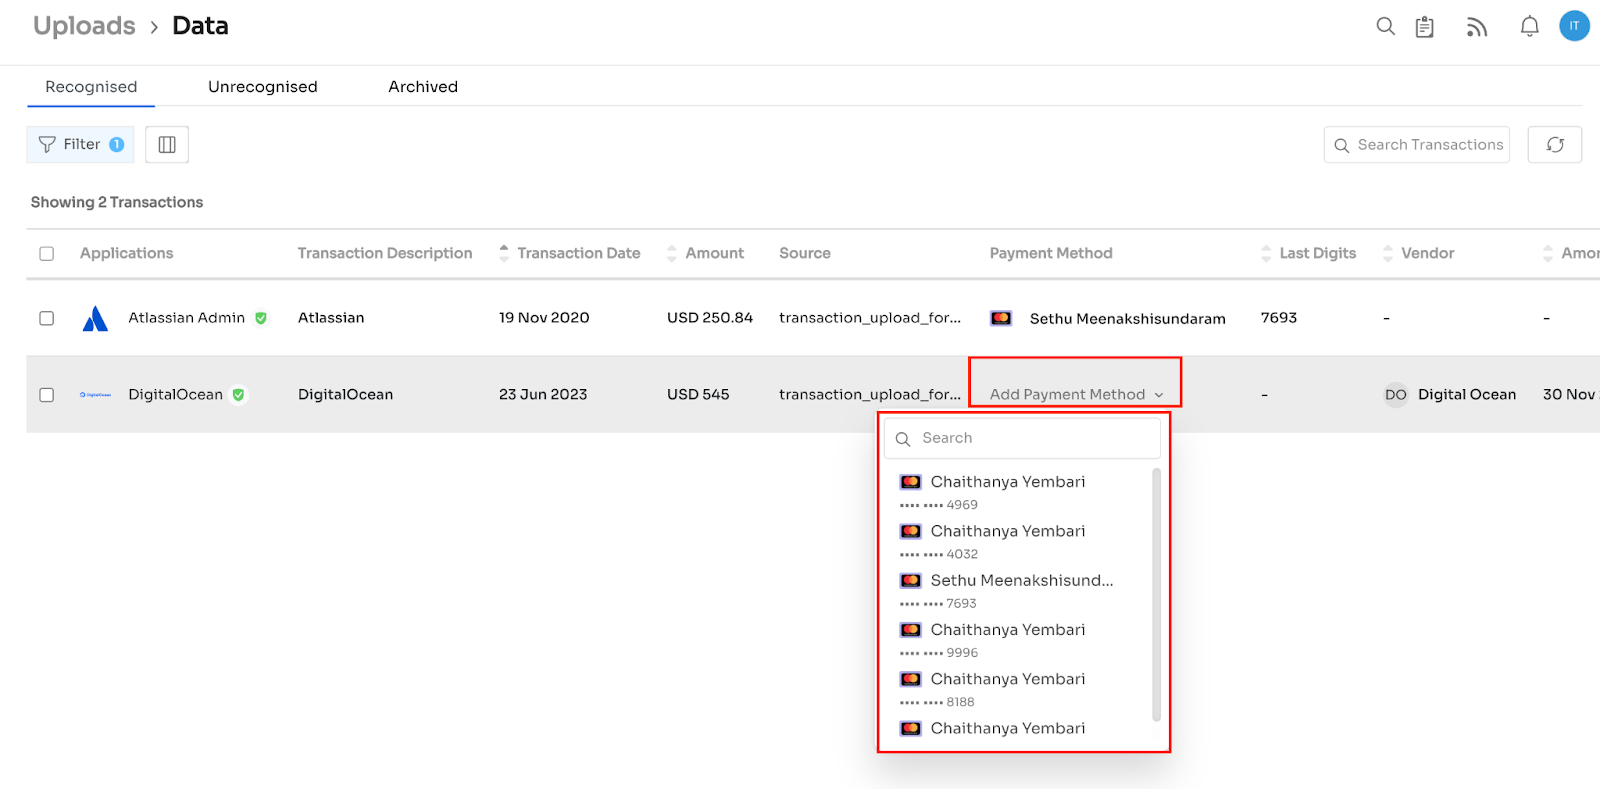
The number of transactions in the recognised tab is 2, as per the above example.

As shown earlier, the customer can change the payment method and do the bulk edit by selecting one or more transactions:

Also, the customer can change the payment method of any transaction by clicking on the down arrow button under Payment Method - Add Payment Method.
Uploads - Unrecognised
The number of transactions in the unrecognised tab is 1, as per the above example.

The customer can move the unrecognised transaction to the recognised category by clicking the “Assign to App” button.
Uploads - Archived
As per the above example, out of three transactions, none was archived. Hence, the below section will have 0 transactions.

Updated 5 months ago
