
AWS Identity Center
This guide explains how to connect an AWS account to Zluri using a custom IAM role and secure access delegation.
Prerequisites
- Administrator access to the AWS Management Console
- Permission to create and assign IAM roles
- Access to AWS Organizations, SSO, and IAM Identity Center
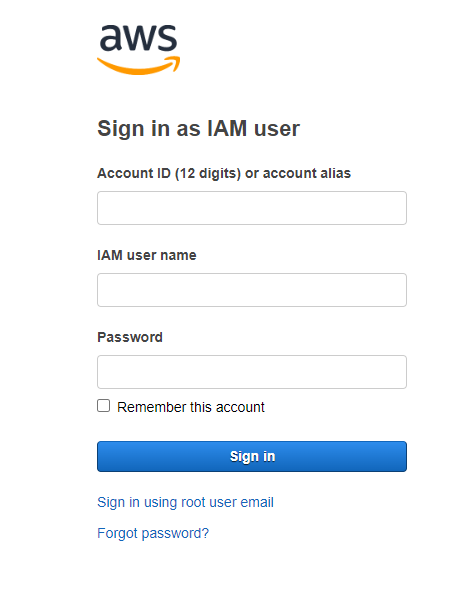
Step 1: Log in to AWS Console
-
Sign in to the AWS Management Console.
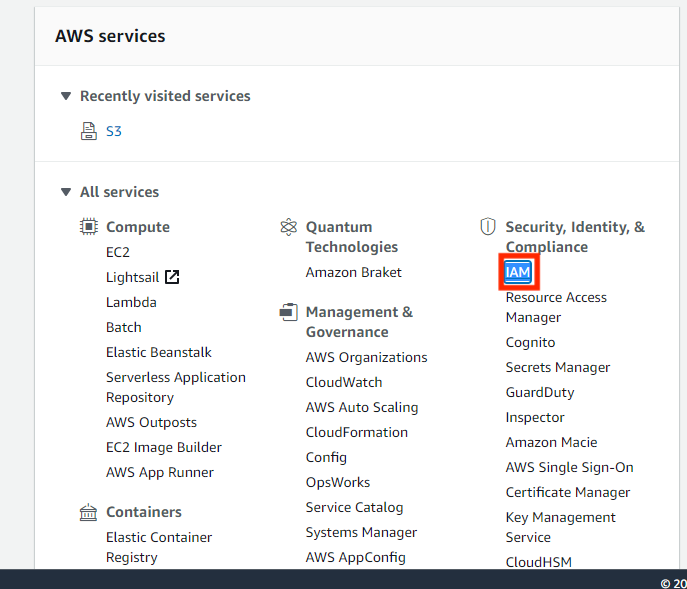
Step 2: Navigate to IAM
-
From the AWS home page, open the Services menu.
-
Select IAM to open the Identity and Access Management dashboard.
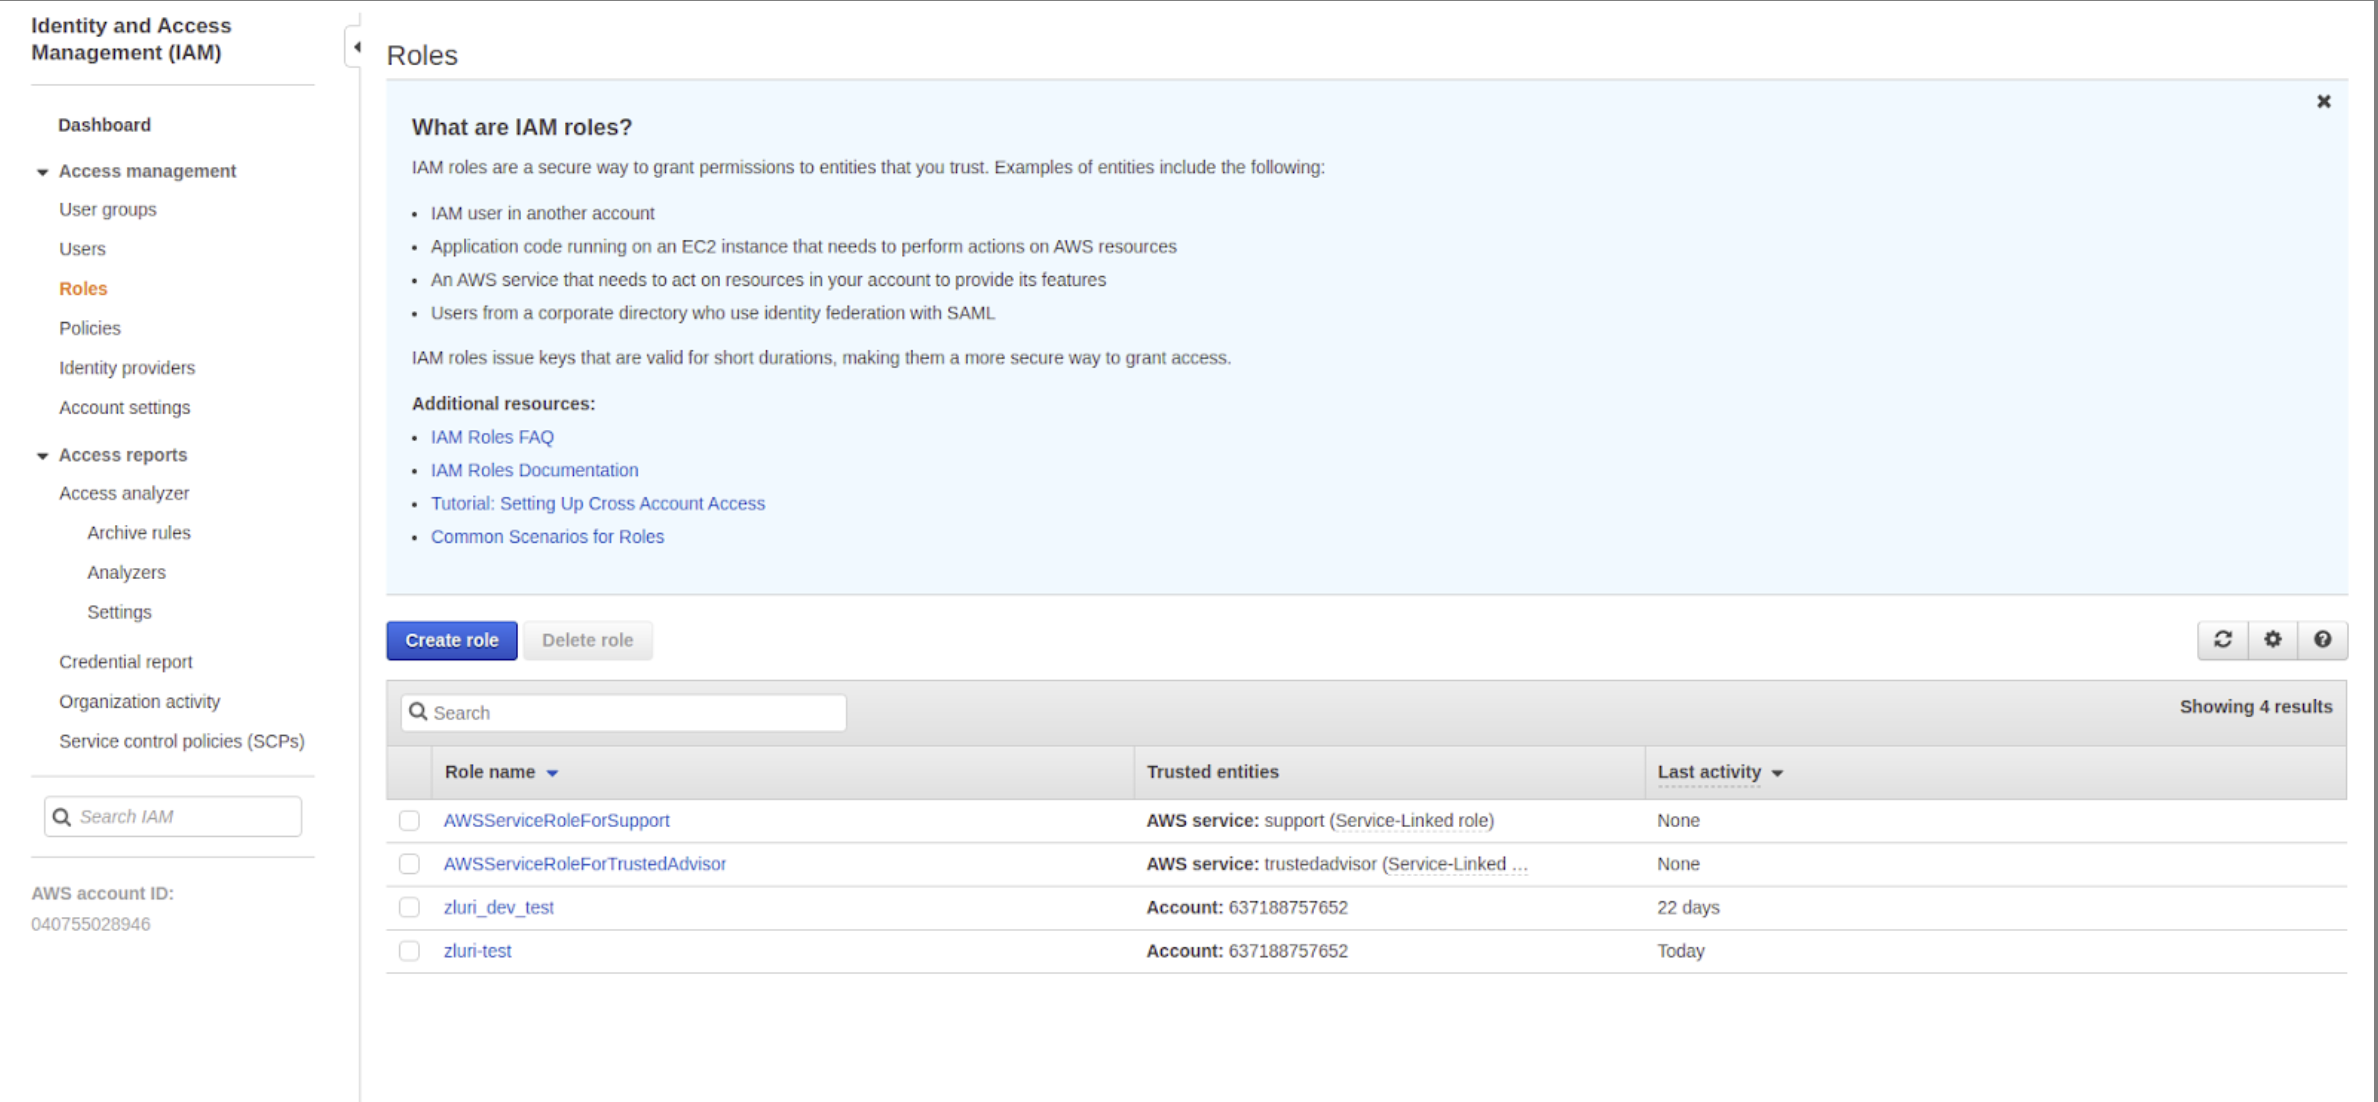
Step 3: Create a New IAM Role
-
In the IAM console, select Roles from the left navigation pane.
-
Click Create role.
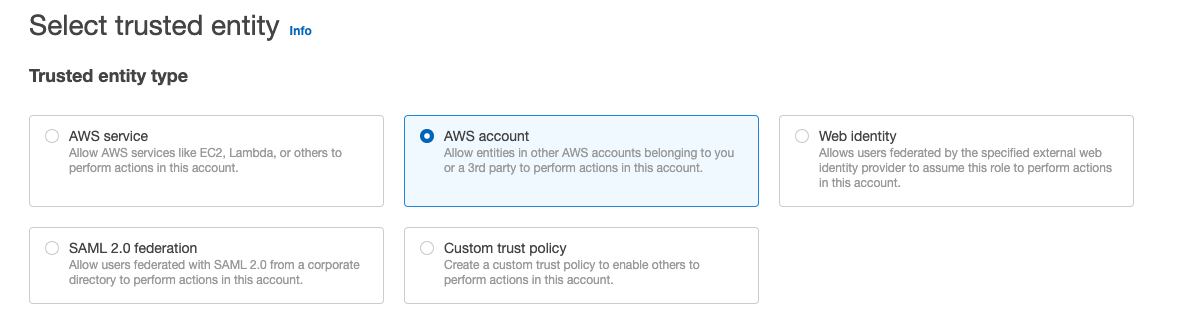
Step 4: Select the Trusted Entity Type
-
On the Trusted entity type screen, select AWS account.
Step 5: Configure Trusted Entity Details
-
Select Another AWS account as the trusted entity type.
-
Enter the Zluri AWS Account ID:
908321198367
-
Under Options, enable Require external ID.
-
Enter an External ID.
- Use the same value on the AWS integration page in Zluri.
-
Click Next.
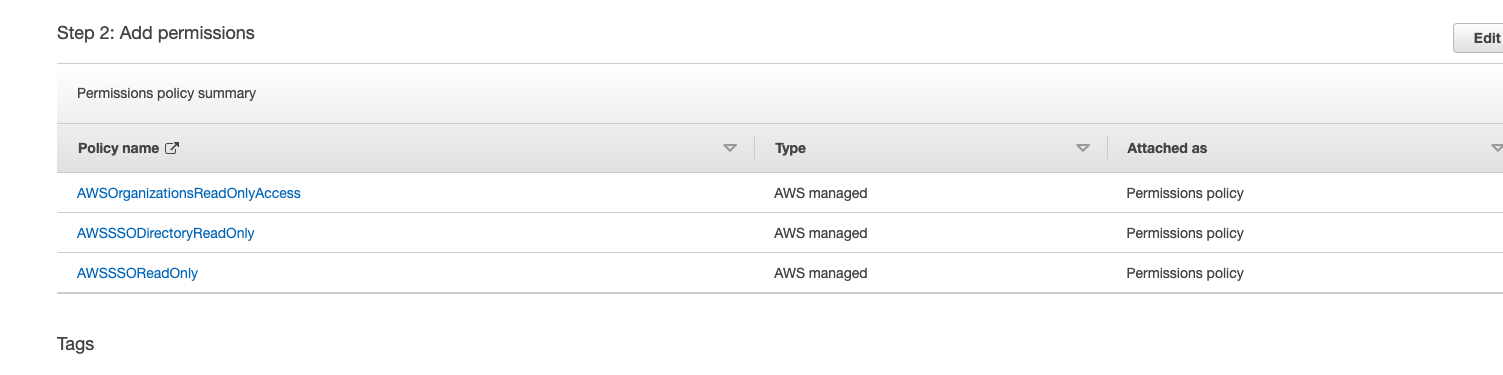
Step 6: Attach Required Policies
-
On the Permissions page, attach the following policies:
AWSOrganizationsReadOnlyAccessAWSSSOReadOnlyAWSSSODirectoryReadOnly
-
Click Next.
Step 7: Review and Create the Role
- On the Review screen, set the Role Name to:
Zluri_AWS_Integration_IDC - Review all settings and click Create role.
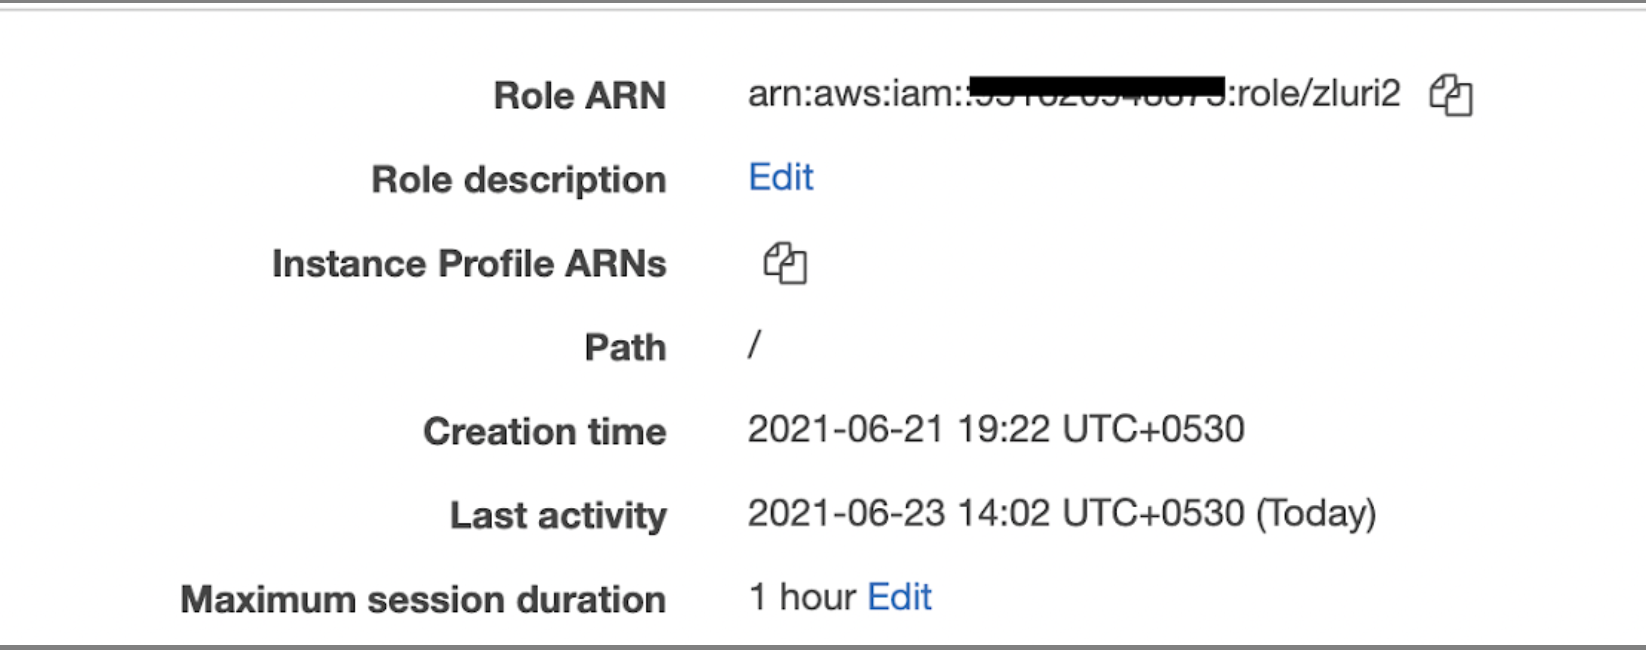
Step 8: Retrieve Role Details
- Open the newly created role.
- In the Role Summary page, copy the Role ARN.
- Paste this value into Zluri under Role ARN.
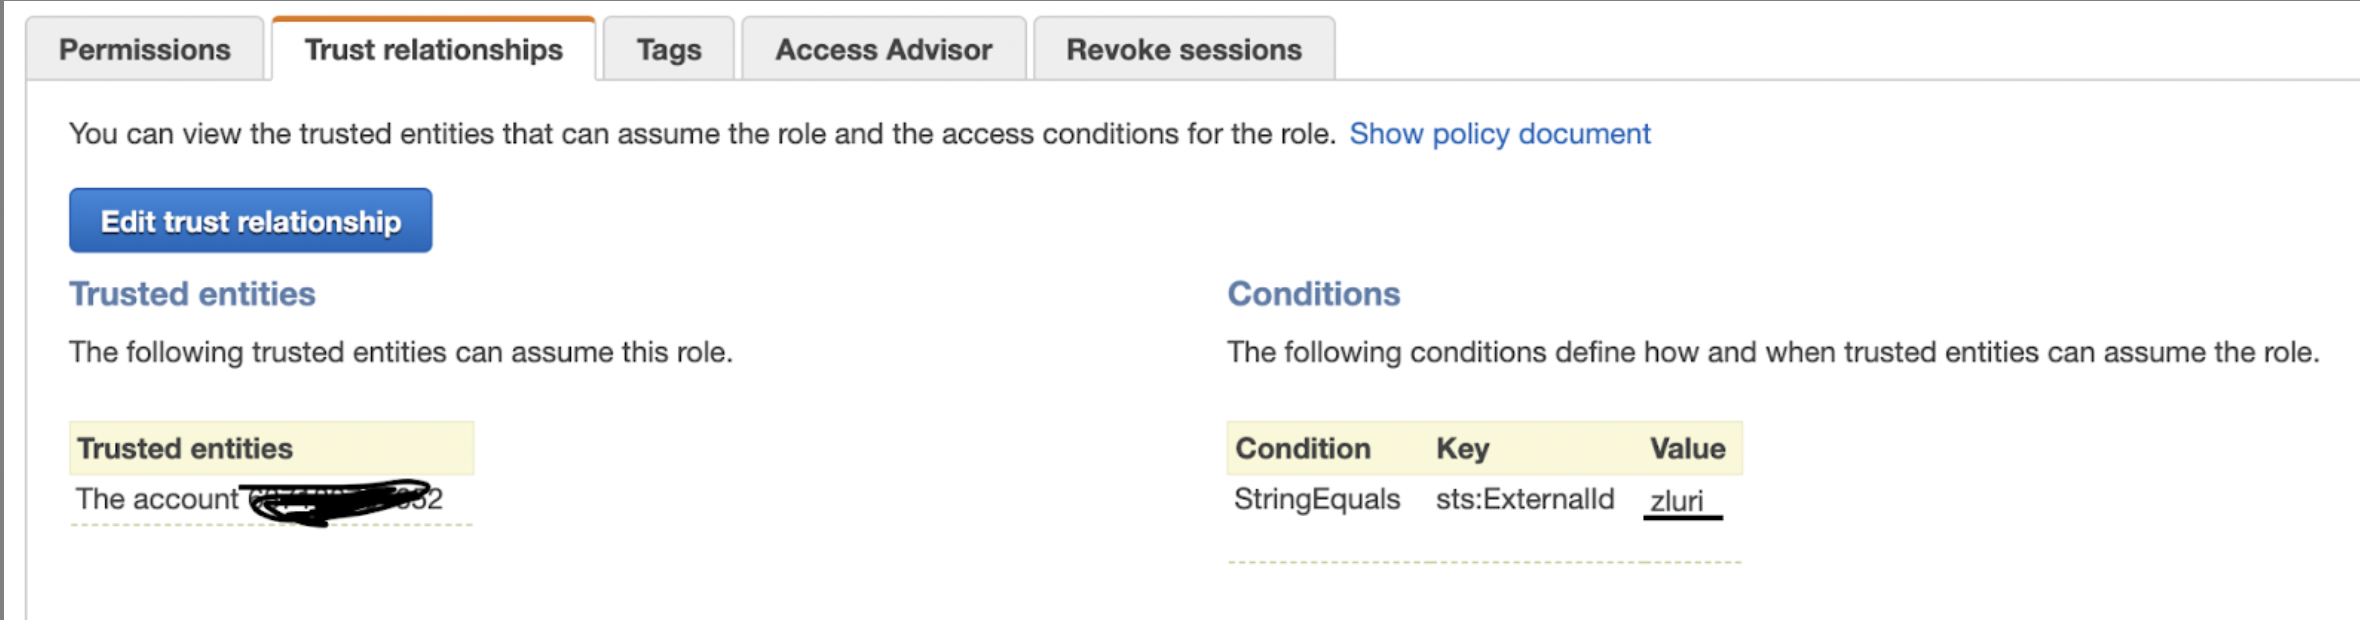
Step 9: Verify the External ID
-
In the Trust relationships tab, locate the External ID configured for Zluri.
-
Ensure it matches the ID used in Zluri’s integration setup.
Step 10: Retrieve the Identity Store ID
-
Navigate to AWS IAM Identity Center → Settings.
-
Copy the Identity Store ID.
-
Use this value in Zluri under Identity Store ID.
Step 11: Select AWS Region
- Identify the AWS Region where the organization’s resources are managed.
- Enter the same region in Zluri’s integration configuration.
Step 12: Define the External ID Format
When creating the External ID, only the following characters are supported:
a-z,A-Z,0-9,_,+,=,,,.,@,:,/,-
Step 13: Complete the Integration in Zluri
- Log in to Zluri.
- Navigate to Sources → Integrations → AWS.
- Enter the following details in the integration form:
- Role ARN (from Step 8)
- External ID (from Step 9)
- Identity Store ID (from Step 10)
- Region (from Step 11)
- Click Connect to finalize the setup.
Integration Complete
Zluri now has secure, read-only access to the AWS account for data monitoring and analysis.
Updated about 4 hours ago