Connect
Connect HiBob to Zluri
Use this guide to create a service user in HiBob and connect it to Zluri. This setup allows Zluri to fetch employee lifecycle data and attributes for automating access provisioning, reviews, and offboarding.
Prerequisites
- Admin access to HiBob
- Admin access to Zluri
- A clear understanding of required user attributes and lifecycle statuses
Step-by-Step Instructions
Step 1: Log in to HiBob
Go to https://app.hibob.com/login/home and sign in with admin credentials.
Step 2: Open the Service Users Section
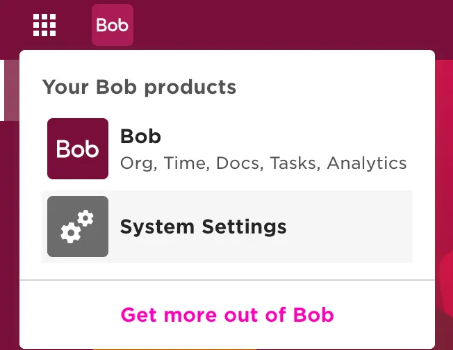
- Click the menu icon in the top-left.
- Go to System Settings.
- In the left panel, click Integrations.
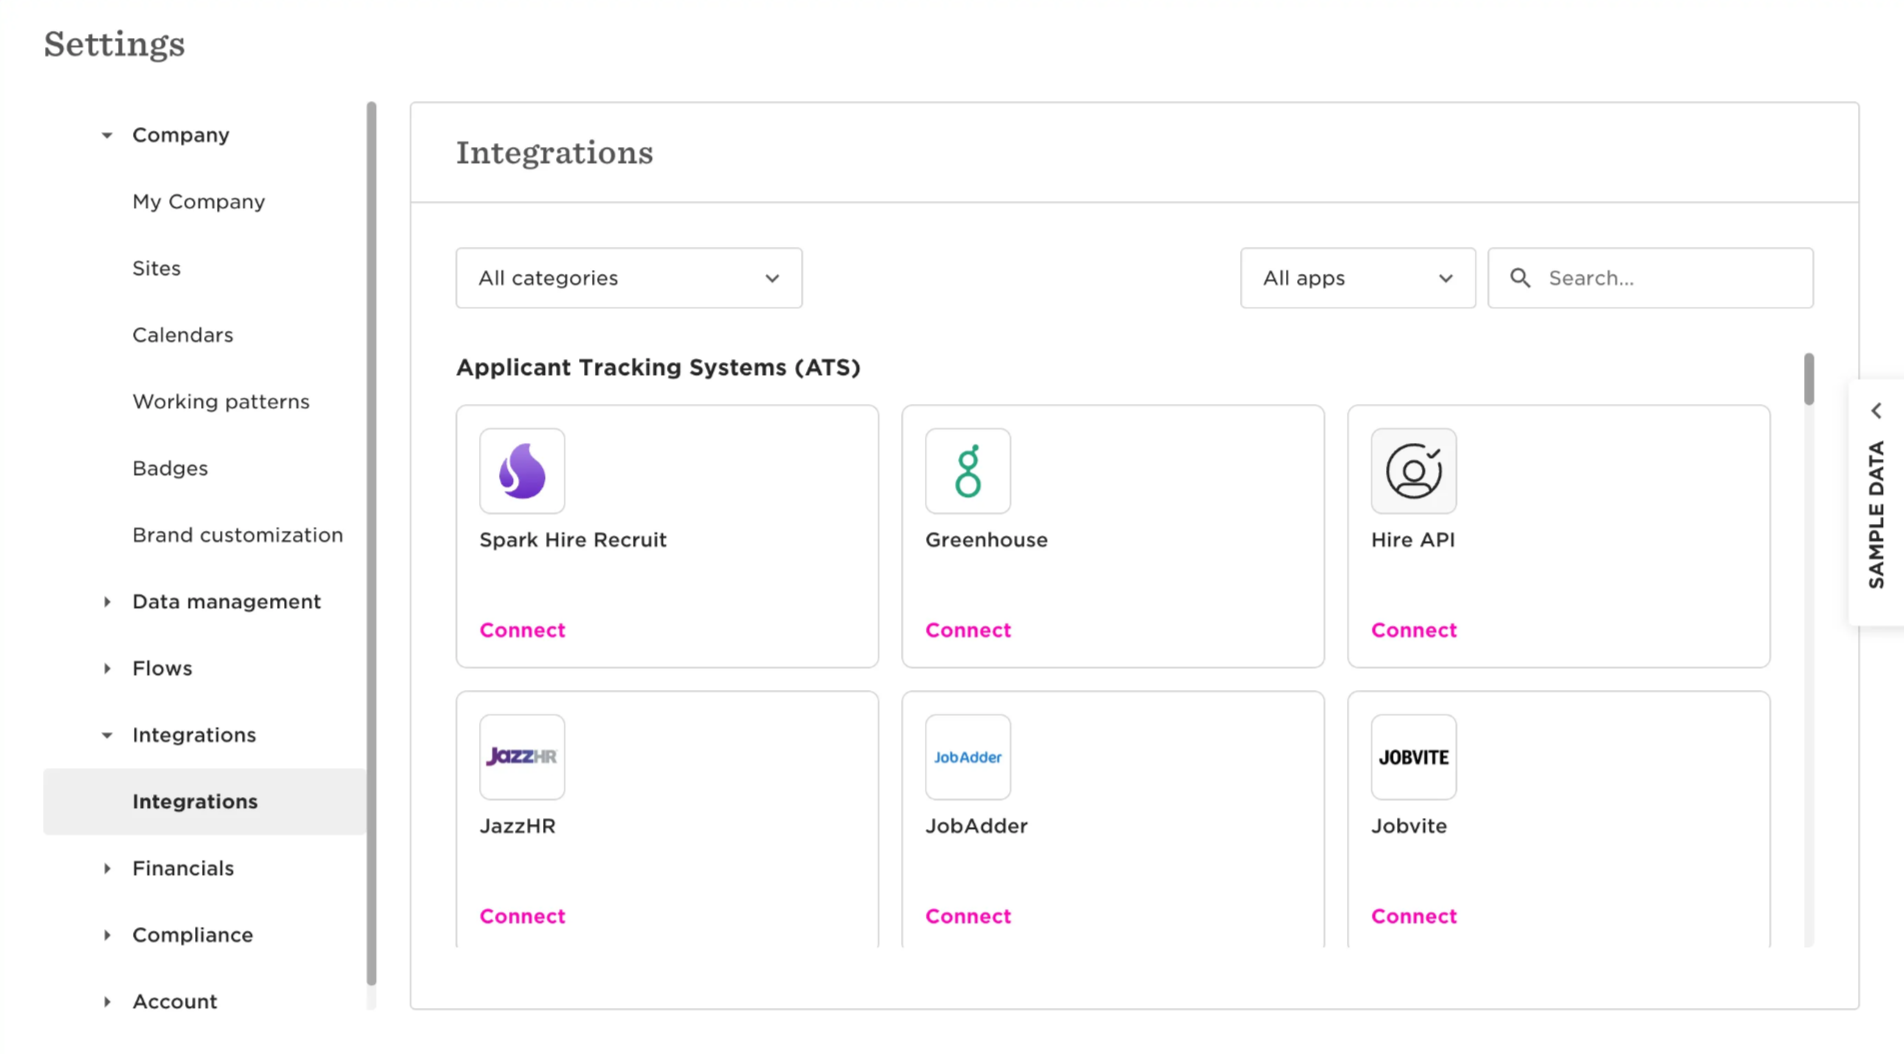
- Scroll to the Automation block.
- Click Service Users.
- Click Manage.

Step 3: Create a Service User
- Click Create service user.
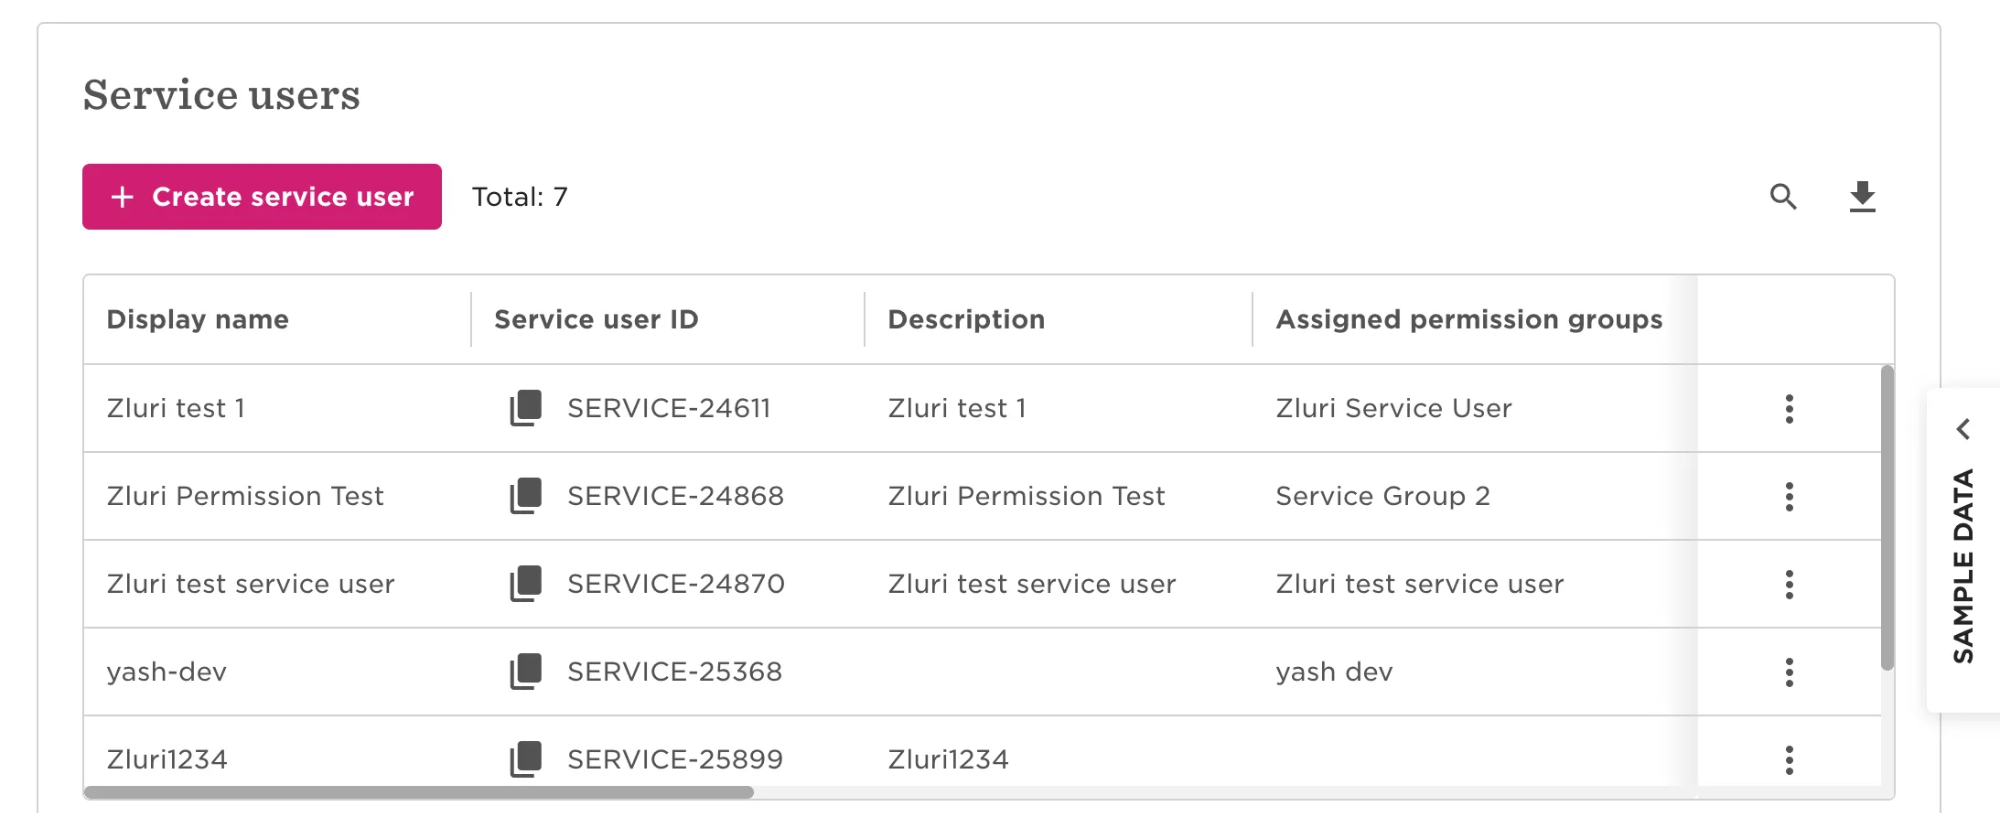
- Enter a display name (e.g.,
Zluri Service User). - Optionally add a description.
- Click Create.
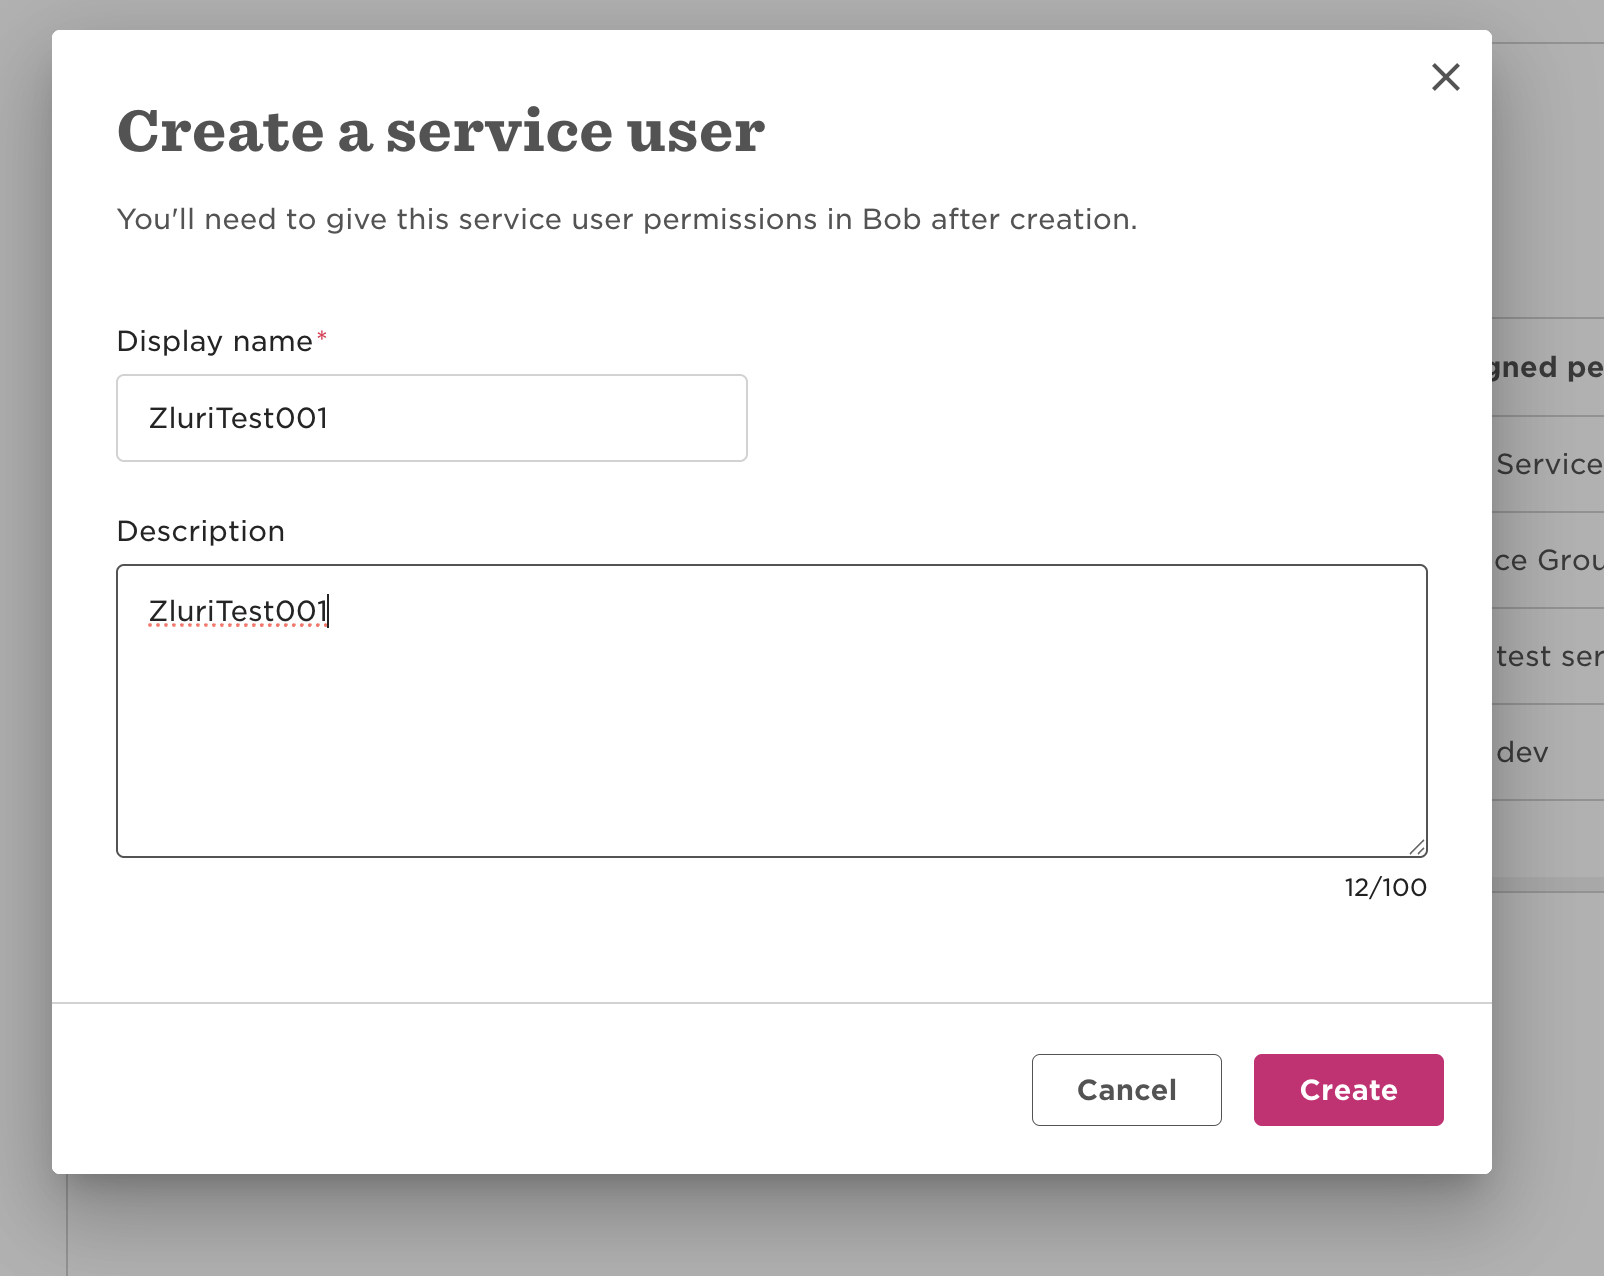
Step 4: Copy Credentials
After creating the service user:
- Copy the Service User ID and Token.
HiBob shows this info only once. Store both securely. You’ll need them while connecting the integration in Zluri.
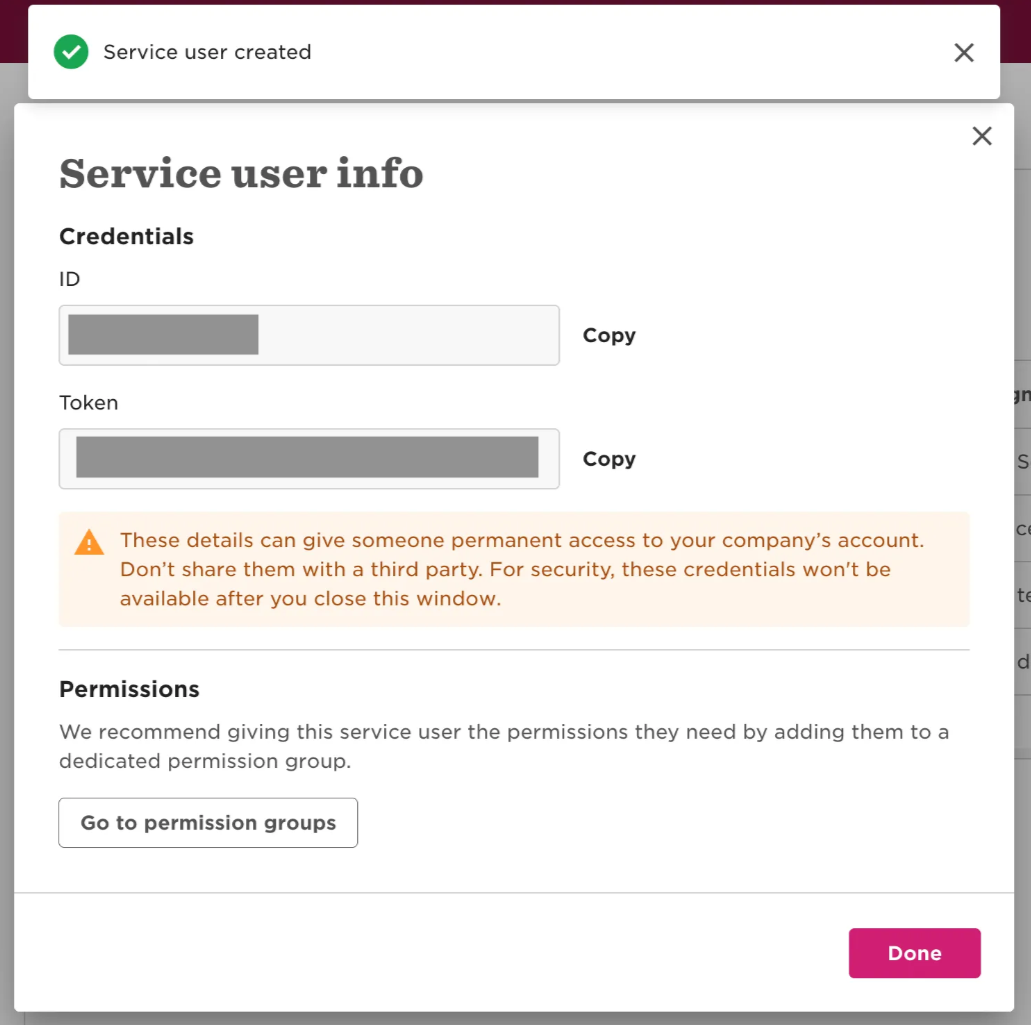
Step 5: Create a Permission Group
- In the success dialog, click Go to permission groups, or manually go to:
- System Settings → Account → Permission Groups
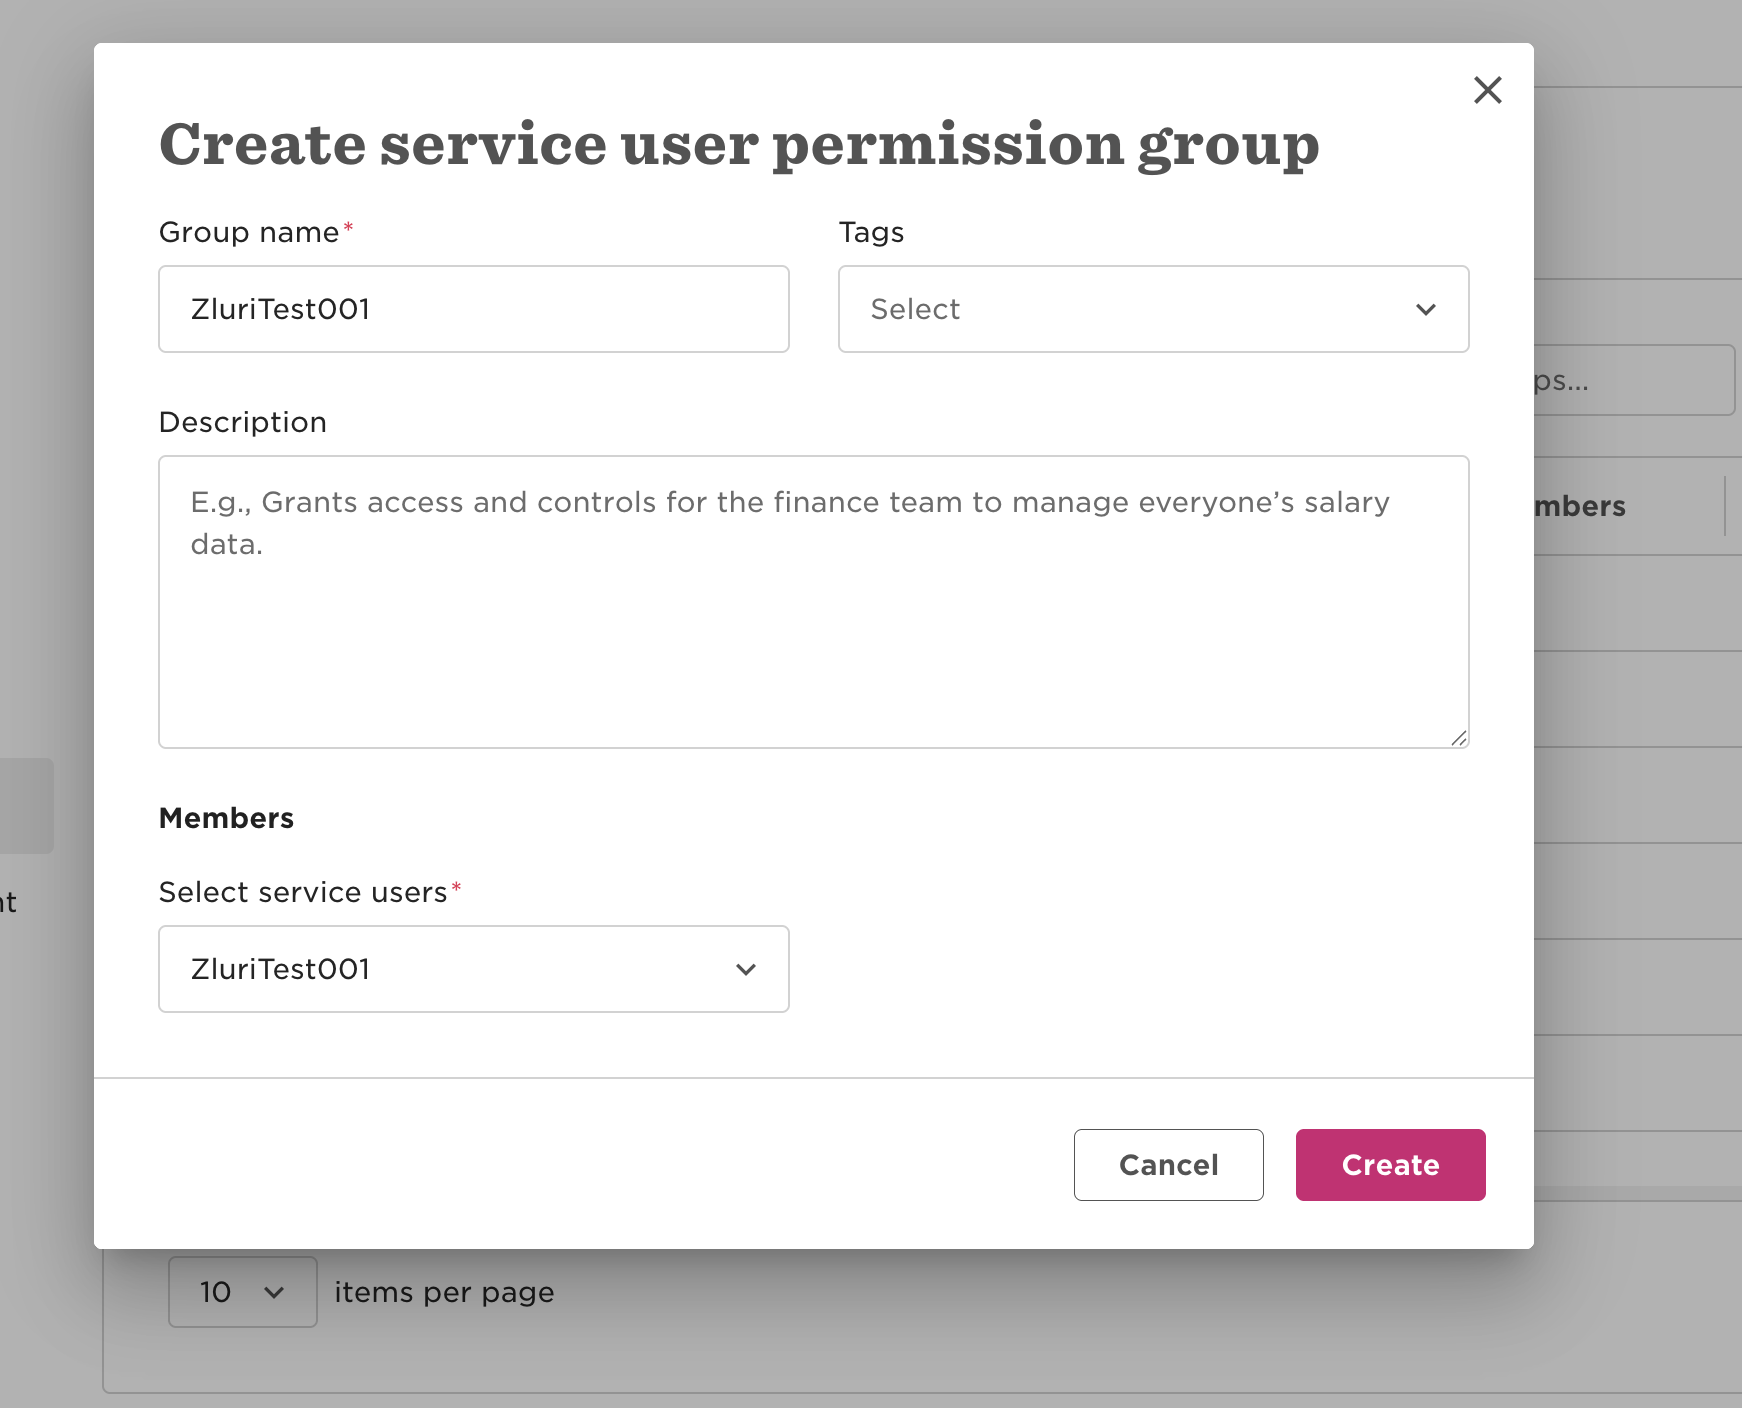
- Click Create permission group.
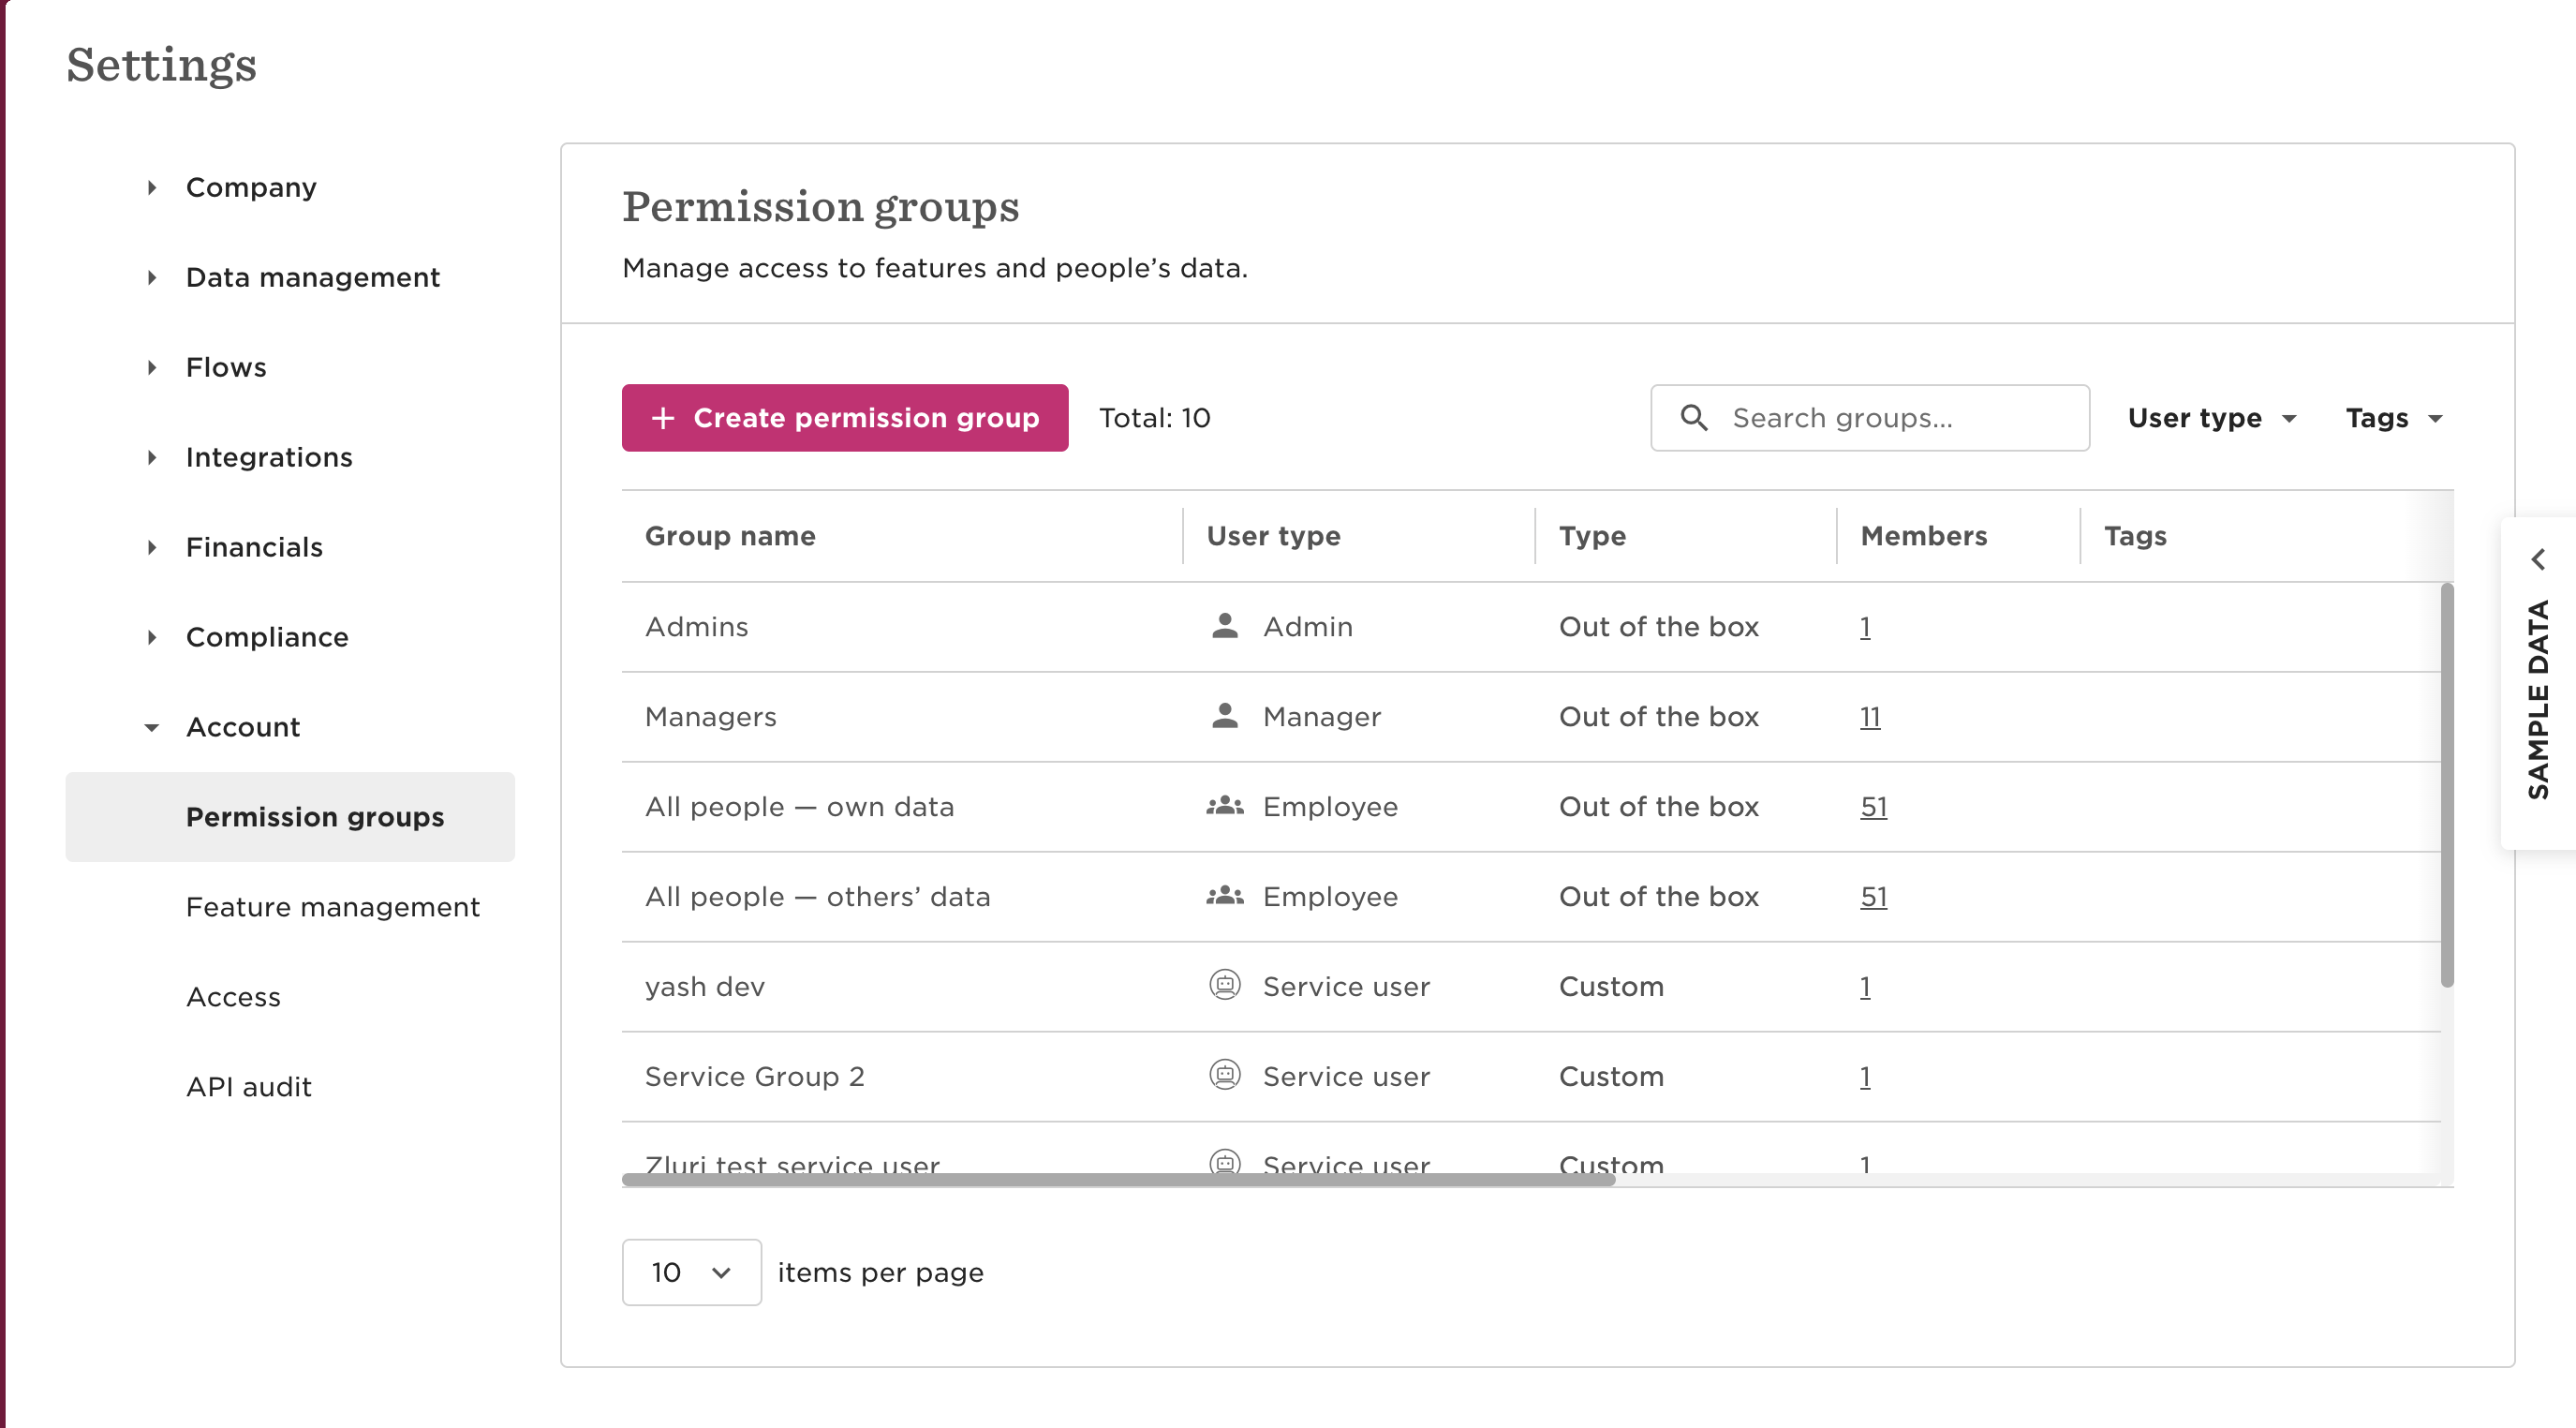
- From the dropdown, select Service user as the user type.
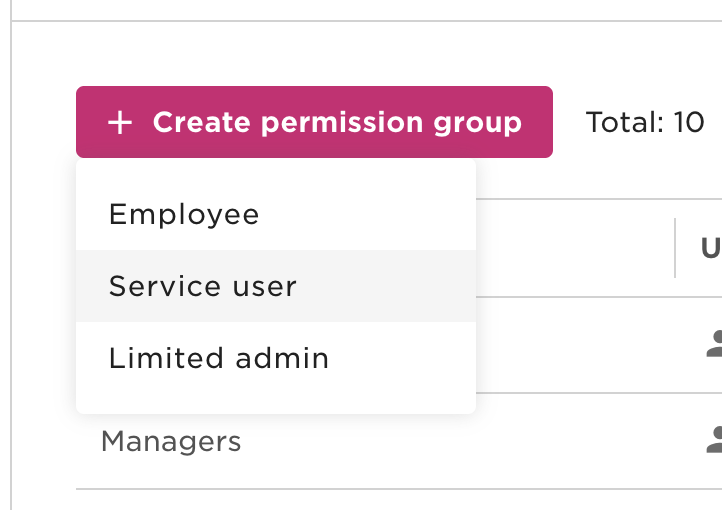
- Enter a group name. Use the same name as the service user for clarity.
- Optionally, add a description or tags.
- Under "Select service users", choose the service user created in Step 3.
- Click Create, then confirm the addition.
Step 6: Define User Scope Using Lifecycle Filters
-
Open the newly created permission group.
-
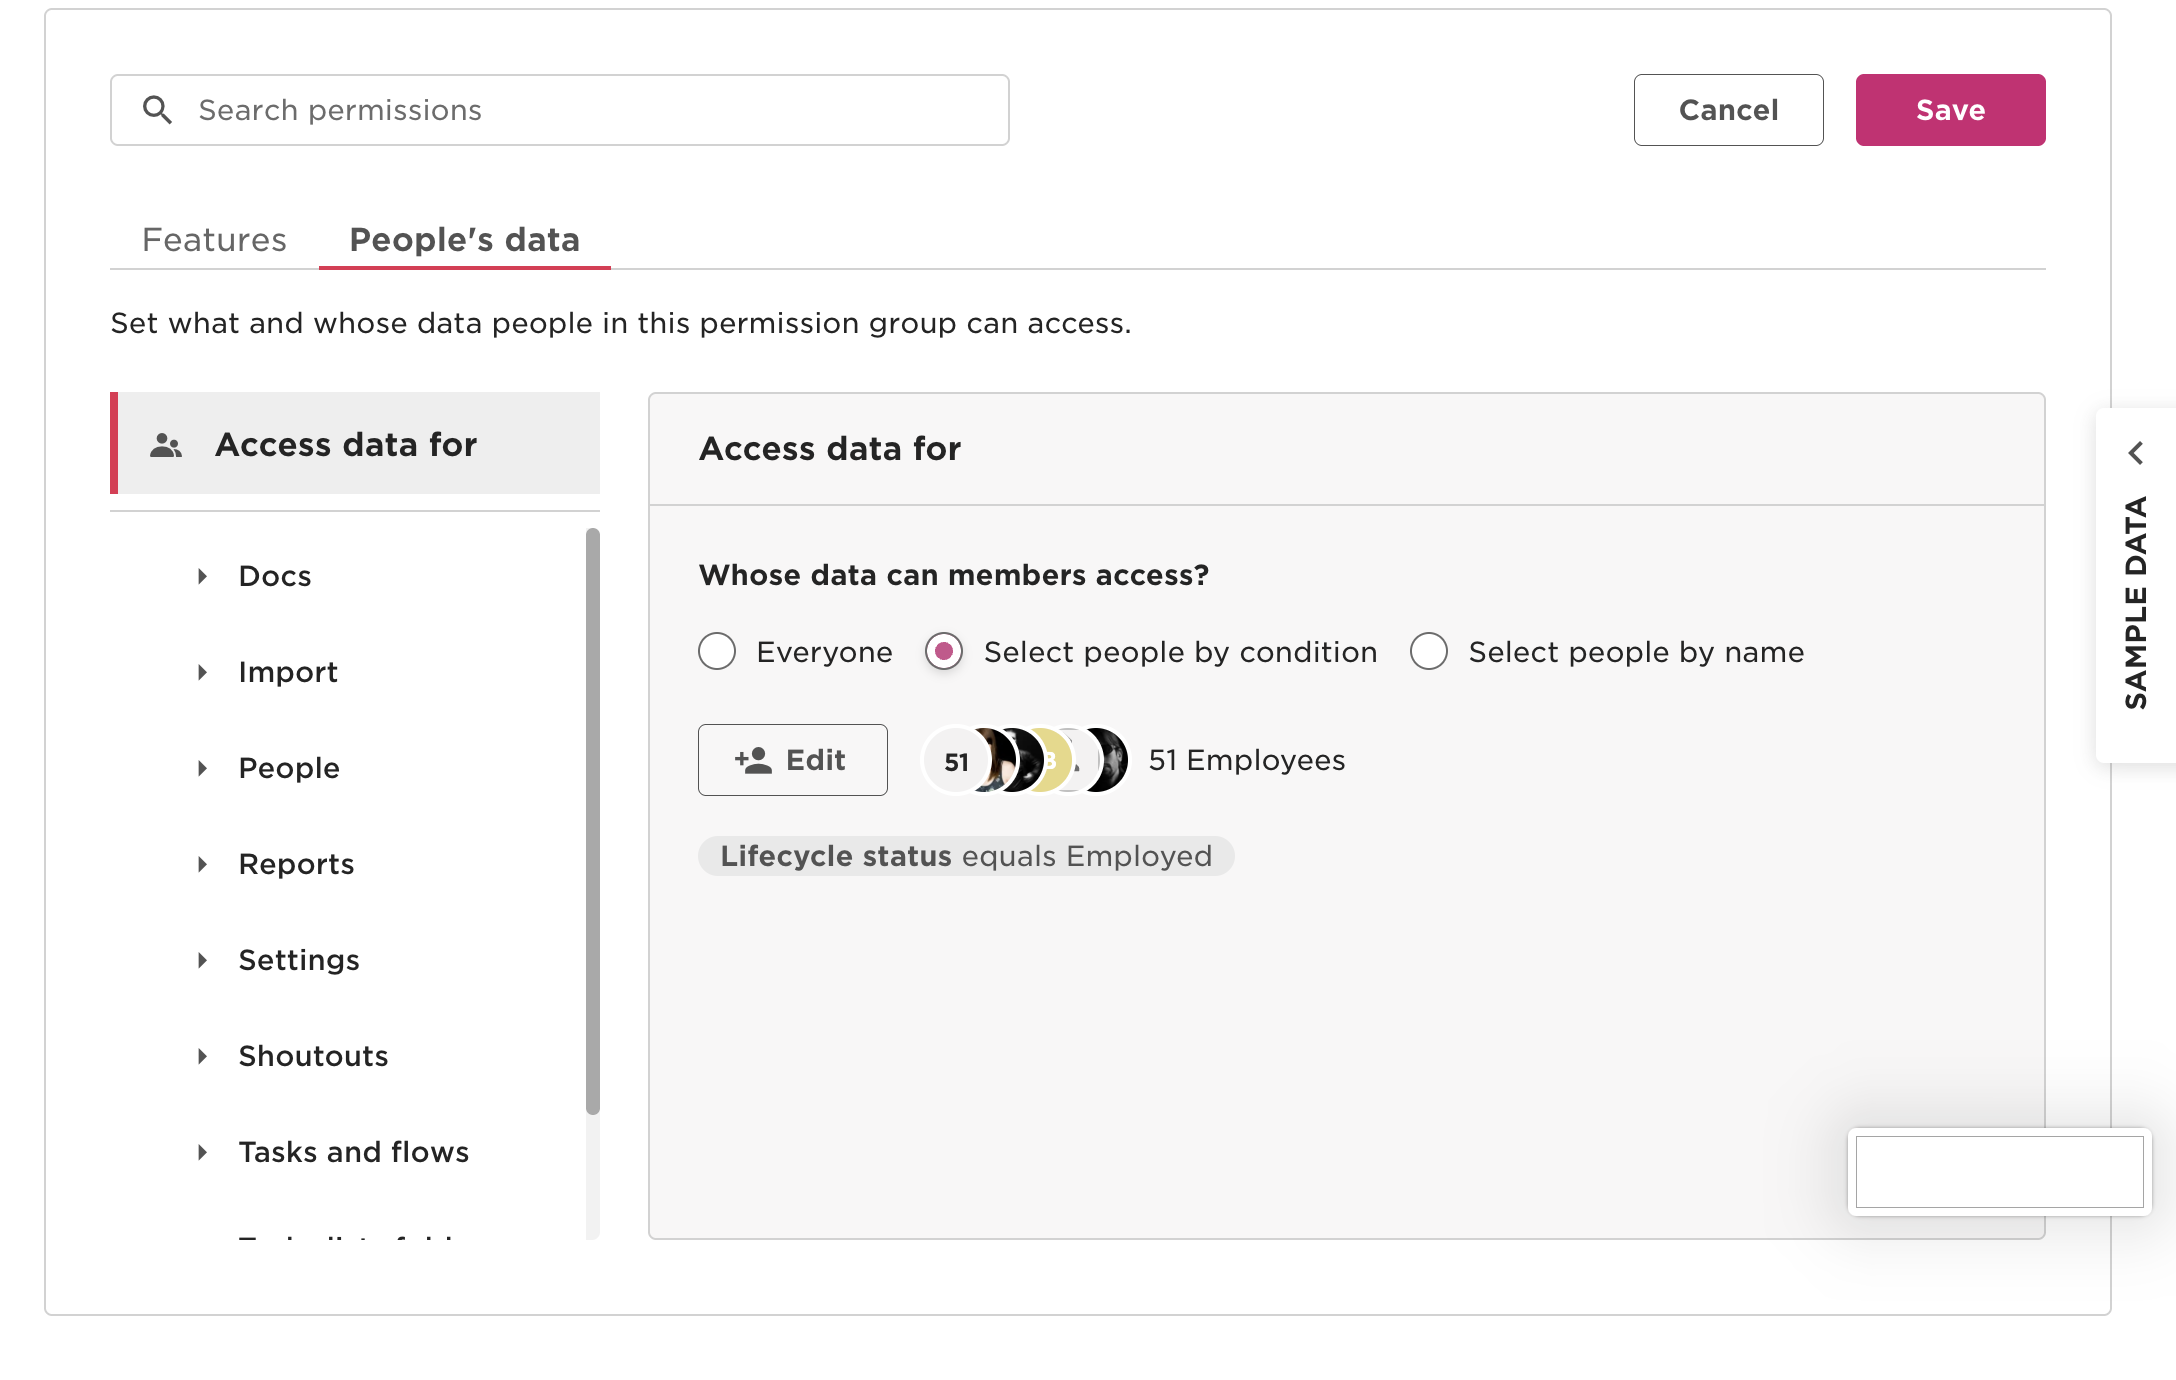
Click the People’s Data tab.
-
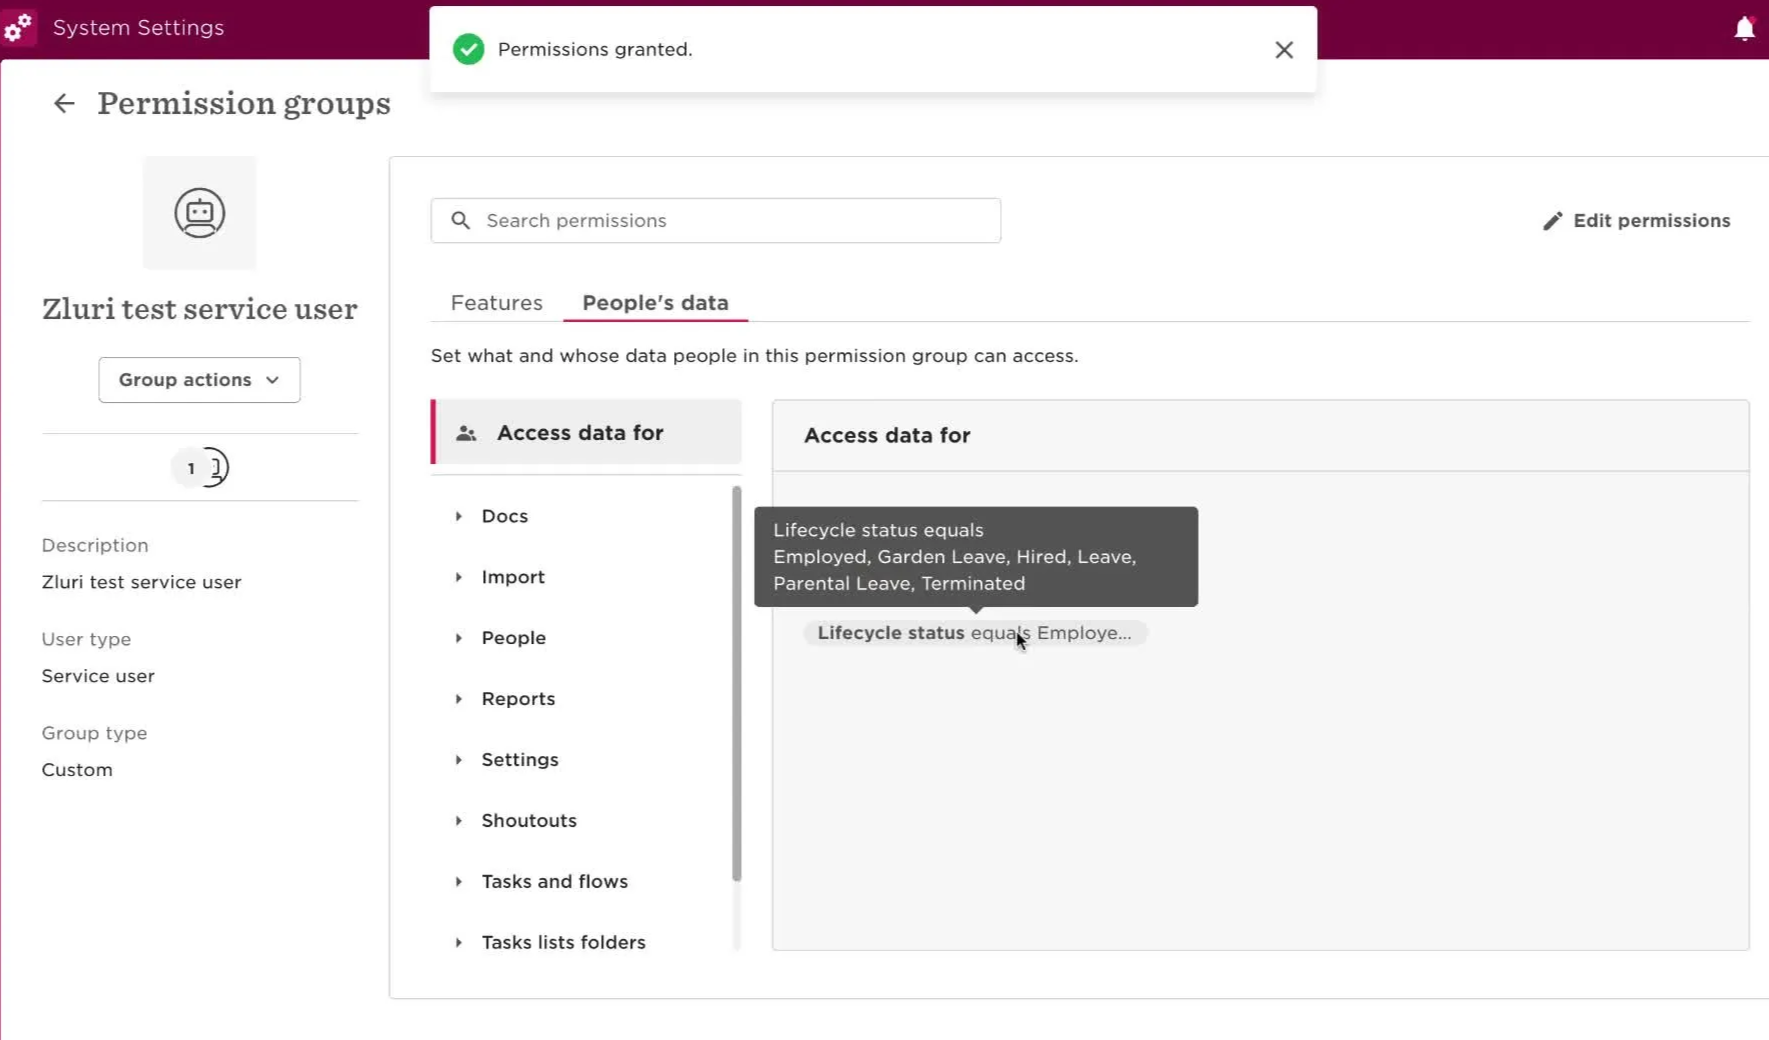
Under Access data for, choose:
- Select people by condition
-
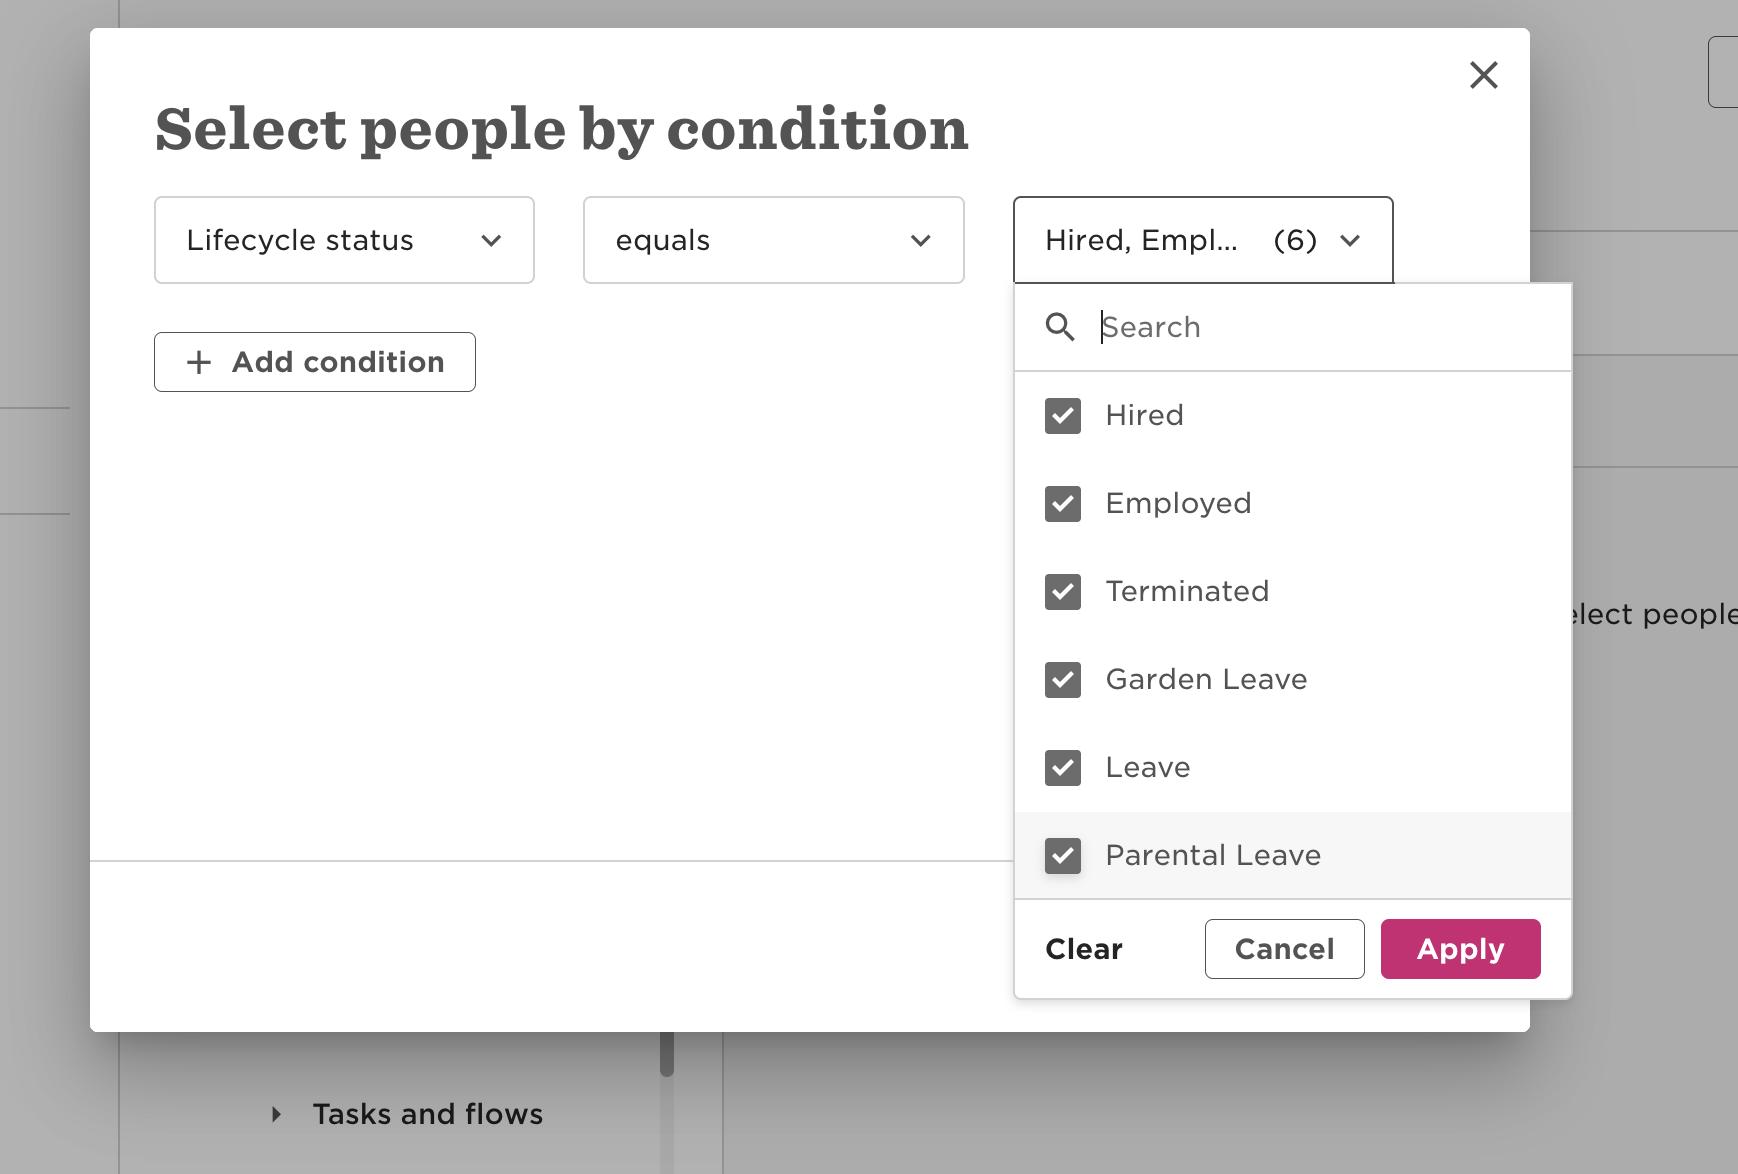
Edit the lifecycle filter to include:
- Hired
- Employed
- Terminated
- Leave
- Garden Leave
- Parental Leave
-
Click Apply.
Do not limit access to “Employed” only. Zluri uses lifecycle data to onboard, offboard, or pause access, so all statuses must be selected.
Step 7: Enable Access to Required Data Sections
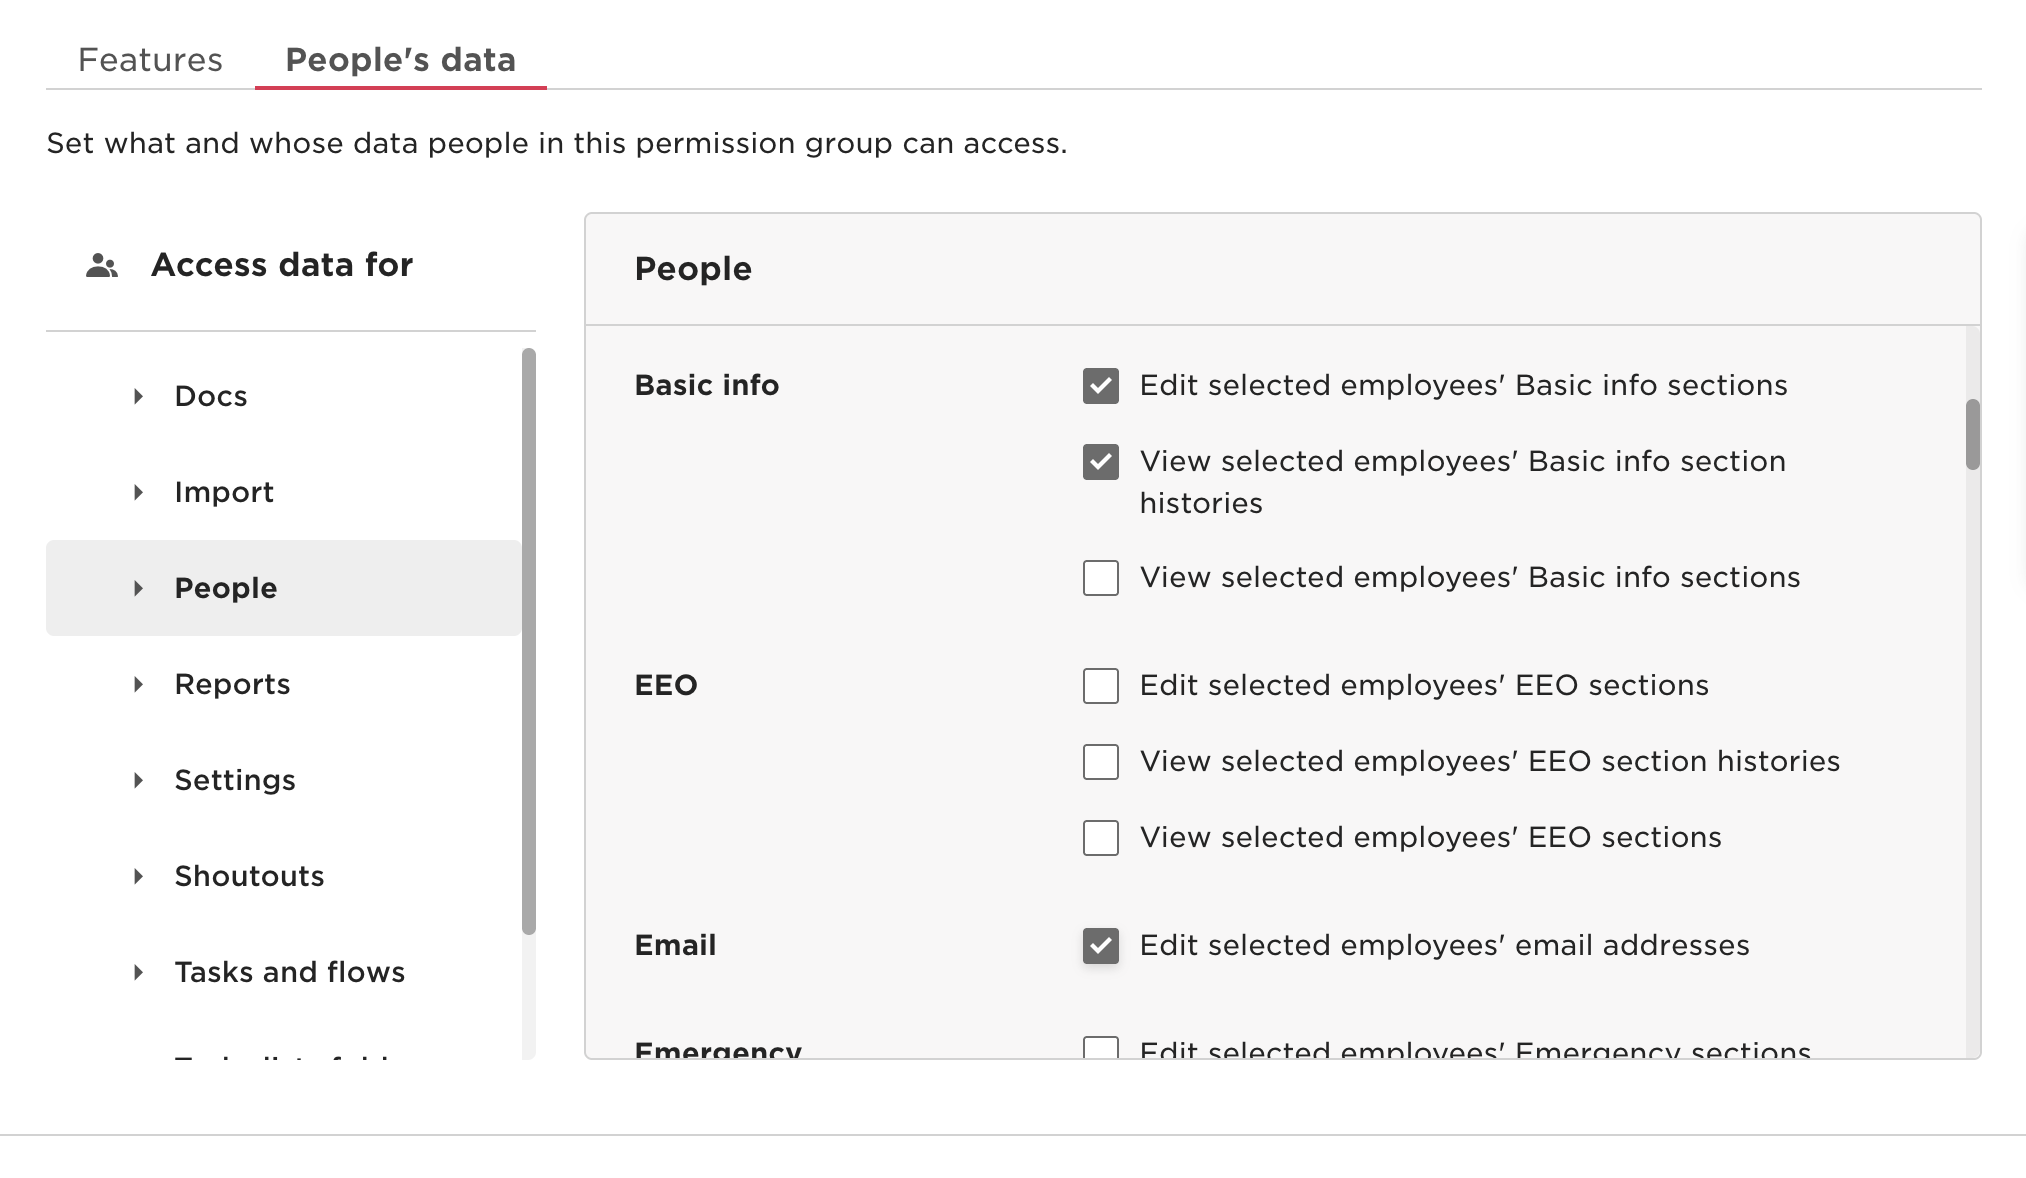
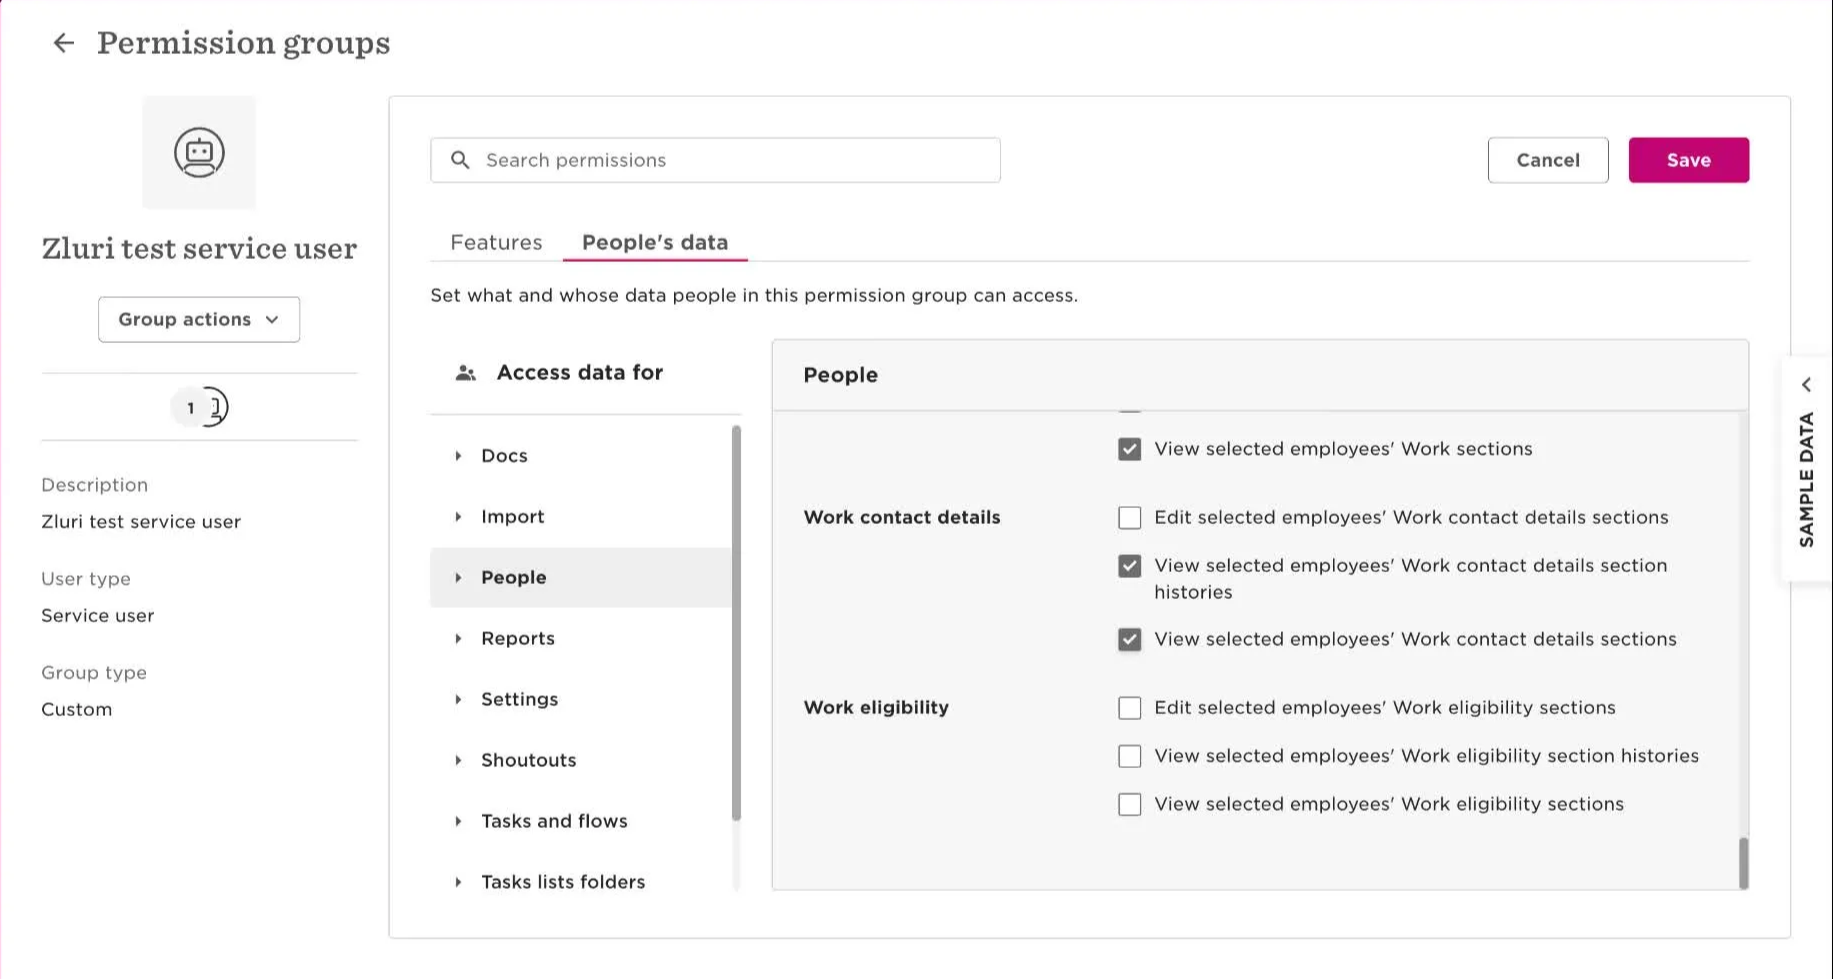
Still under the People’s Data tab, go to the People section. Enable the following:
Basic Info
- View section histories
- View sections
- Edit sections
- Edit email addresses
Employment
- View sections
- View section histories
Home
- View sections
- View section histories
Lifecycle
- View sections
- View section histories
Work
- View sections
- View section histories
Work Contact Details
- View sections
- View section histories
Access to personal email (under the "Home" section) may be useful for preboarding workflows.
Avoid enabling fields that are not relevant to provisioning, lifecycle management, or access governance. Based on guidance from the recorded walkthrough, this includes sections such as Equity, Financials, and Identification, unless those fields are specifically required for the integration.
Step 8: Save Permissions
- Click Save in the top-right corner.
- The service user will now inherit the defined permissions for all selected lifecycle statuses.
Step 10: Verify Employee Access
After saving the permission group:
- Confirm that the permissions apply to the correct set of employees.
- Review the lifecycle filter summary to ensure it includes all required statuses (e.g., Hired, Employed, Terminated, Leave).
- Add a test employee in HiBob (if needed) to validate that Zluri can detect and sync newly added records automatically.
This step helps ensure that the integration will cover all lifecycle events and user scenarios required for automation.
Step 9: Connect HiBob in Zluri
- Log into Zluri Admin View.
- Go to:
- Source → Integrations → Browse Catalog
- Search for HiBob – Service User.
- Click Connect.
- Select the scope:
Read Employees. - Click Connect Myself.
- Enter the Service User ID and Token from Step 4.
- Click Connect.
Once connected, Zluri will begin syncing employee data based on the defined filters and fields.
Notes
Important: Always configure the lifecycle filter. If this is skipped, Zluri may not detect new joiners or deactivated employees, which can lead to missed onboarding or offboarding events.
- Avoid including confidential data categories such as financials, equity, or identification fields unless explicitly required. Zluri does not use these fields for access workflows, and enabling them may introduce unnecessary exposure risk.
- If you need Zluri to pull additional custom fields:
- Contact Zluri Support and raise a ticket.
- Get the profile metadata from the support team.
- Pick the fields you want added from the shared metadata.
- Wait for confirmation, the team will update you once the changes are live.
To request additional custom fields that are not included in the Mandatory Hibob Fields Fetched by Zluri, please raise a ticket with Zluri Support.
Updated 5 months ago
