How To Connect
Connect Microsoft Active Directory(On Premises) with Zluri
Prerequisites:
- Admin Access to Zluri
- Access to Active Directory GUI
- .pem certificate for SSL(Optional)
- LDAP Agent Credentials
- Understanding of Sync Configuration: Guide to Sync Config
Use Cases Supported:
- Optimised for single-directory or single-domain environments and not for forests.
- Purpose-built for only Windows-based on-prem deployments.
- The agent runs under an active Windows user (or RDP) session. If a Group Policy or security policy logs off, disconnects, or terminates that user/RDP session, the agent process will stop as well.
System Requirements:
- OS: Windows Server 2016 or above and Windows 10 or above.
- Processor: An Intel Pentium 4 processor or later, capable of SSE3.
- RAM: A minimum of 400MB is required for the app, and 4GB is recommended for the server.
- Storage: installer consumes 80mb + 350mb after install.
- Graphics: Integrated graphics (e.g., Intel HD Graphics 4000 or equivalent) with DirectX 11 support.
- Display: 640x480
Connect the Microsoft Active Directory (On Premises) in Zluri
-
Open the Integrations Catalog, search for “Microsoft Active Directory (On Premises)”, and click ➕ Connect underMicrosoft Active Directory (On Premises).
-
Choose the scopes for the integration, and click Continue. You can click the down-arrow button towards the right of a scope to find out what it does.

-
Enter the Agent Name(mandatory and unique) + download the Agent file and click *Continue.
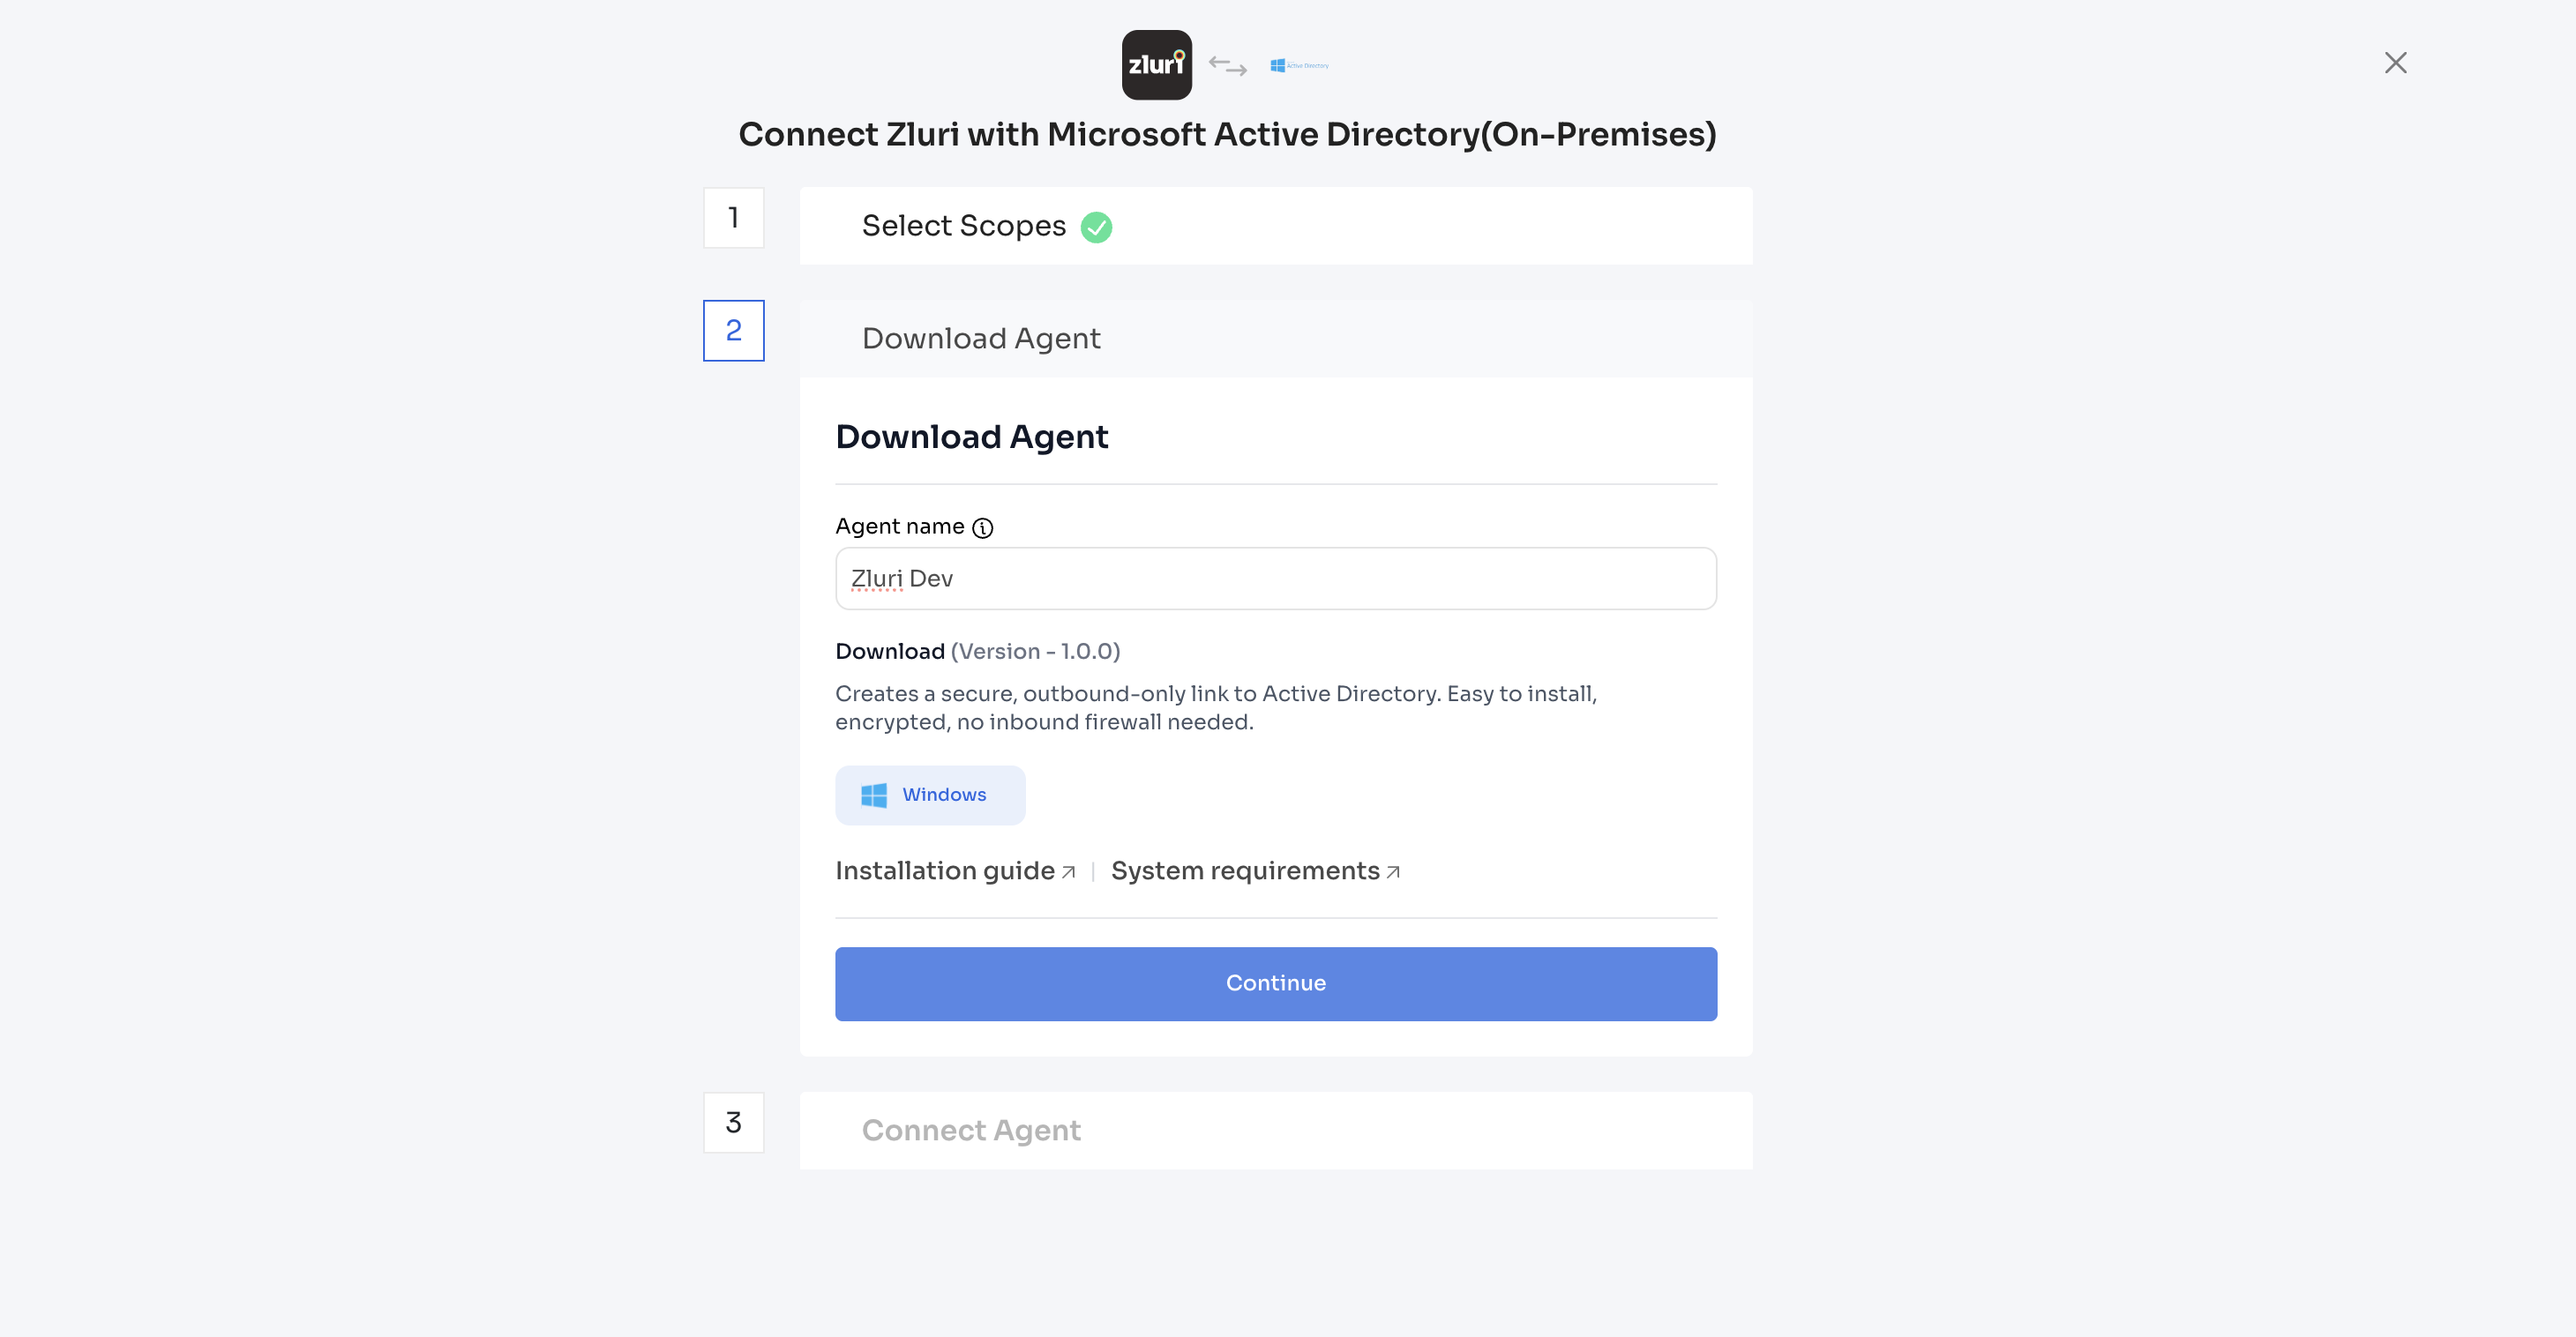
-
Download the Sync Config and Copy the Installation token - valid for 30 minutes and keep it somewhere safe.

Installing the Agent:
-
Open the downloaded Agent file to begin installation (usually in your Downloads folder).
-
The agent will run and opens up a window.
-
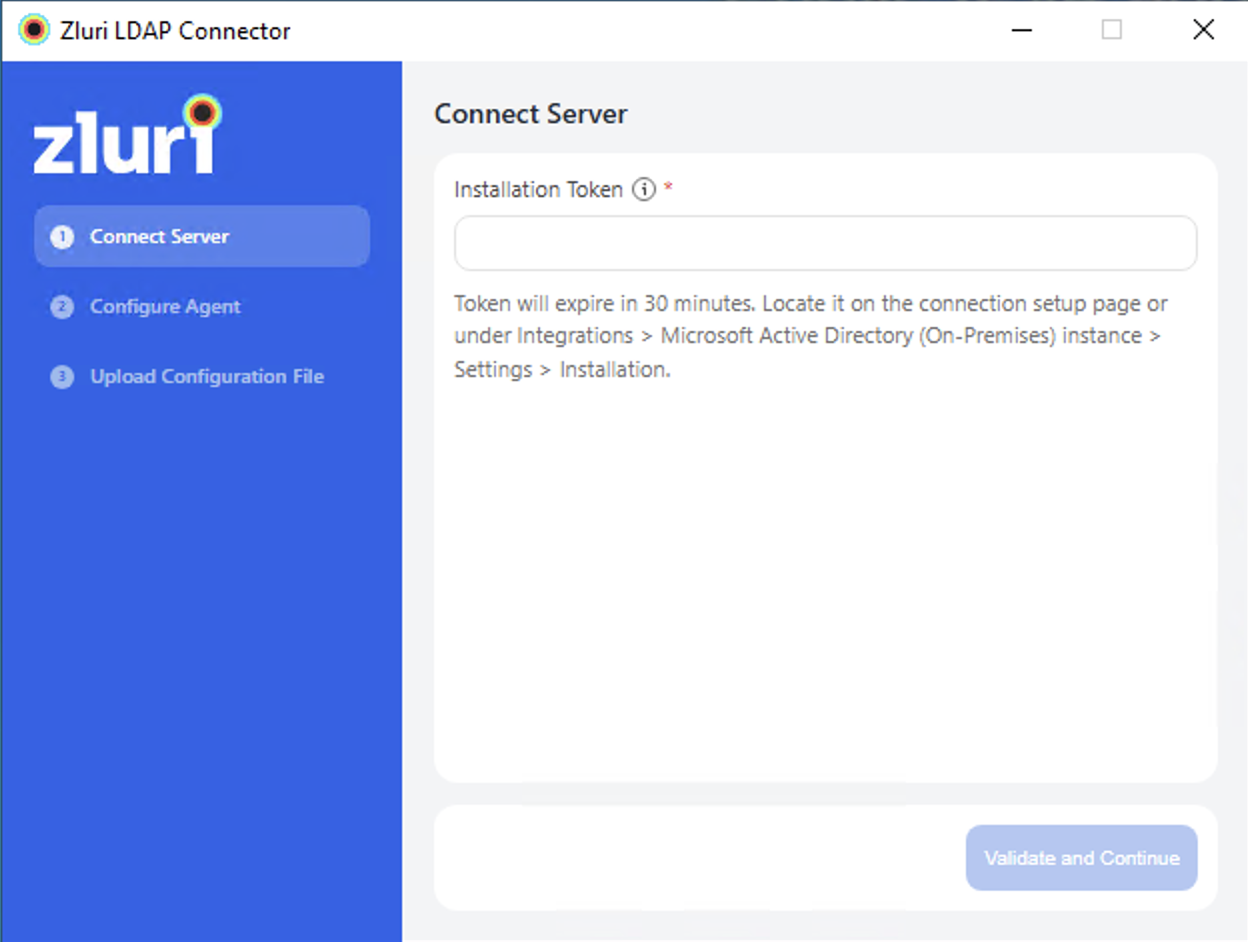
Connect Server:
- Enter the Installation Token from previous steps.
- Click - Validate and Continue.
-
Configure Agent: Enter the Configuration Parameters
- On Premises Server Host: The hostname or IP address of your on-prem Active Directory server (e.g., ad.example.com).
- Server Port: The port used by the AD server for LDAP communication (default: 389 for LDAP / 636 for LDAPS)
- SSL Checkbox: Upload a certificate(pem) for SSL enablement.
Recommended Setup: Secure Port 636Use Secure Port 636 with LDAPS and SSL/TLS certificates.
- Reason: Without LDAPS on 636, the “Add user to OU” workflow action will create a disabled user without a password.
- When using Port 636, the user is created with a password and an enabled account.
- Base DN (Directory Domain Name): Enter the root domain DN (e.g., DC=acme,DC=com).
- How to find it:
- Open Active Directory Users and Computers (ADUC).
- Enable View > Advanced Features.
- Right-click your domain (e.g.,
acme.com) > Properties. - Go to the Attribute Editor tab.
- Look for the
distinguishedNameattribute.- Example value:
DC=acme,DC=com
- Example value:
- How to find it:
- Bind DN: The distinguished name (DN) of the AD account the agent uses to bind (authenticate) with Active Directory and query directory objects (e.g., CN=Admin,CN=Users,DC=example,DC=com).
- Password: Password for the Bind DN.
- Click Test and Continue.
-
Upload Configuration File:
- Understand and edit the configuration file as per you requirement. Sync Config Guide.
- Upload the configuration file in the correct format.
- Click Continue.
-
The setup is complete. You’ll be able to see the agent is up and running.
-
You can close the agent, it’ll be running in the background.
Agent Settings:
In order to use the settings, you’ve to pause the agent services. You can restart the service and it won’t affect the sync or workflow tasks that are pending to be executed.
- Rotate Credentials
- Helps you maintain your security and compliance policy to rotate credentials whenever required.
- Once changes are made, you’re asked to Test and Save the configuration.
- A success notification toast will appear to confirm the changes.
- Configuration File
- You’ll be able to see the date when was the last time the sync configuration was uploaded.
- You can download the previously updated config here and do changes to it and reupload.
- Once changes are made, you’re asked to Test and Save the uploaded file.
- A success notification toast will appear to confirm the changes.
After you finish updating the settings, please restart the service to continue syncs and polling for tasks.
Download Button:
Configuration File: If you wish to download the last updated configuration file without stopping the service, you’ve an option to do so.