Connect
Connect Bitbucket to Zluri
Prerequisites
Before you begin the integration:
- Ensure you have Bitbucket Administrator access.
- Ensure your account has access to a global workspace containing all Bitbucket users.
This ensures full visibility of users on the Zluri Dashboard.
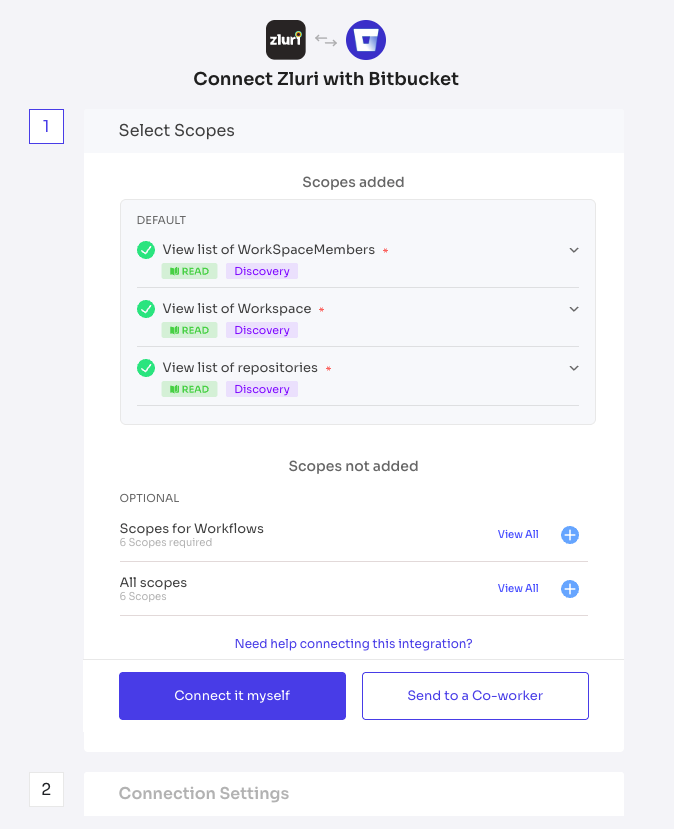
Step 1: Select Scopes for Bitbucket
Choose scopes based on your intended use:
- Selecting the right scopes allows Zluri to make the most of its Discovery, Workflowsfeatures.
- You may also choose default scopes for a hassle-free experience.

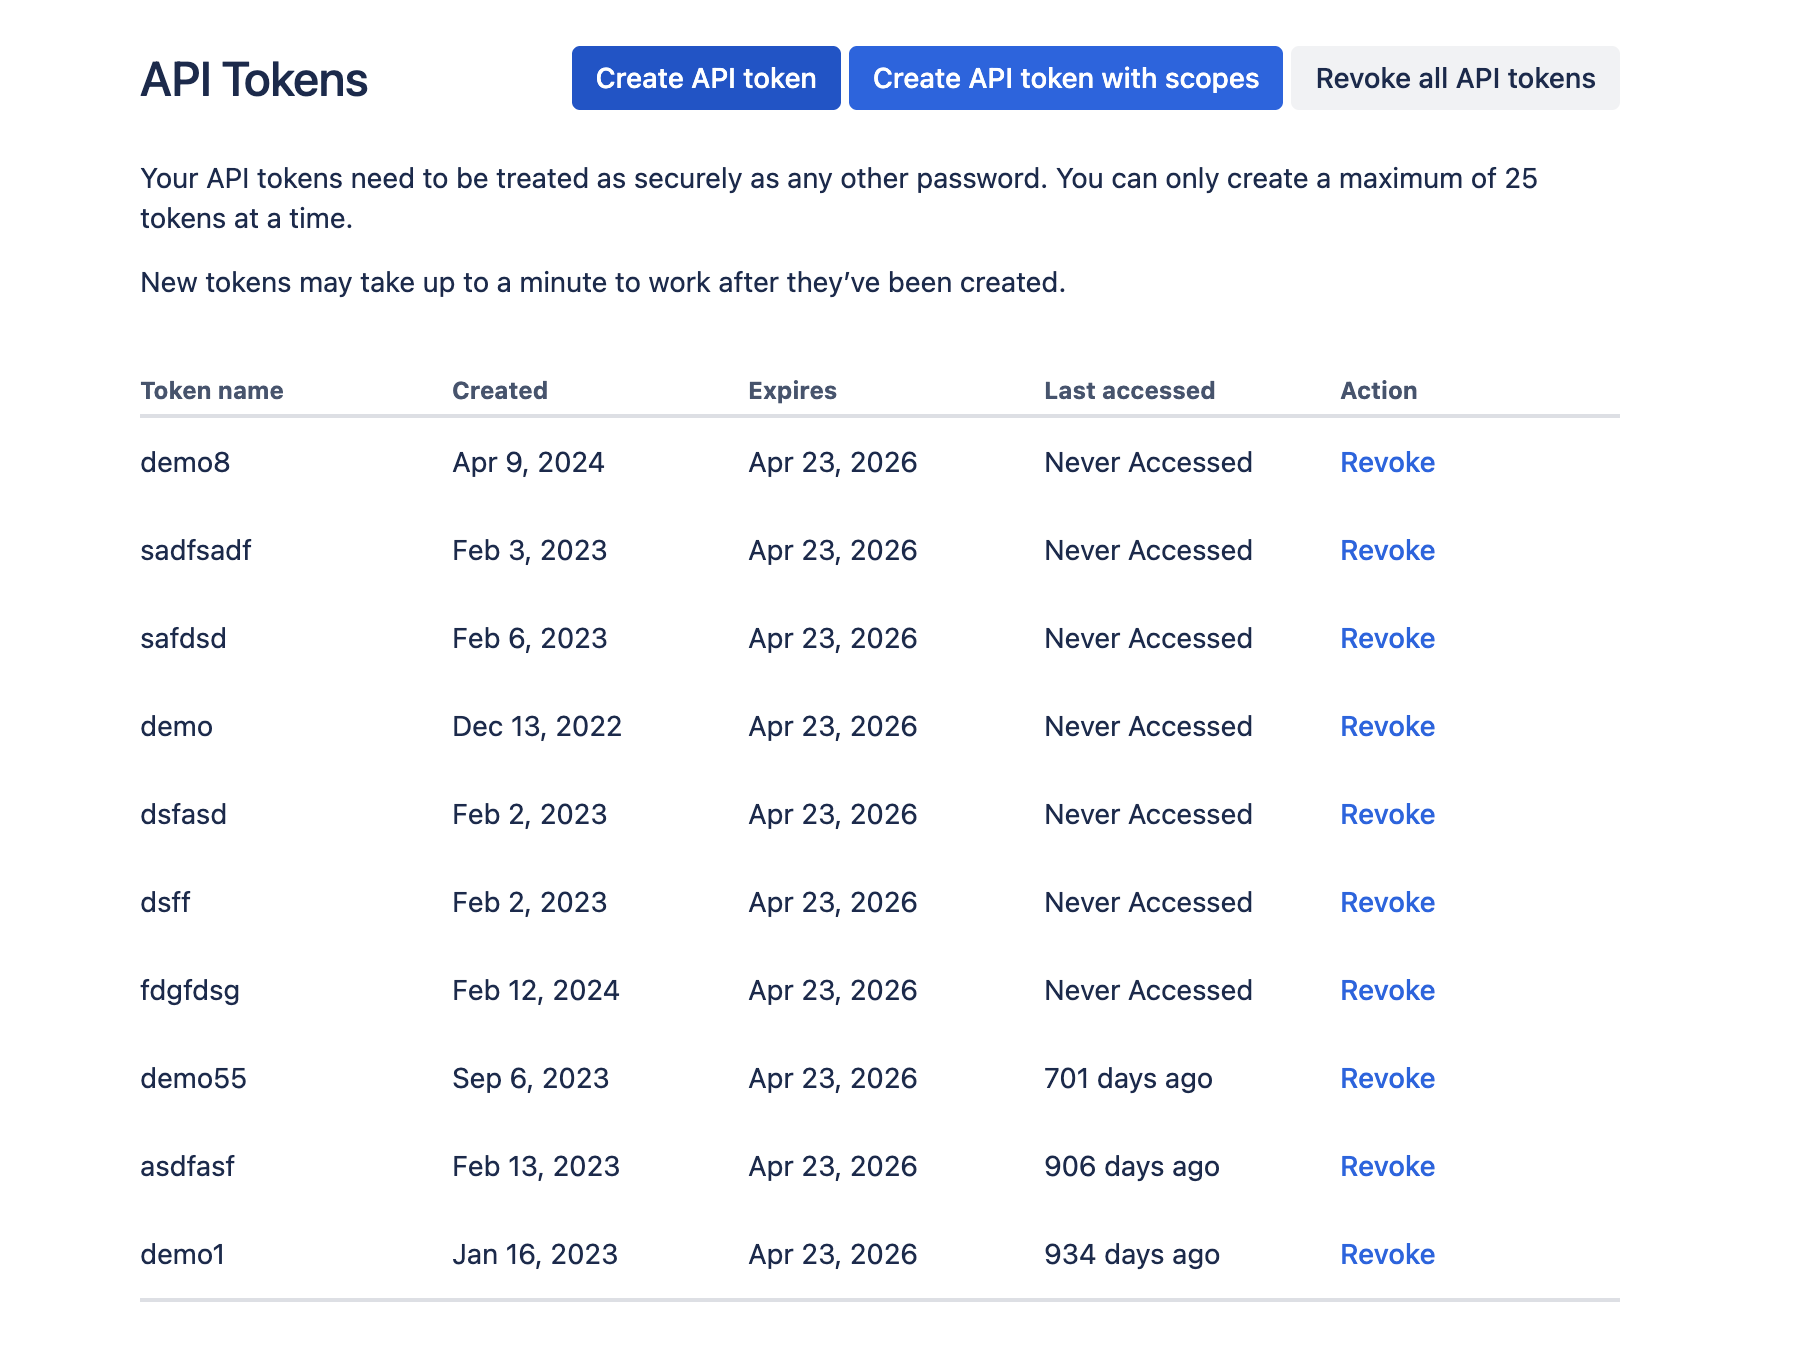
Step 2: (Optional) Generate API Token for Actions
If you plan to use Actions in the Bitbucket integration:

- Go to API Tokens.
- Click on Create API token and provide a description.
- Copy and securely store the API token.
- Ensure the email address used is associated with an Atlassian Admin account.
This step is optional and only required if you want to use Actions in Zluri.
Step 3: Connect with Bitbucket
You can authorize the integration in two ways:
Self-Authorization
- Click Authorize.
- Log in to your Bitbucket Admin account.
- Grant required permissions.
- Proceed to save the integration instance.
Co-worker Authorization
- Click on Send Invite to a co-worker.
- Provide the co-worker’s email to send an invite link.
- The co-worker will receive a Unique Connect Code.
- They can use it to complete the authorization on your behalf.
Step 4: Save Instance
Once authorization is complete:
- Save the Bitbucket instance in Zluri.
- You may also add multiple instances of the Bitbucket integration with different scopes depending on your requirements.
Success! Bitbucket is now integrated with Zluri.
Updated 2 months ago
