Connect Adobe [AI-Powered Integration] to Zluri
This guide walks you through connecting your Adobe [AI-Powered] account to Zluri.
Prerequisites
- Admin access to the Adobe account.
- Access to the Gmail account associated with Adobe, with permission to configure forwarding and filters.
Note: A call with the Zluri team is required before you begin setup. Contact your Zluri representative to schedule this call before proceeding to Step 1.
Step 1: Name your instance (on a call with Zluri)
Complete this step during your scheduled call with the Zluri team.
-
Schedule a call with the Zluri team.
-
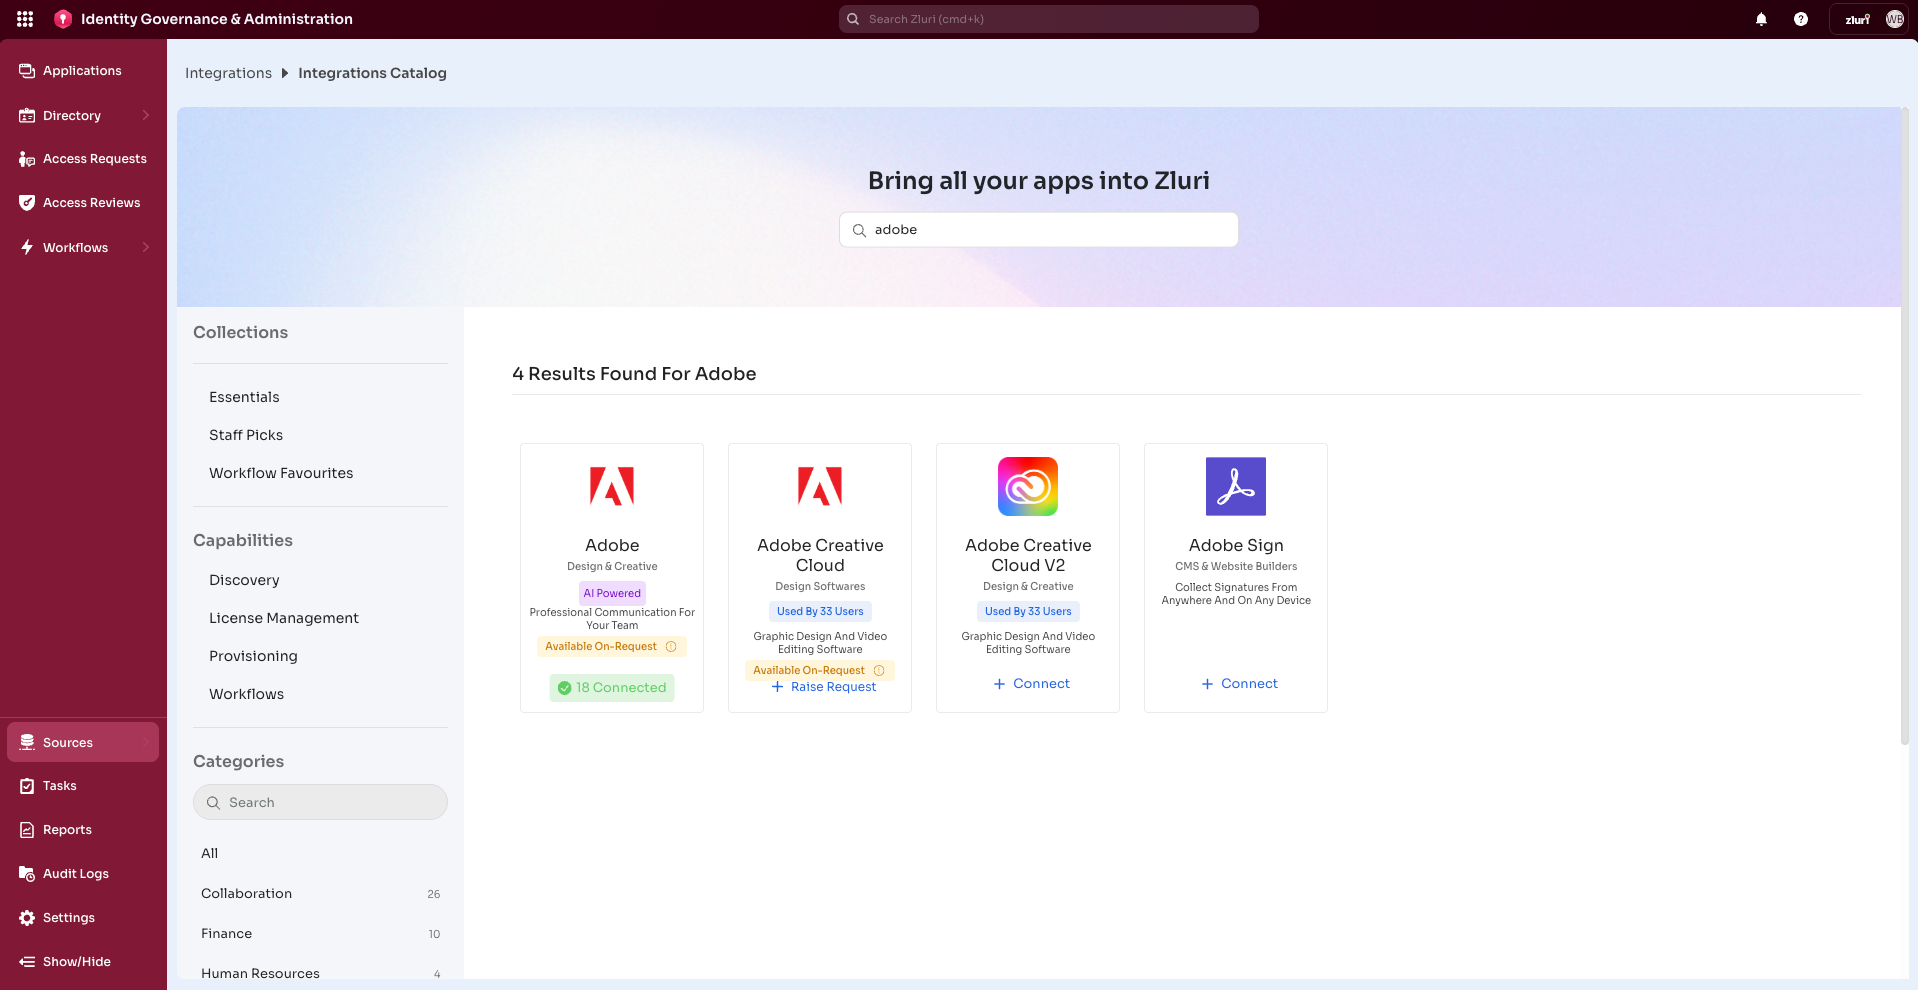
During the call, sign in to the Zluri dashboard and open the Integrations Catalog.
-
Search for Adobe (AI powered tag) and open the Adobe Integration page.
-
Select Connect Integration. If a connection already exists, select Connect another instance instead.
-
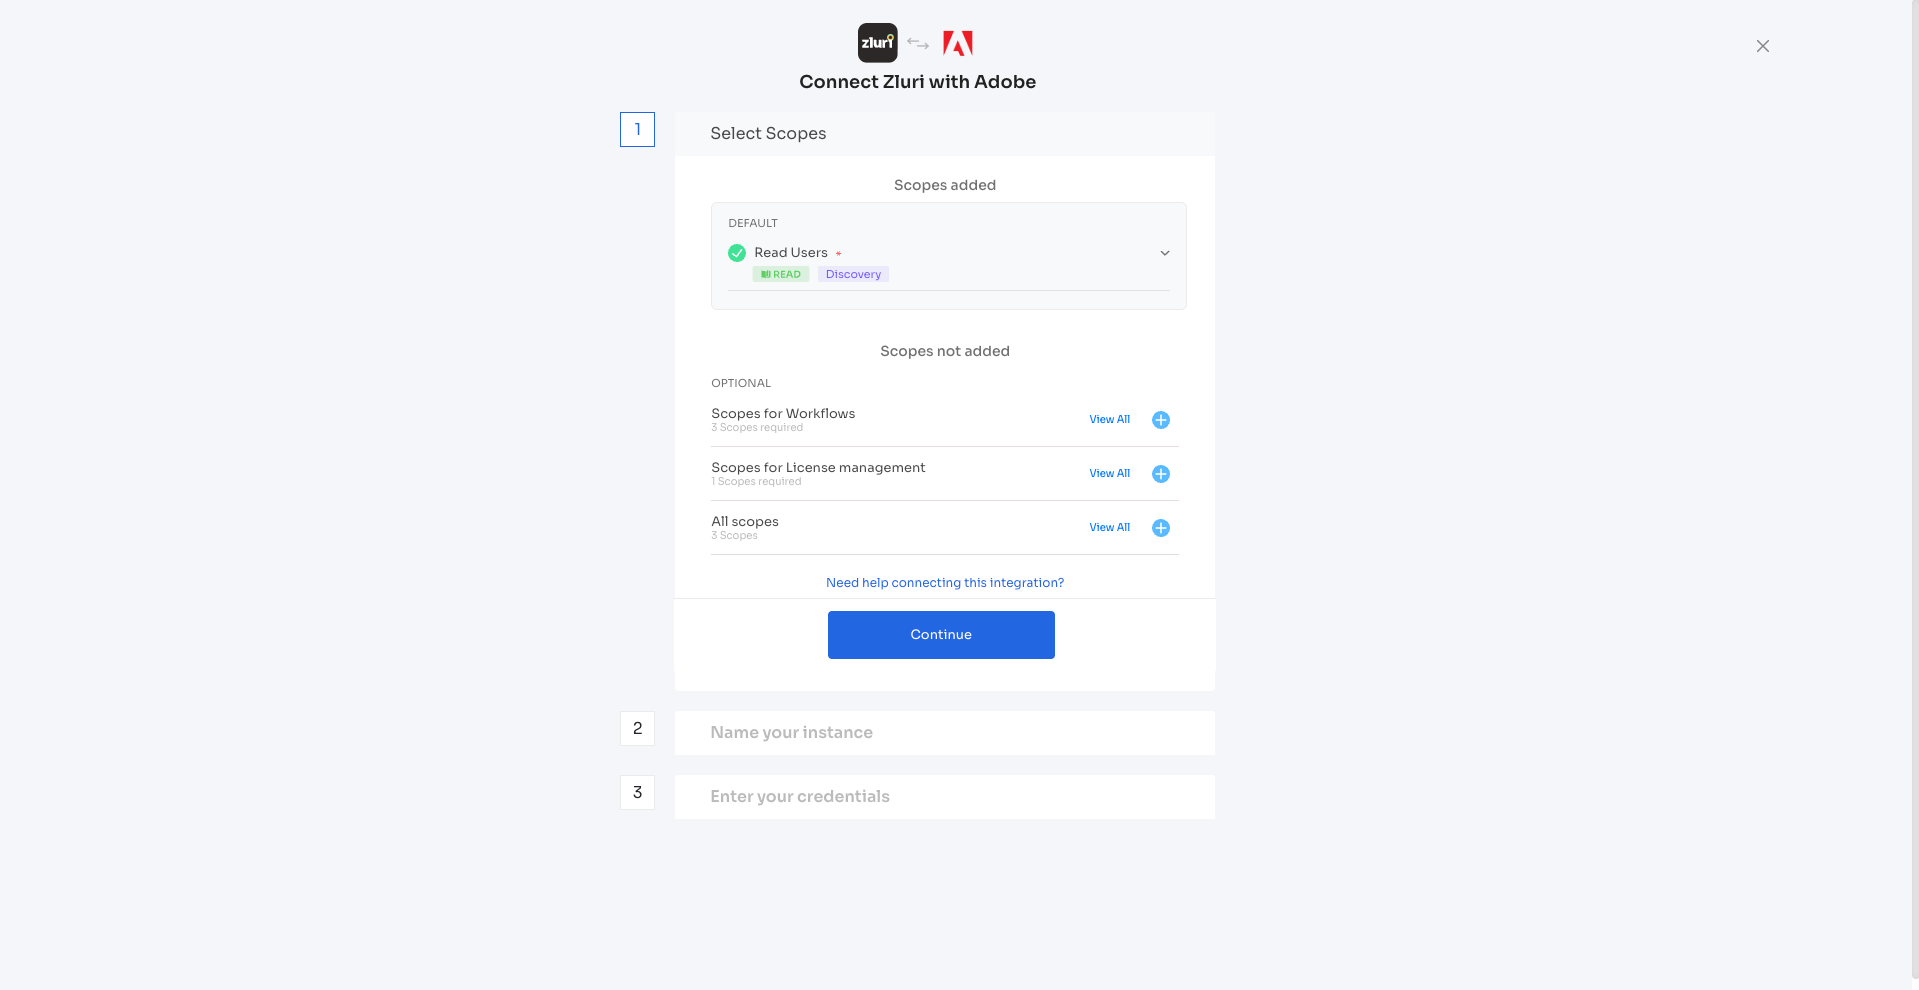
Review the required scopes and select Continue.
-
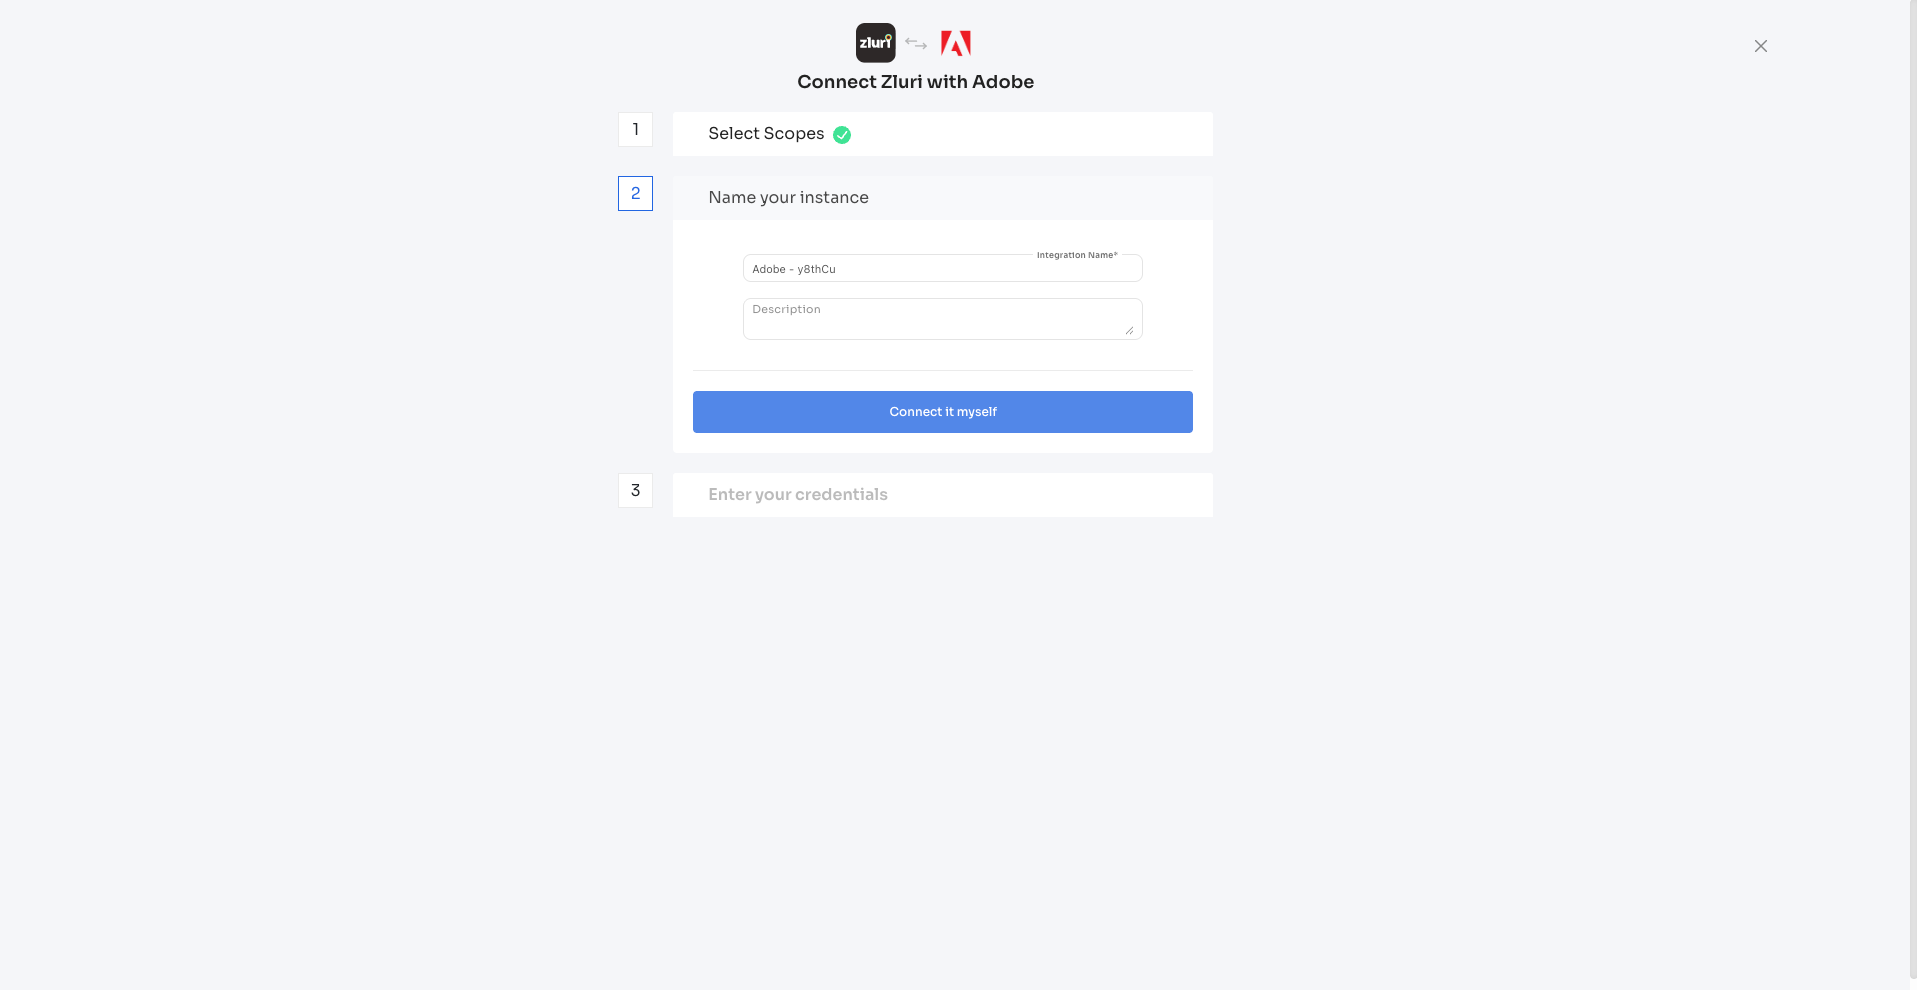
Enter an instance name, add description and select Connect it myself.
Note: The Zluri team will provide you with a forwarding email address during this call. You'll need it in Step 2.
Step 2: Set up Gmail forwarding
Adobe uses bot detection that may trigger a Verification Code being sent on the email during the integration process. Setting up this forwarding rule lets Zluri capture the code automatically and complete authentication without interruption.
Configure the forwarding address
- Open Gmail and go to Settings (gear icon) > See all settings.
- Select the Forwarding and POP/IMAP tab.
- Select Add a forwarding address and enter the email address provided by the Zluri team.
- Confirm and verify the forwarding address as prompted.
- After verification, set forwarding to Disable forwarding. Don't enable general forwarding.
Create the filter
- In Gmail Settings, select the Filters and Blocked Addresses tab.
- Select Create a new filter.
- Enter the following filter criteria:
- From:
[email protected] - Subject:
Certification Code
- From:
- Select Create filter.
- On the next screen, select Forward it to and choose the Zluri forwarding address from the dropdown.
- Select Create filter to save.
Note: The forwarding address appears in the dropdown only after it's been configured and verified in the Forwarding and POP/IMAP settings.
Step 3: Share your license information
If you plan to use the Assign License action in Zluri workflows, share the list of licenses in your Adobe organization with the Zluri team. This lets Zluri map the correct license types when automating provisioning.
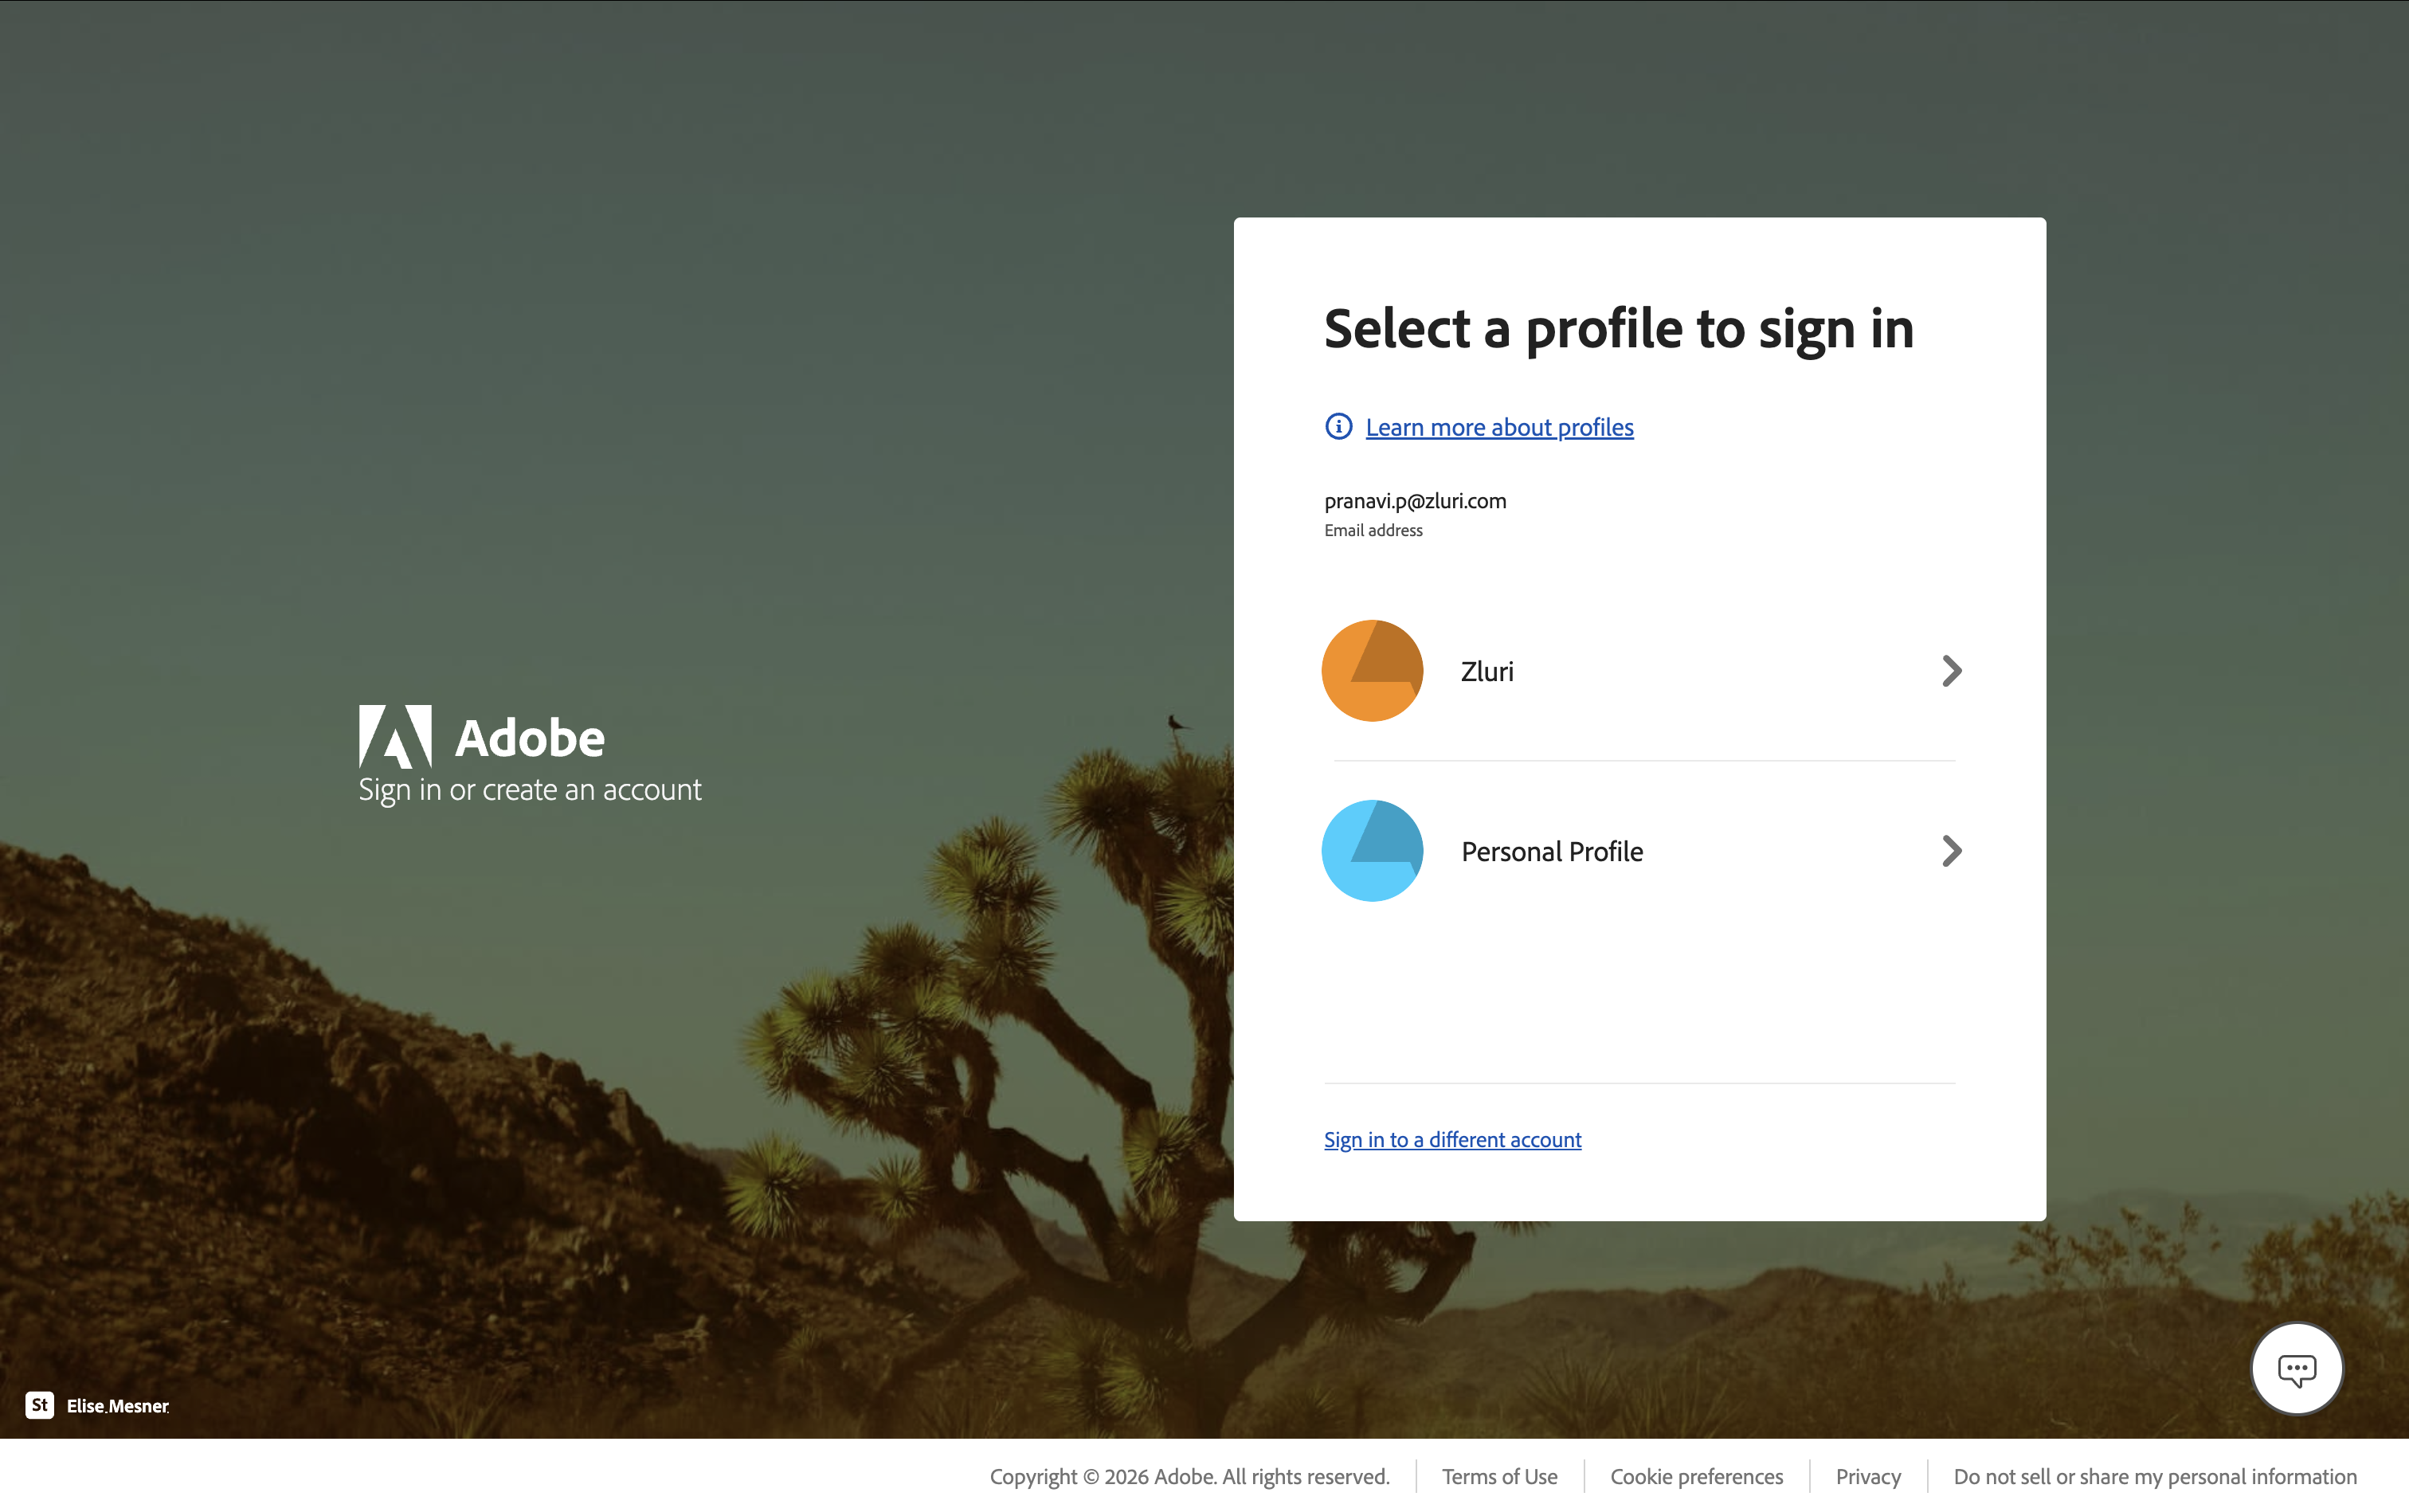
Step 4: Confirm the correct profile
If your Adobe account has multiple profiles, confirm with the Zluri team which profile to use for the integration before you proceed to Step 5.
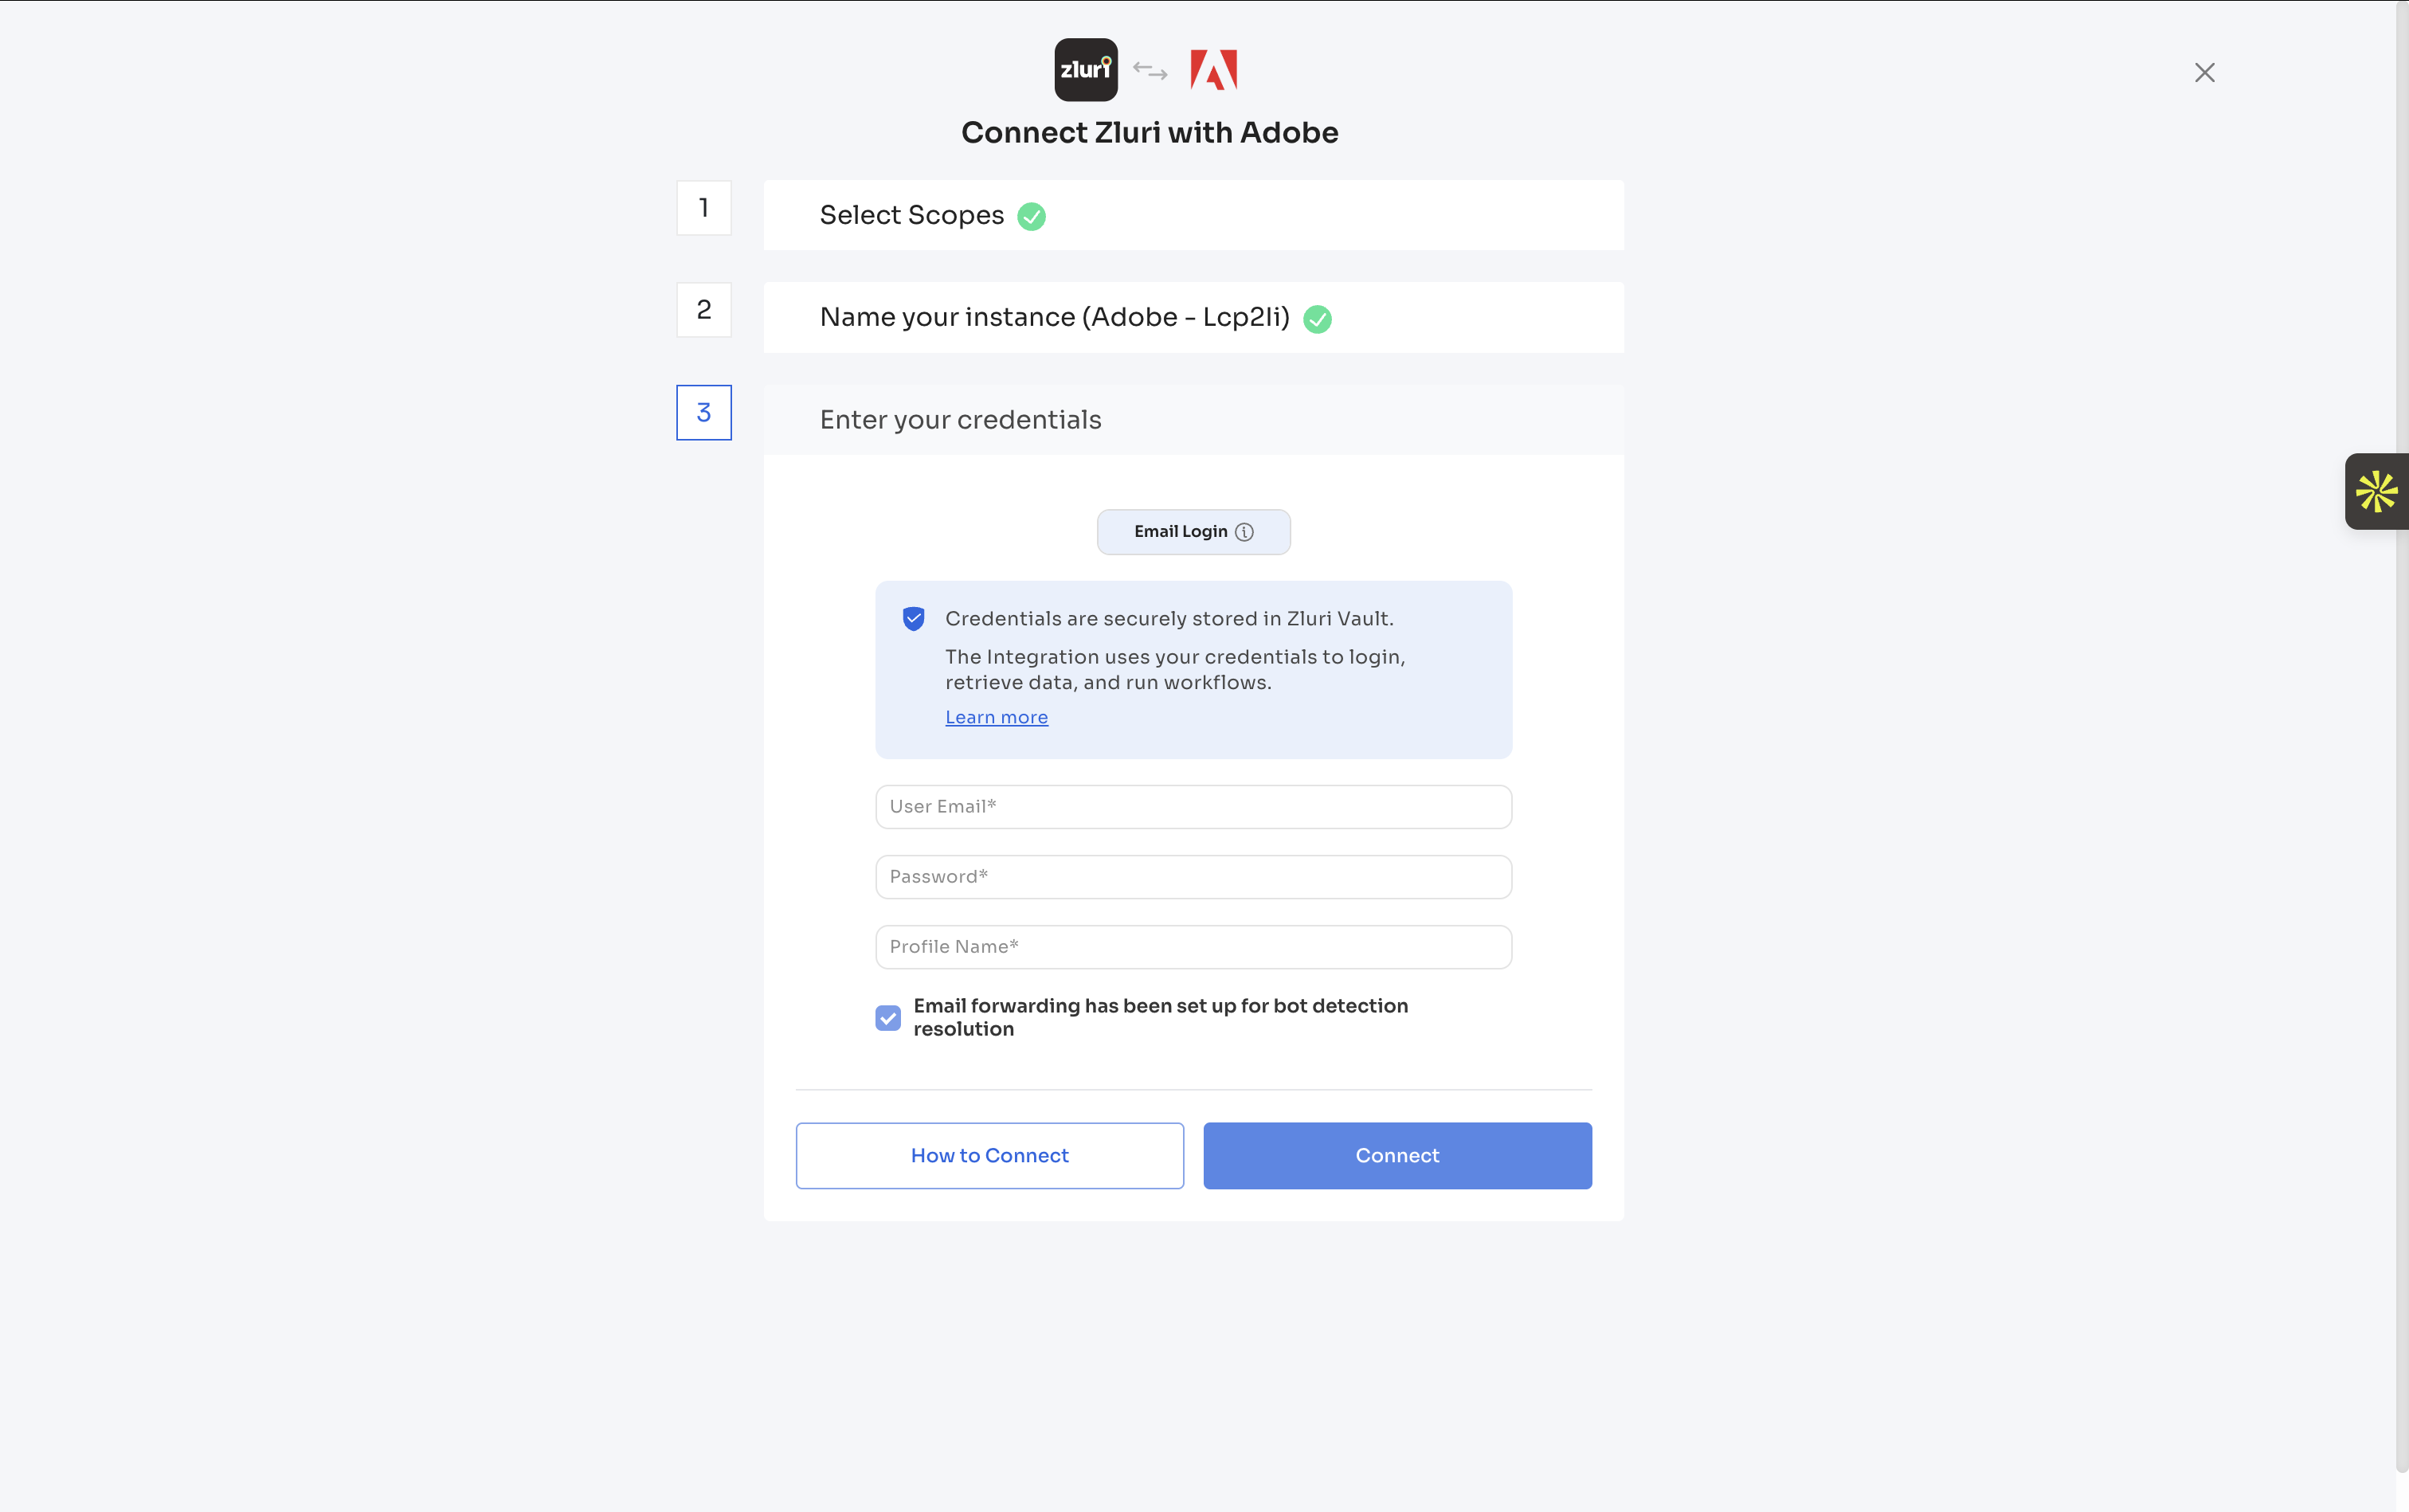
Step 5: Enter your credentials in Zluri
-
Return to the Zluri dashboard and go to the Adobe integration setup.
-
Enter your Adobe credentials in the respective fields.
-
Select Connect to complete the integration.
Zluri establishes the connection with Adobe. This process may take 5–10 minutes.
Note: The integration runs in the background. You can close the page while it's in progress. You'll receive an email notification when the connection succeeds or fails.
Integration complete
Zluri is now connected to Adobe and will begin syncing data automatically. Got questions? Feel free to submit a ticket or contact us directly at [email protected].
Updated about 2 months ago