
Users
The Users tab lists every user associated with an application, along with their status, role, license assignment, cost, spend, usage, and source.
Accessing Users
- Select Applications in the left navigation, then select an application to open its profile.
- Select Users in the left panel.
This view is scoped to users of this application. For organization-wide user management, see User Management.
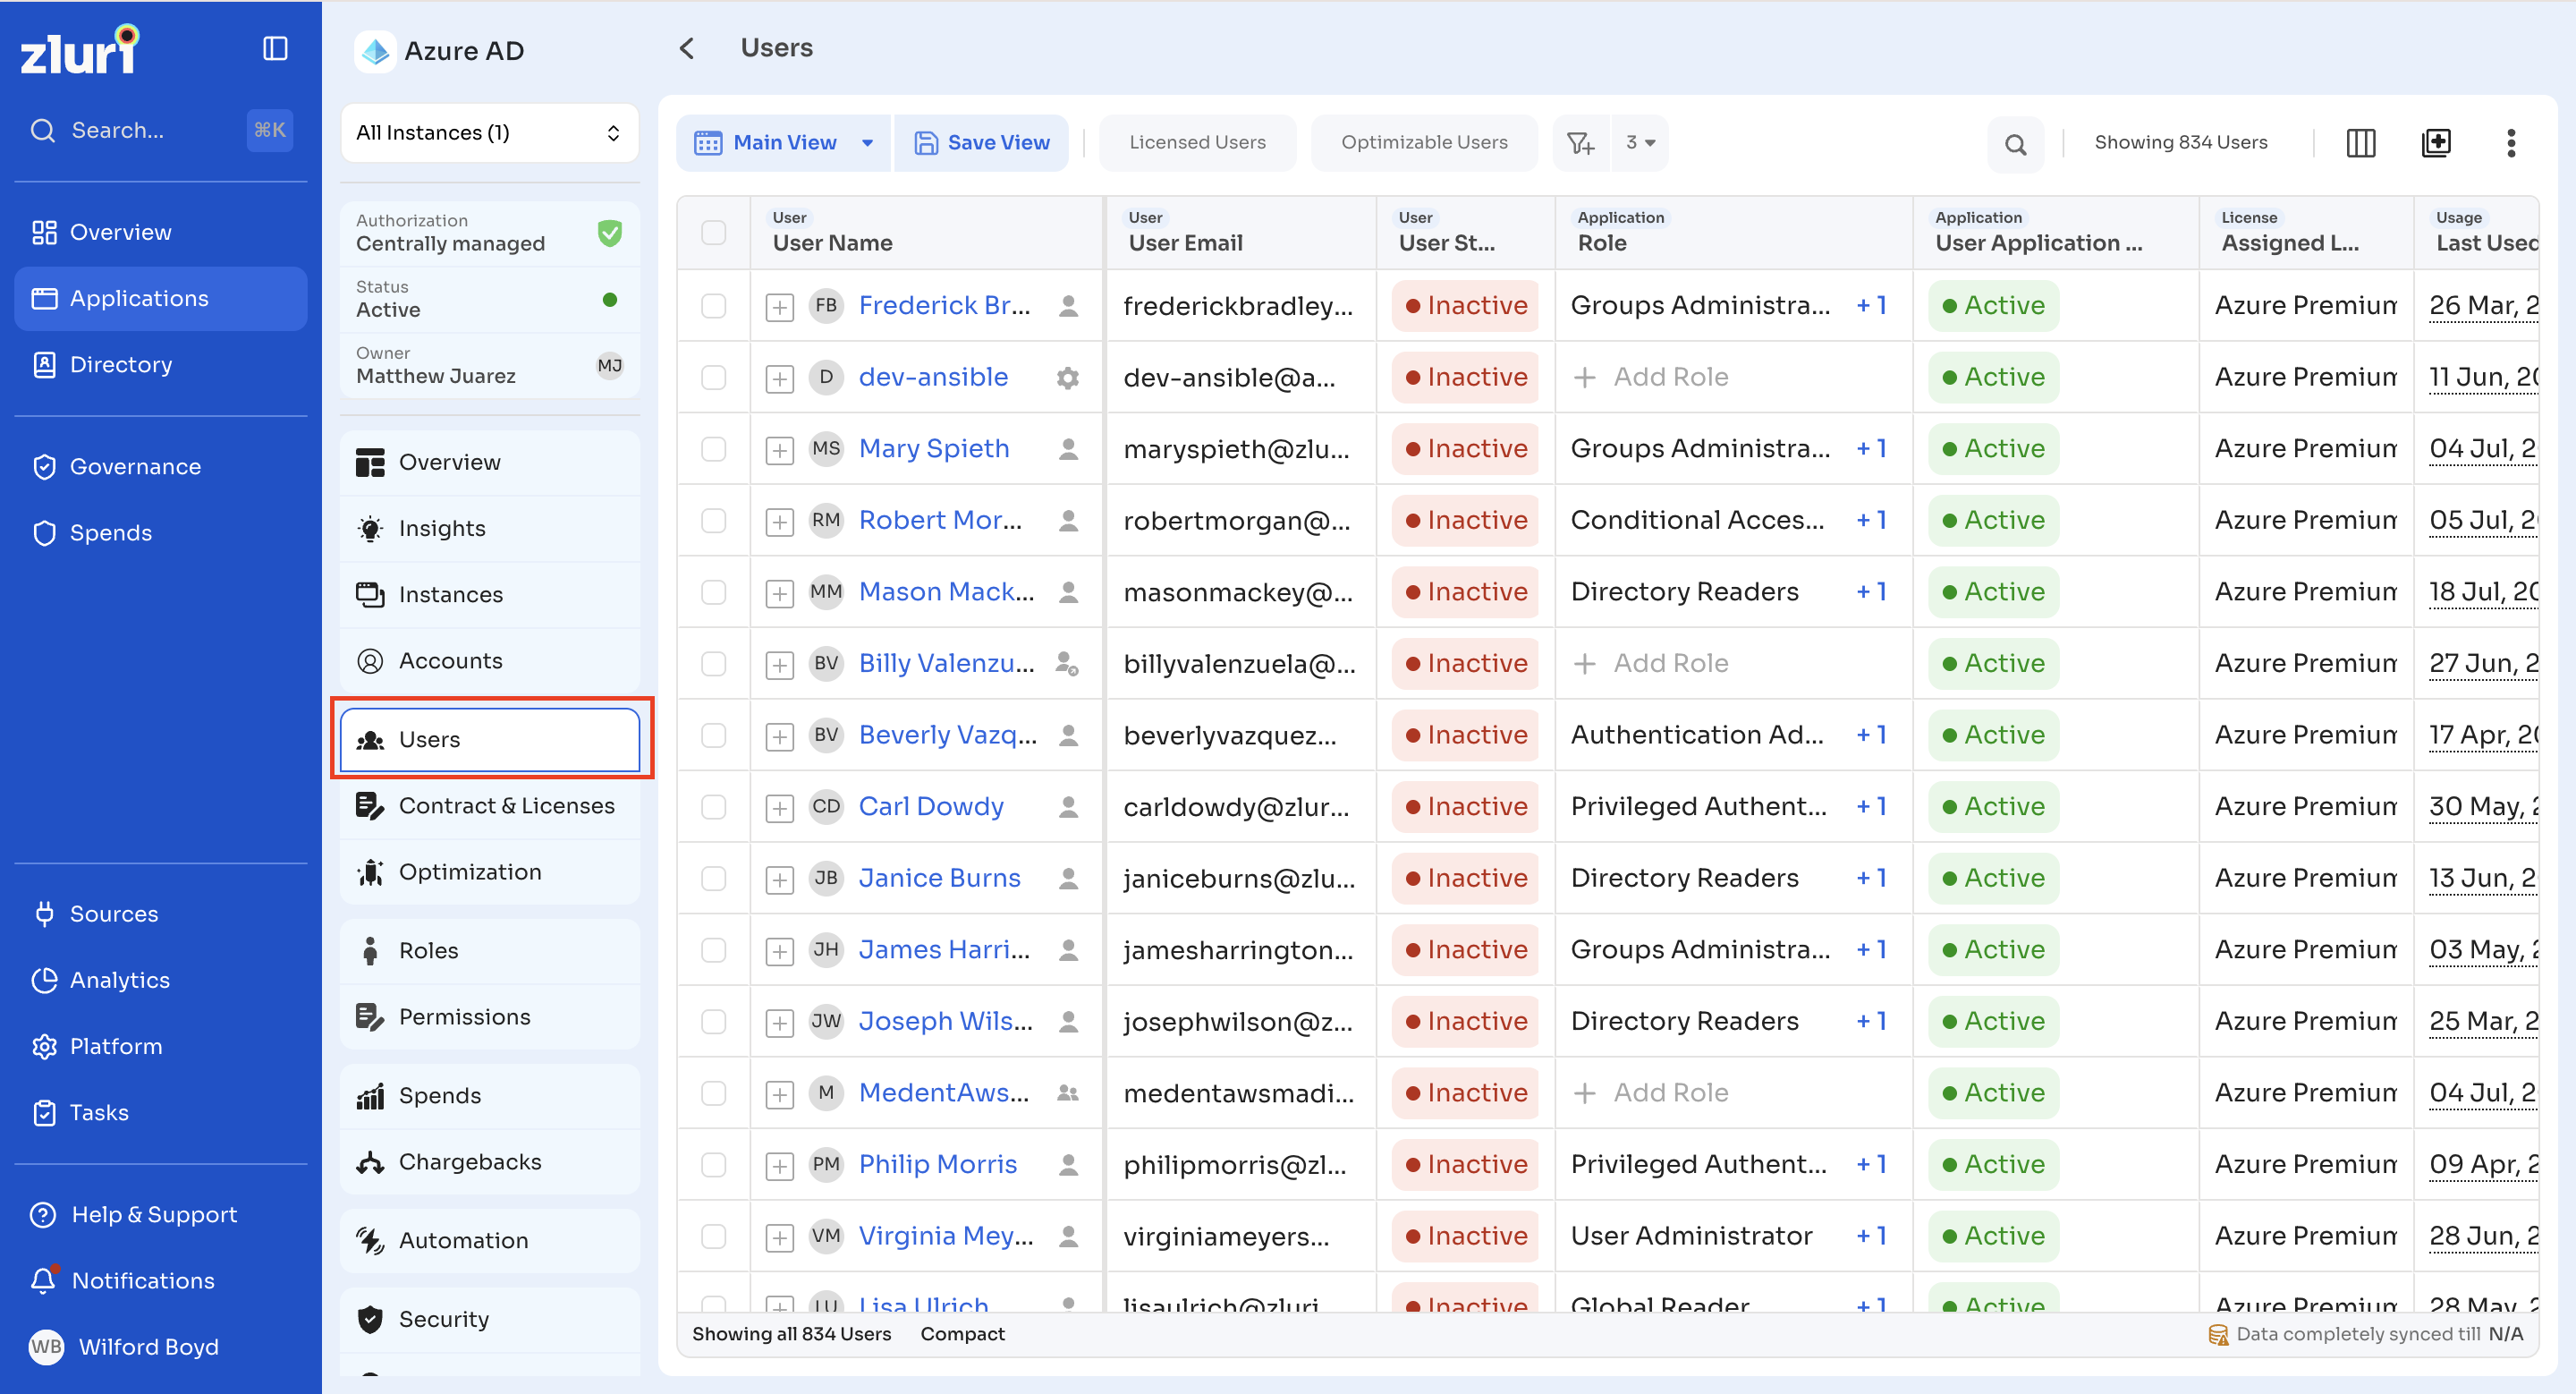

Users table
The Users table displays configurable columns, including:
| Column | Description |
|---|---|
| User Name | The user's name |
| User Email | The user's email address |
| User Status | The user's status, for example Active or Inactive |
| User Application Status | The user's status within the application, for example Active |
| Role | The user's role in the application, with a count for additional roles. Select + Add Role if none is assigned |
| Assigned License | The license assigned to the user, with a count for additional licenses |
| Annualized Cost | The user's annualized cost for the application |
| Spend YTD | The user's spend on the application in the current financial year |
| Last Used | The date the user last used the application |
| Is Optimizable | Whether the user's access can be optimized, for example due to low usage |
| Sources | The sources contributing data for this user, shown as icons, with a count for additional sources |
Where available, point to the ℹ️ icon next to a data point to see more detail.
Select Modify Columns to add, remove, or reorder columns.
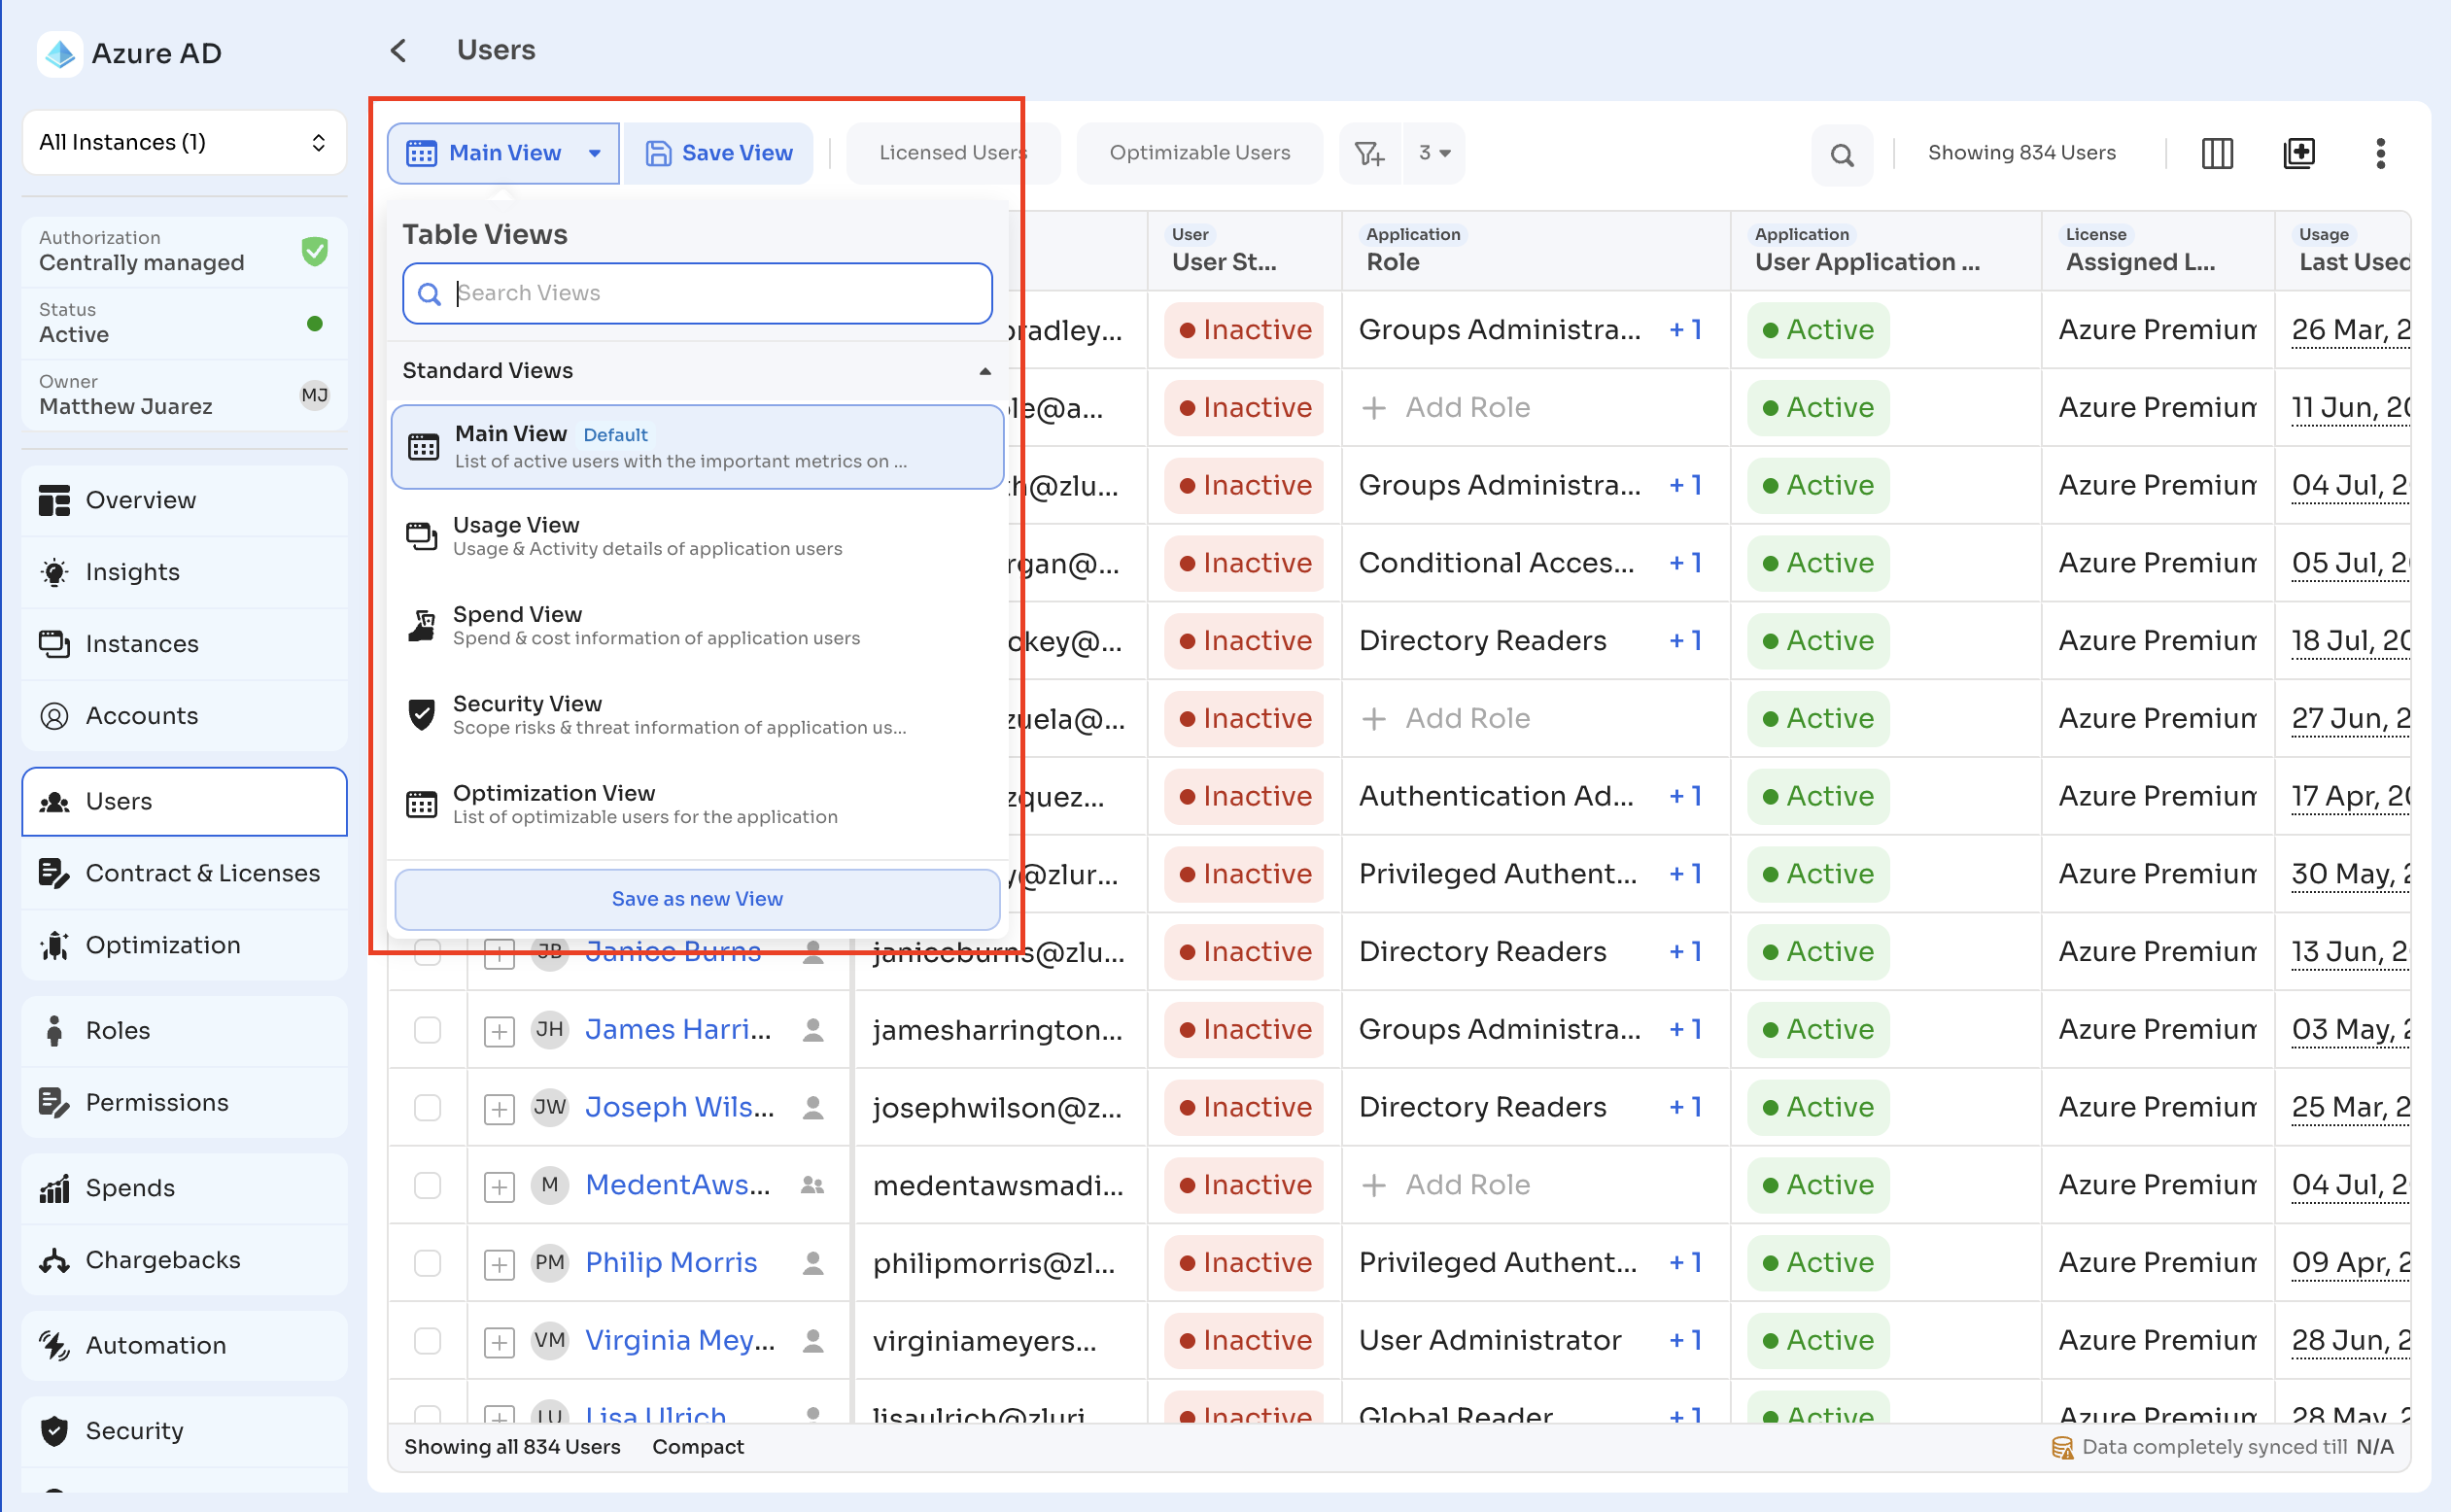
Views
Use the Main View dropdown to switch between saved views. Select Save View to save the current column and filter configuration as a new view.
Switch between Licensed Users and Optimizable Users using the tabs above the table.
Filters and search
Select the filter icon to open Filters. A badge shows the number of active filters.
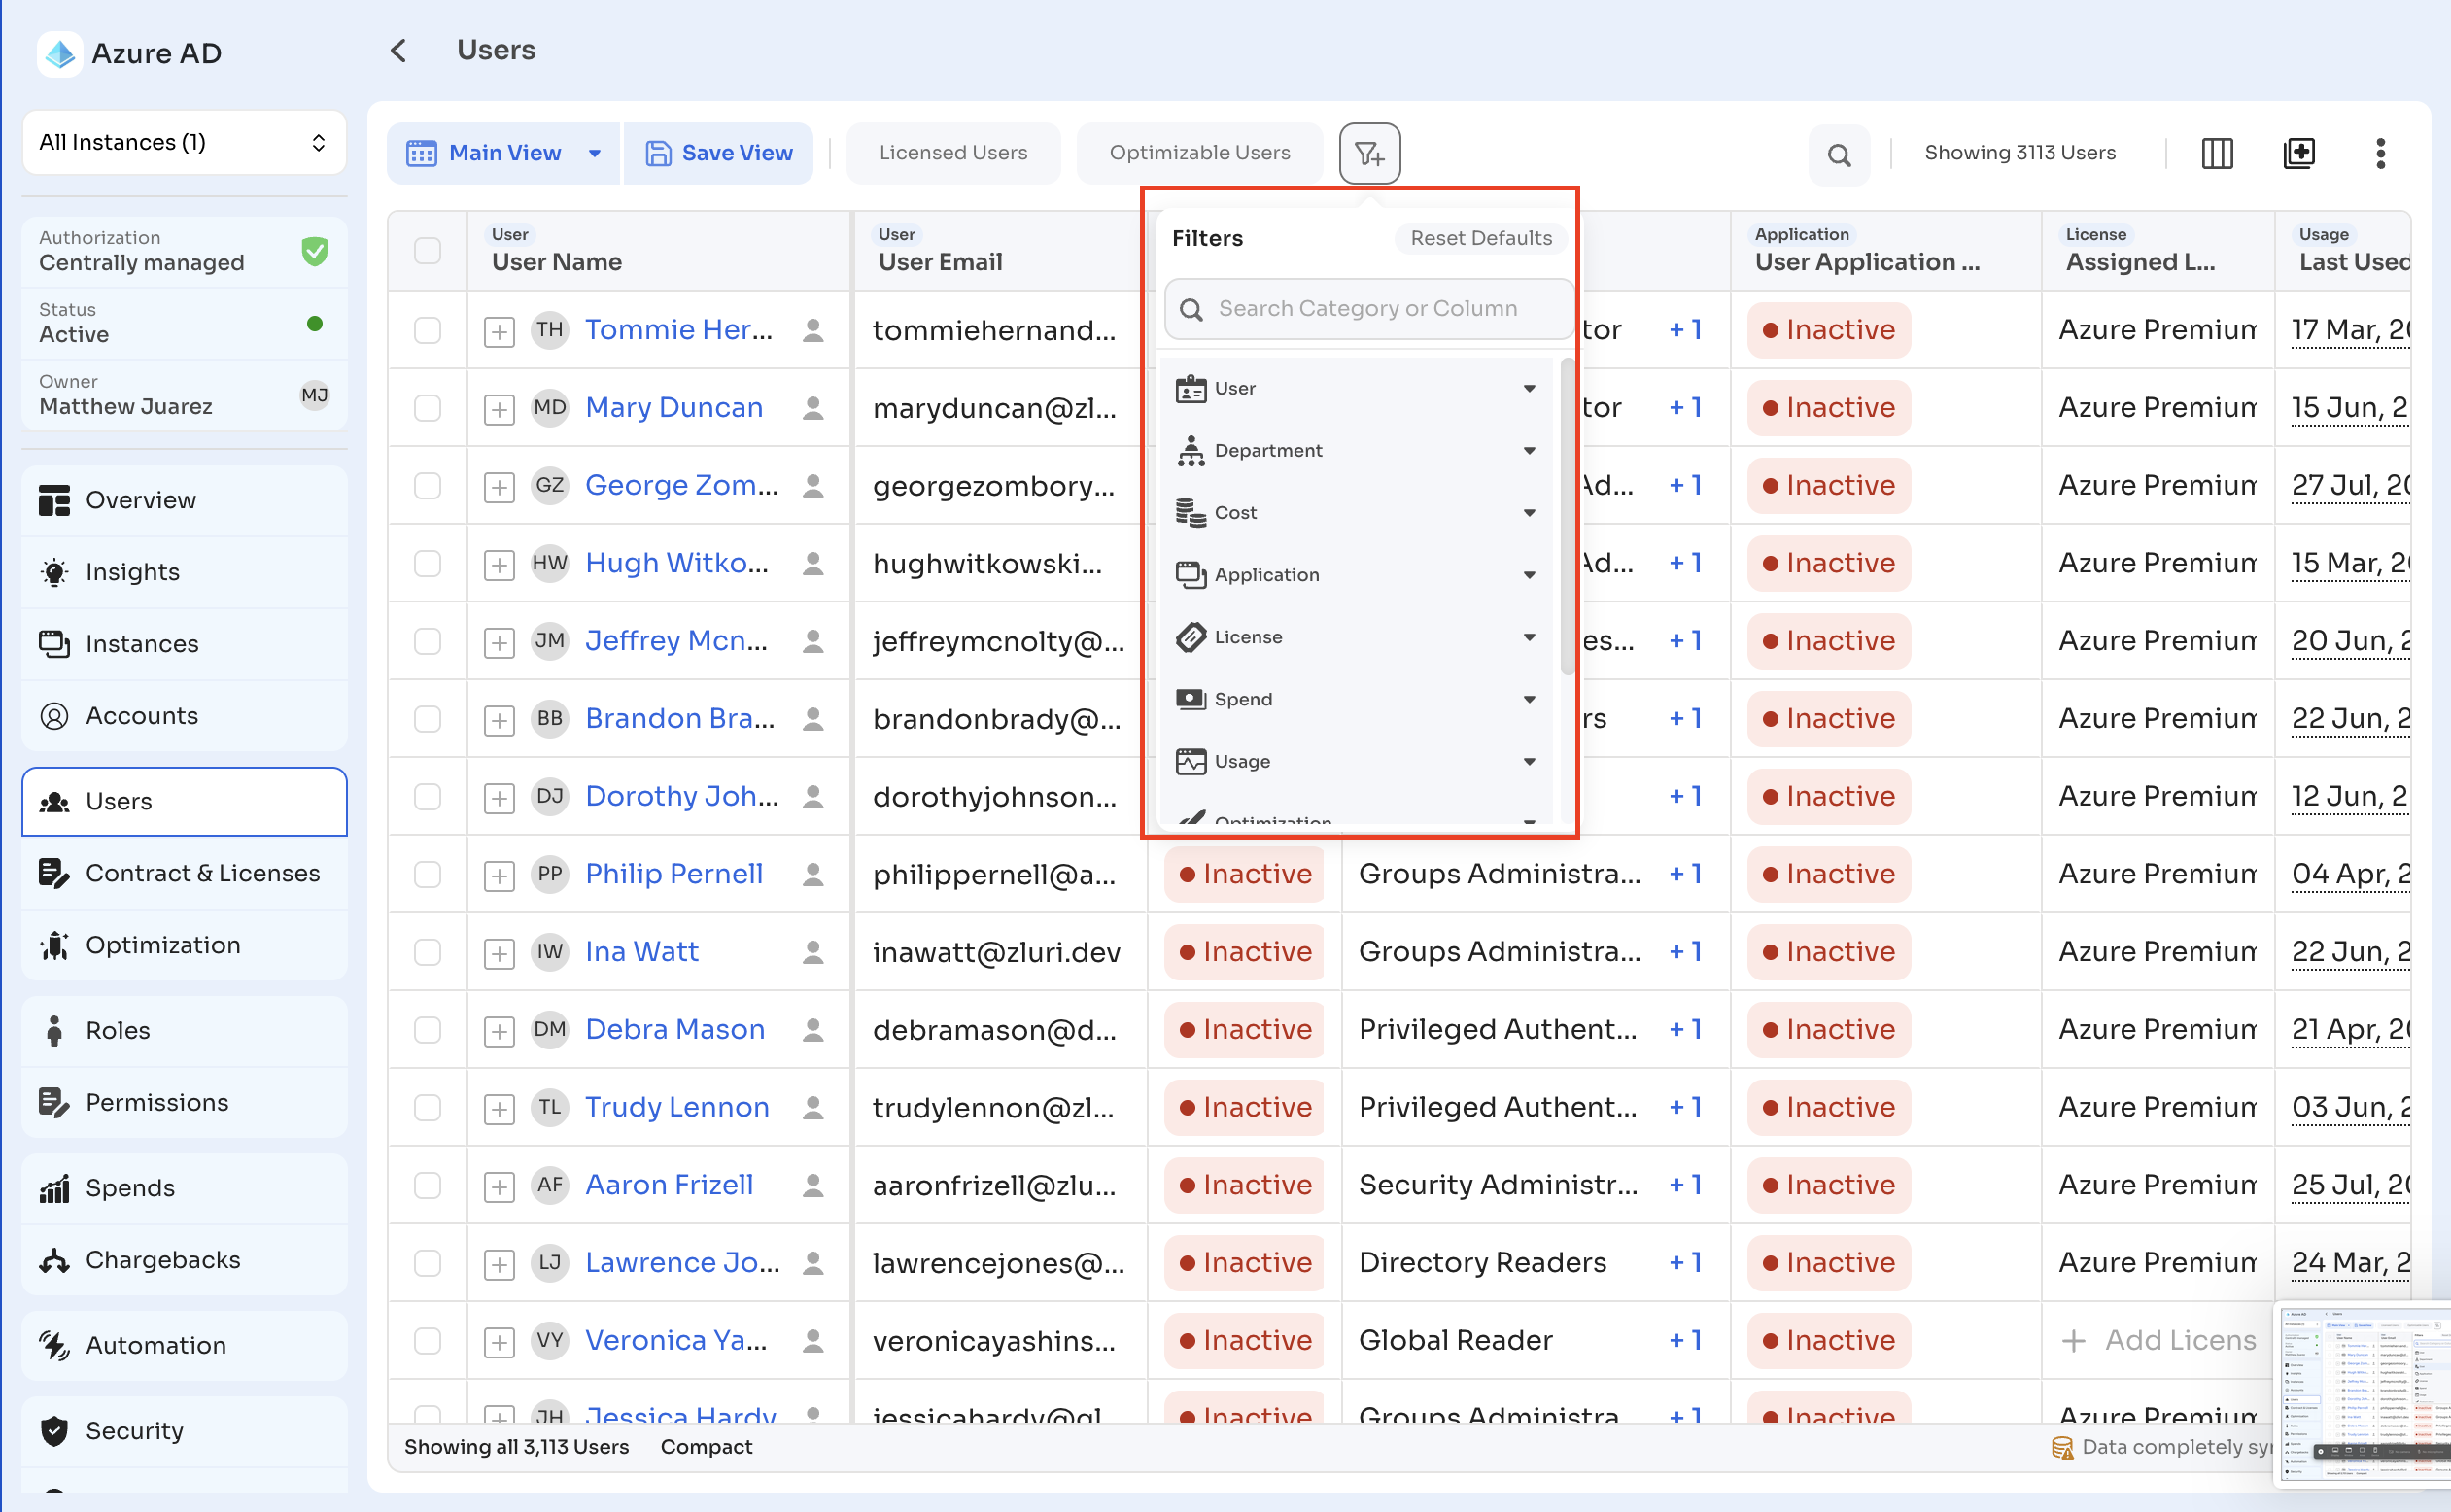
Filter by category:
- User
- Department
- Cost
- Application
- License
- Spend
- Usage
- Optimization
Use Search Category or Column to find a specific filter field. Select Reset Defaults to clear customizations and return to the default filters.
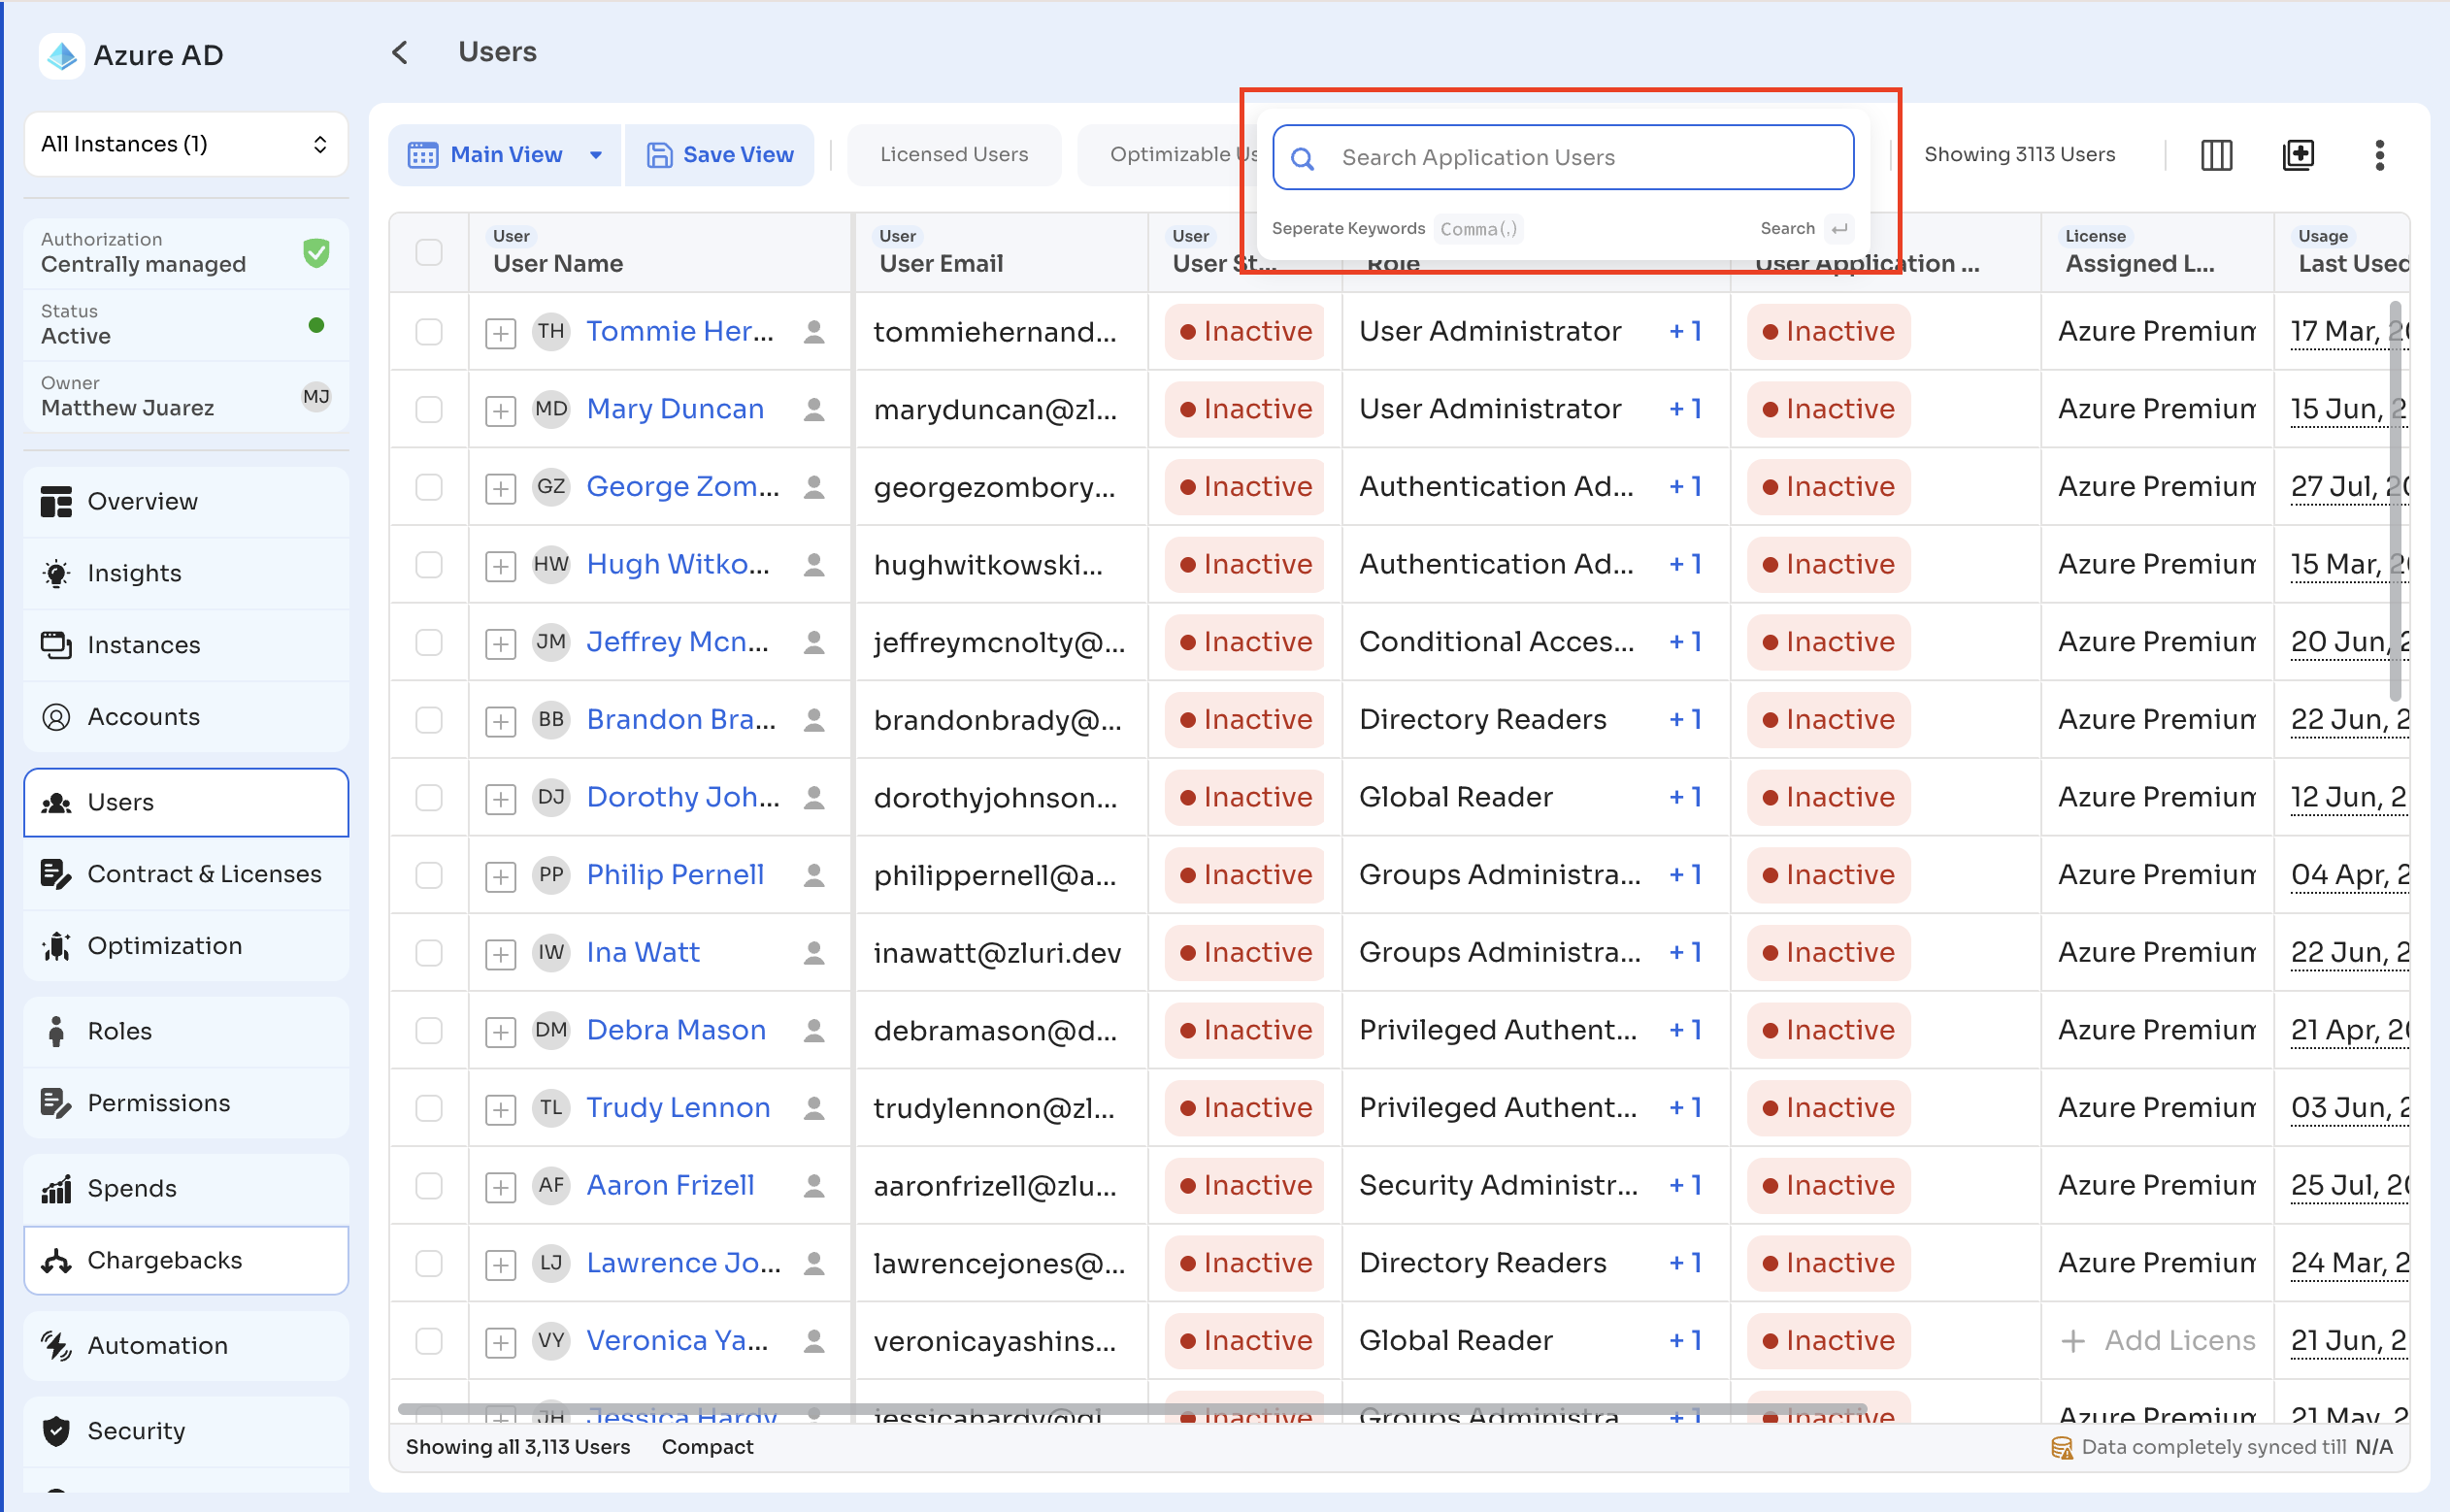
Use the search icon to find a user by name.
Adding users
Select the Add icon at the top right of the table for:
-
Add a Single User: add one user manually.
-
Bulk Upload Users: upload multiple users using a CSV file.
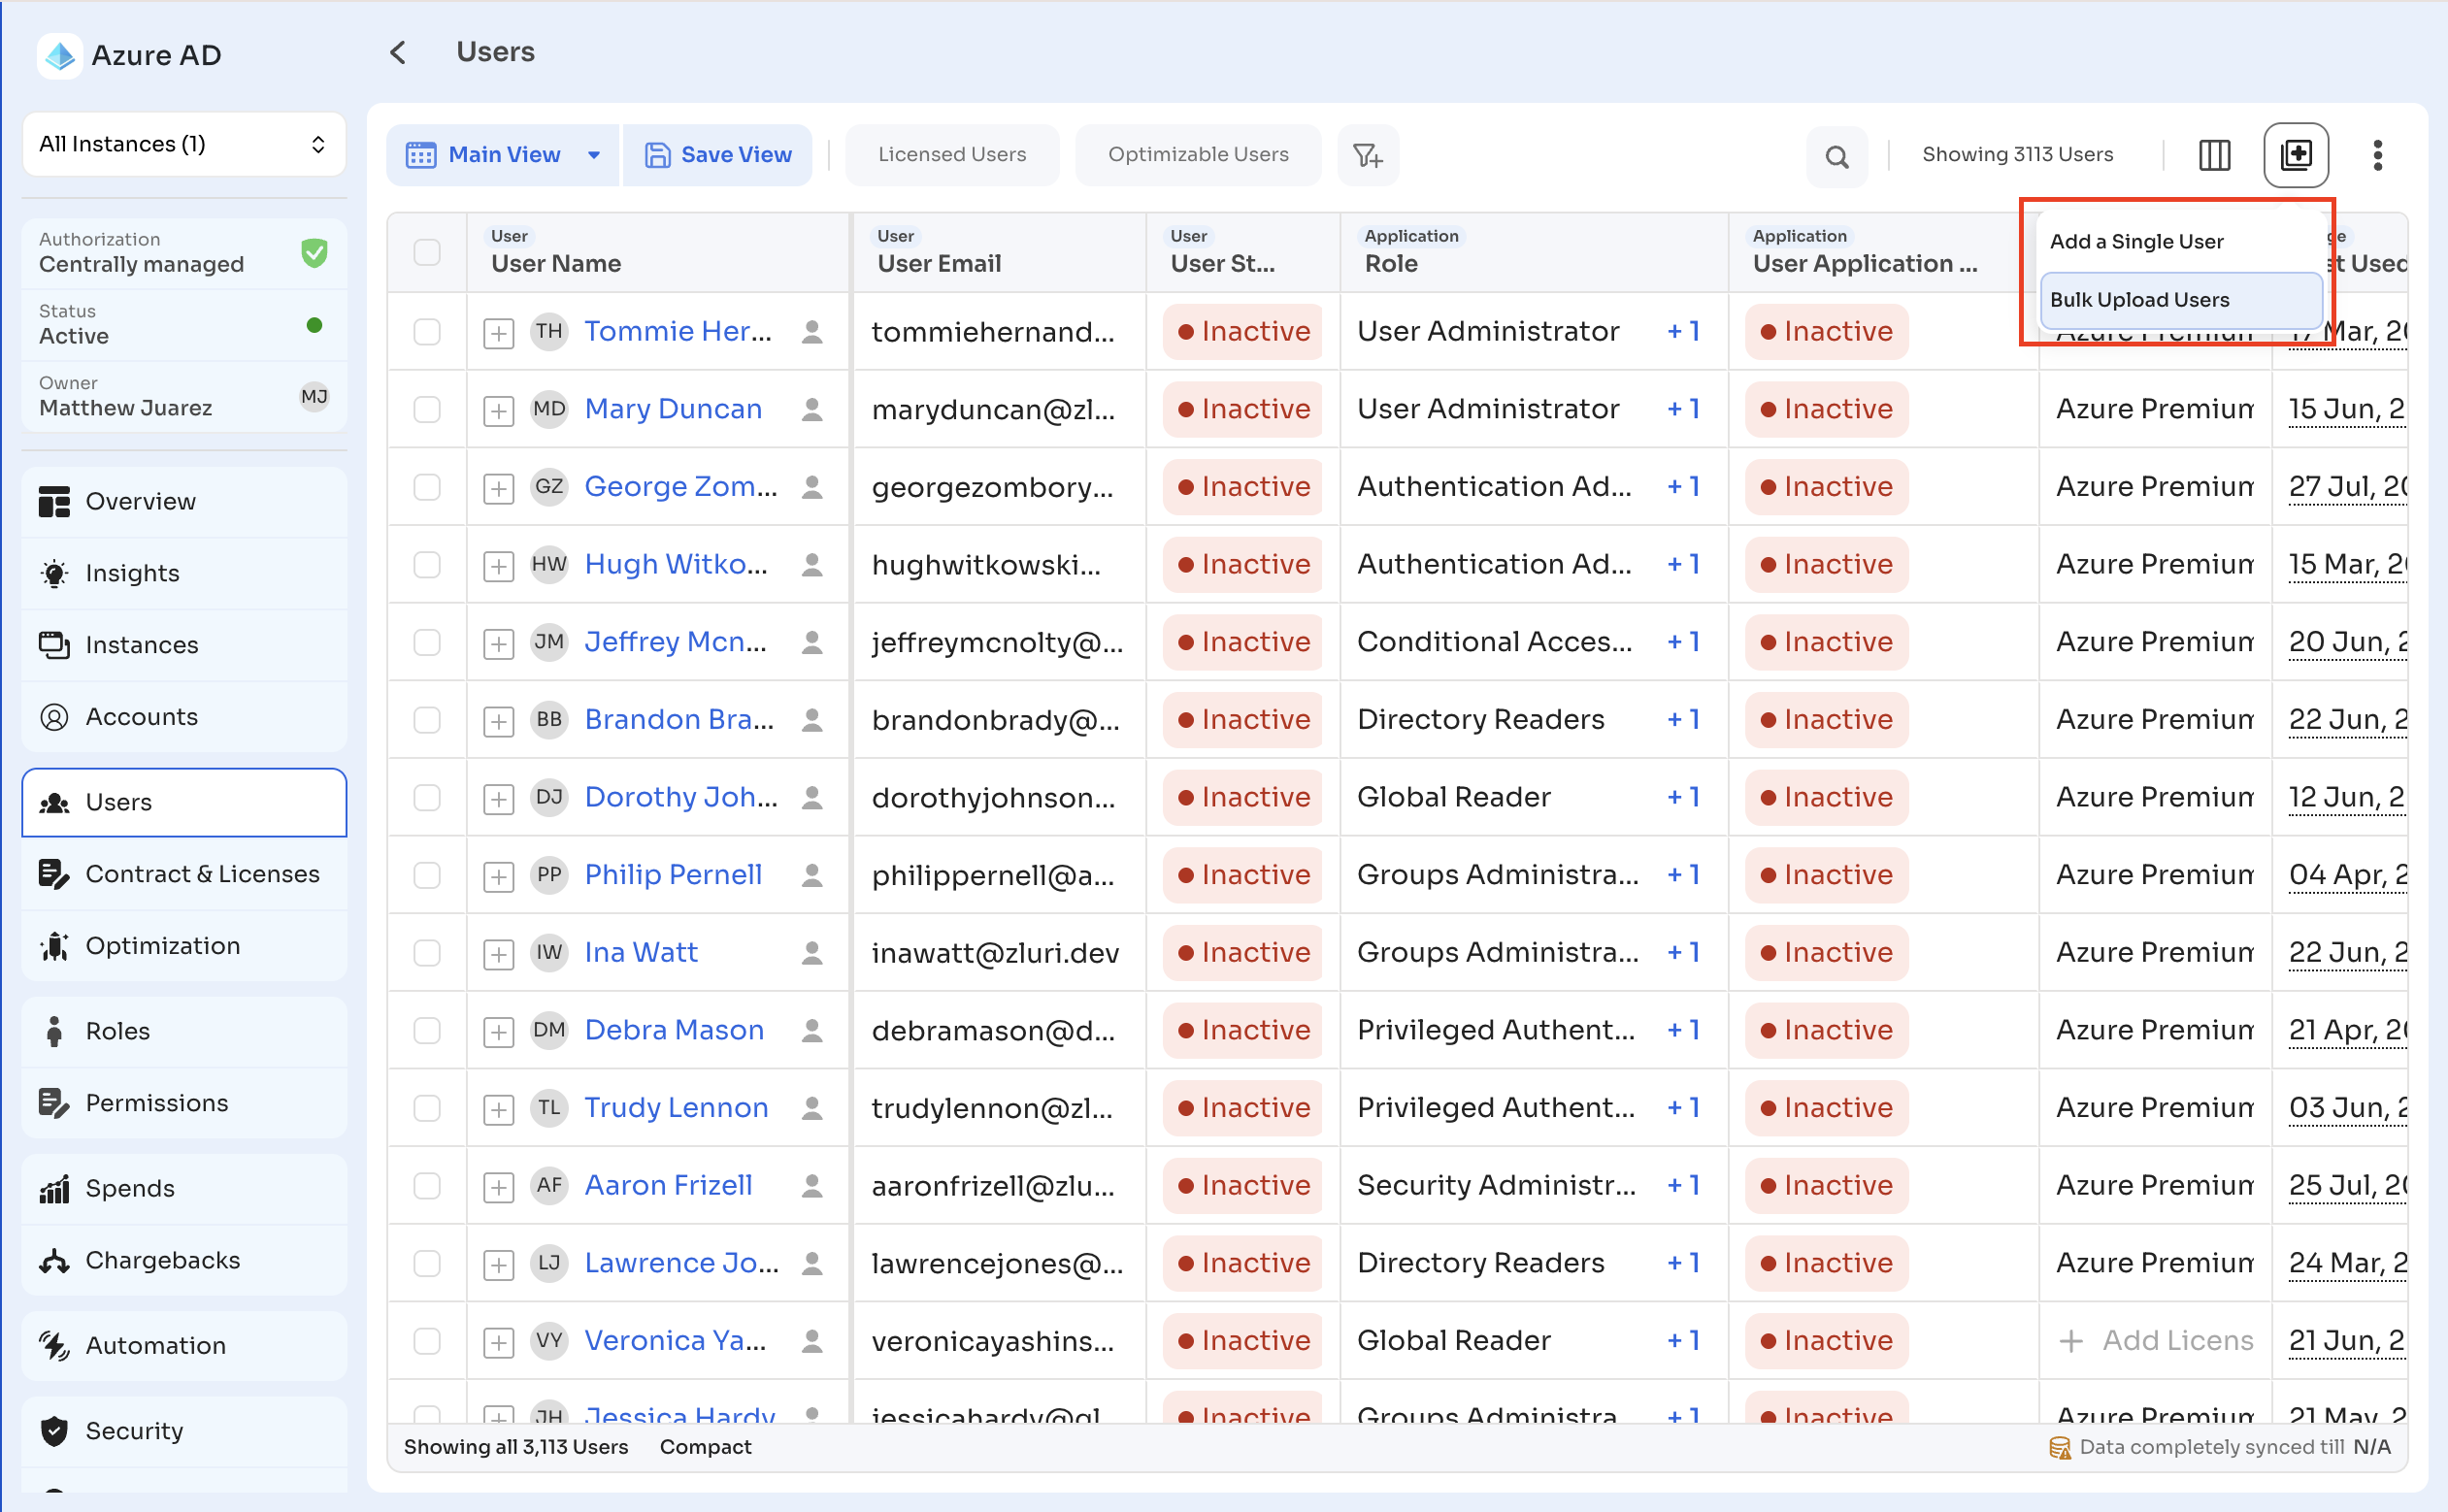
Table actions
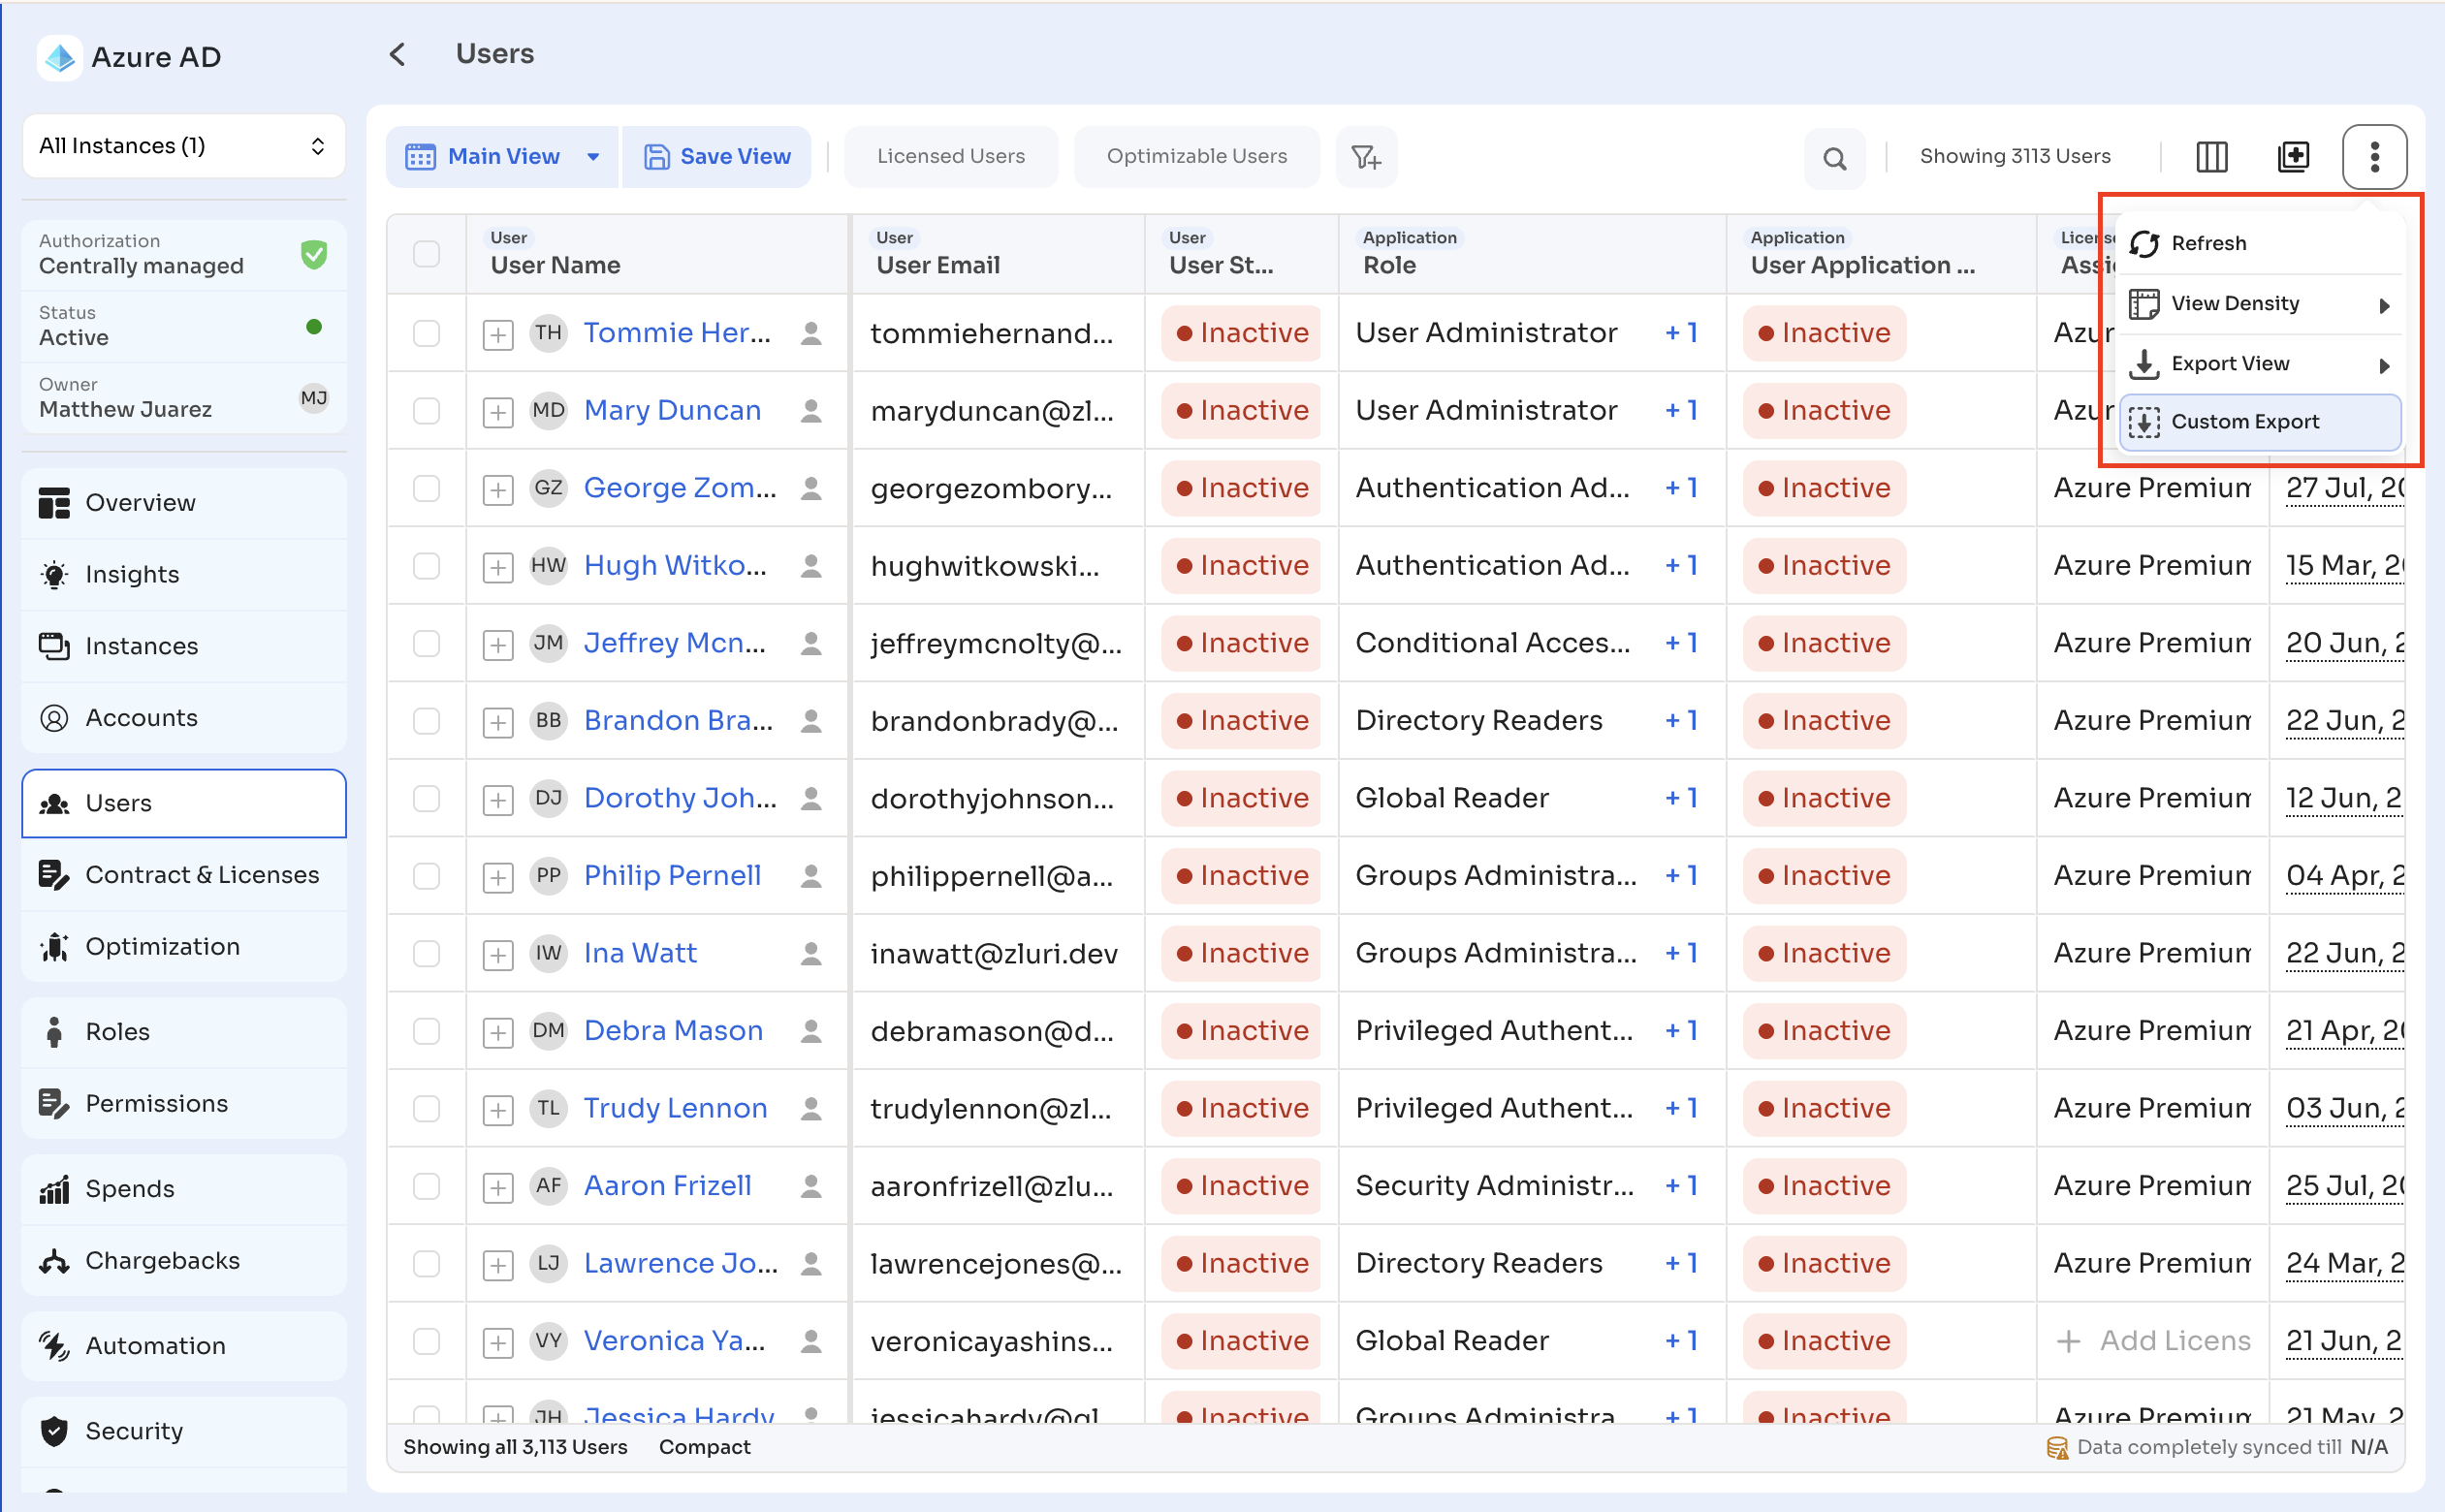
Select the three-dot menu at the top right of the table for:
-
Refresh: reload the latest data in the current view.
-
View Density: adjust row spacing. Choose between Compact and Comfortable.
-
Export View: export the current view. Choose Export View as CSV or Export CSV for Excel.
-
Custom Export: configure a custom export with specific fields and filters.
Density and sync status
Toggle Compact or Comfortable at the bottom left of the table to adjust row spacing.
The bottom right of the table shows when data was last synced.
Updated 14 days ago